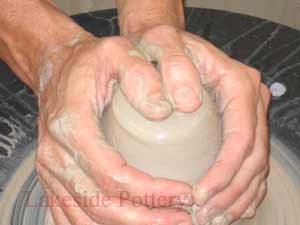
Why do we trim pottery?
|
1. To finish the pot by removing excess clay on the lower part that could not be accessed while throwing.
2. To give the pot walls and bottom an even consistent thickness throughout.
3. To give the pot a foot for stability and/or function.
4. To give the pot aesthetic beauty and "lift".
5. To create a stopping or break point for glaze to prevent run off onto the kiln shelf (see note 1 below).
|
When do we trim?
|
|
The pot should be "leather hard", that is it should be the consistency of chocolate or cheddar cheese. You should be able to press a finger nail into the clay but it should be firm enough to be handled without damaging its shape.
|
Some trimming concepts / pointers
1. Always trim the pot based on or following the inside shape.
2. A good way to think of trimming is to imagine that you have created a bowl with a continuous shape and now you are "adding" a foot.
3. A helpful guide for foot placement is to estimate where the bottom of the bowl meets the side walls. This juncture is where the outside of the foot will begin.. This is not a hard and fast rule; foot placement can be personal and based on what is aesthetically pleasing.
4. "S" cracks have several causes, one of which is an uneven thickness in the bottom of the pot. It is very important to maintain as much consistency as possible in wall and bottom thickness.
|
HOW TO TRIM - STEP BY STEP ILLUSTRATION
|
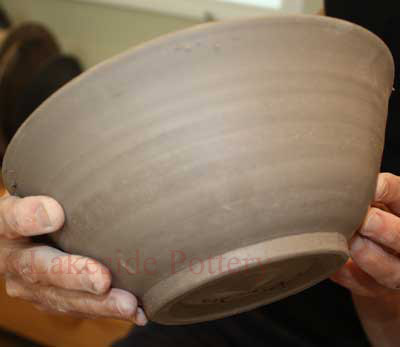
1. Pot should be leather hard. Inspect the inside shape of the bowl. Remember how it is shaped, you may even want to draw a quick sketch.
A. Cross section of a thrown pot
|
B. Pot to be trimmed

|
C. Inspect / remember shape

|
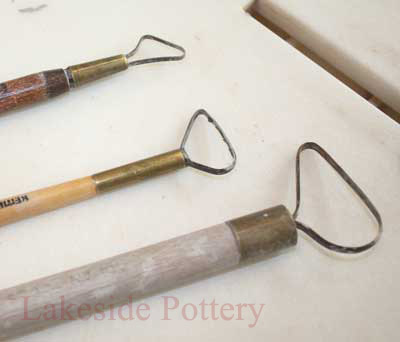
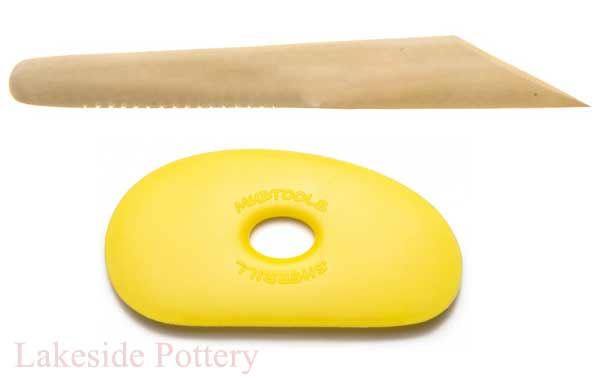
D. Sample of trimming tools
|
|
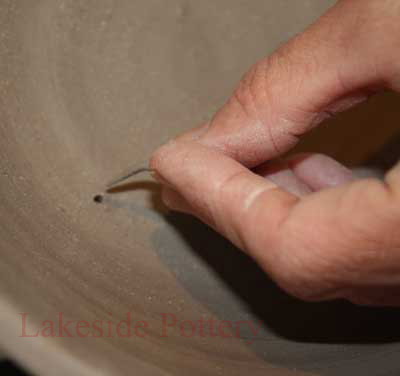
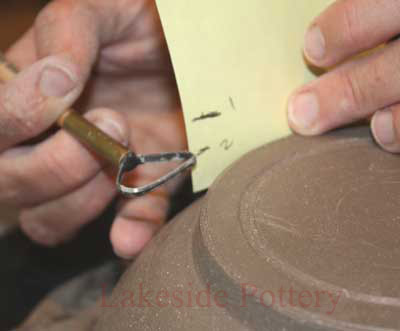
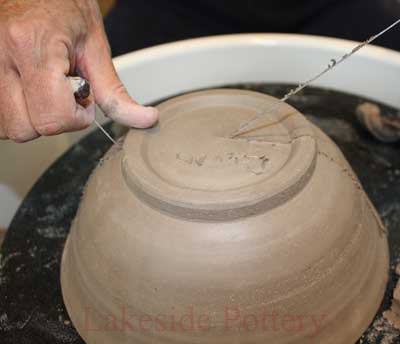
2. Determine where the foot will be placed. Just in the beginning, while first learning to trim, there is a trick one can use to "mark" where the foot should be placed. From the inside of the pot, at the point where you have estimated the bottom meets the wall, push a pin tool straight through until it comes out the bottom. This mark is your "telltale" of where you will begin to carve the outside of your foot. When you remove the pintool, record the thickness on paper (hold your finger on the pintool when you remove it to display thickness). ***As soon as you have a mark on the bottom outside of your pot, FILL THE HOLE ON THE INSIDE OF YOUR BOWL WITH SOFT CLAY!!!! The best way is to roll a thin plug, insert in hole and smooth.
A. Mark foot parameters
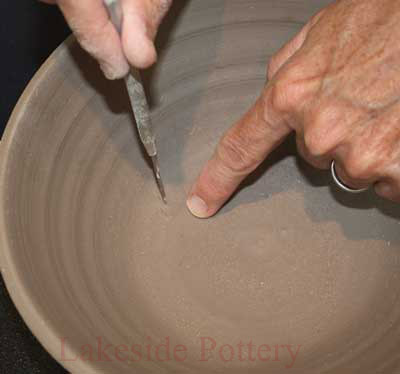
|
B. Poke through w/ pintool
|
C. Record thickness
|
D. Plug hole (rolled clay)
|
|
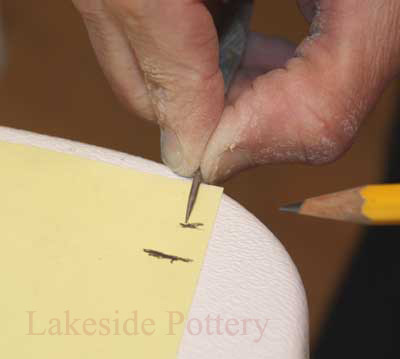
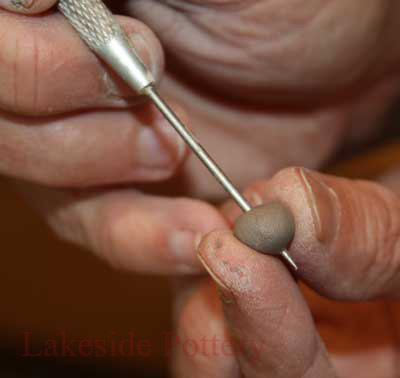
3. It is important to know how thick the clay is at the center of the bottom of the pot too. Again, only as you are initially getting comfortable with trimming, push your pin tool through the middle of the pot from the outside in. Hold your finger on the pintool as you remove it and mark this depth on paper. Another method for remembering this thickness is to place a "ball" of clay on the pin tool so that it slides up the pintool as you push it into the pot and marks the thickness. If you go all the way through, remember to plug this hole too.
A. Measure bottom thickness
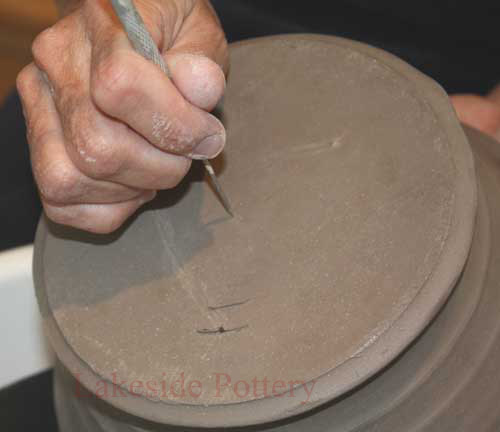
|
B. Record Bottom's thickness
|
C. 2nd way to record thickness
|
D. Clay ball will travel on pintool
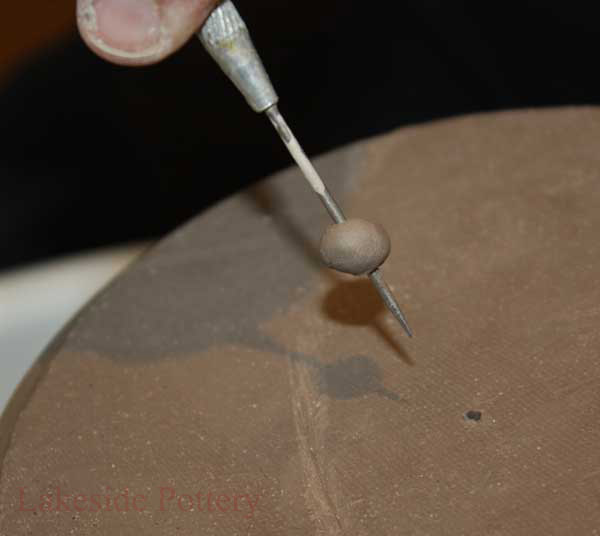
|
|
4. Run your finger down the side wall of the pot to determine where the clay begins to get thick. Mark this point as well (with a scratch mark) as this will be how far up the side wall you need to trim. Remember the wall's thickness, let's assume 1/4" for this example. This is the goal for the thickness to which you will trim the rest of the pot.
Mark trimming starting point
|
|
5. Now you are ready to turn the pot over and center it onto the bat. BE CAREFUL THAT YOU HOLD ONTO YOUR POT AND MAKE SURE THAT YOUR PEDAL IS NOT IN THE "ON" POSITION BEFORE YOU TURN YOUR WHEEL POWER ON!! At a slow speed, allow the pot to turn on the wheel while with a finger or a pintool, measure how far off center the pot is. Adjust the pot by pushing it with your fingers, placing them at the middle of the mark you made, toward the center of the wheel. Continue this action until the pot touches your finger or pintool 360 degrees as it turns around. Do not go to the next step unless the pot is perfectly centered. You can also use directional markings (i.e. N, S, E, & W) to help find where the pot is off-center.
A. Check if centered w/ finger
|
B. Check if centered w/ pintool
|
C. Adjust to center
|
D. Can use symbols to identify location
|
|
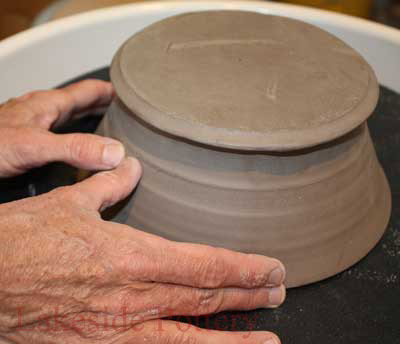
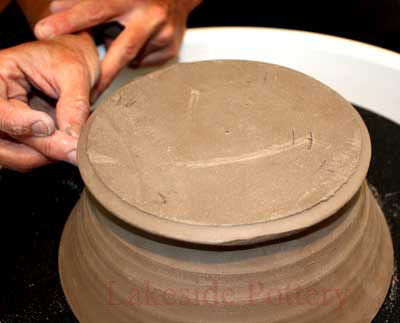
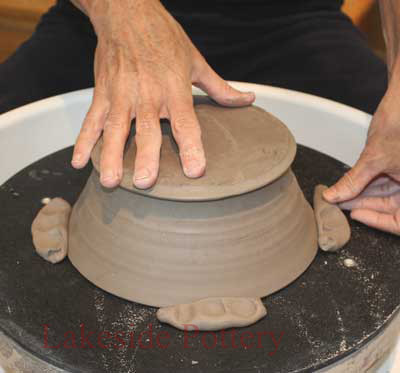
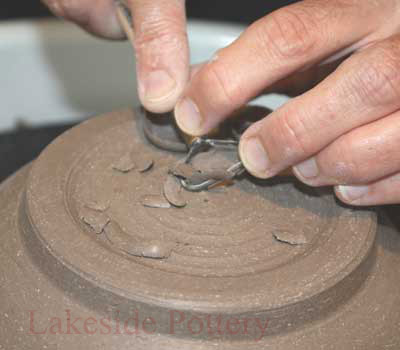
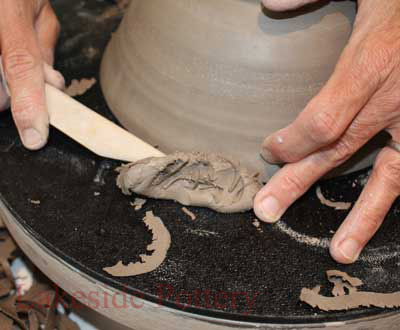
6. Secure the pot with small clay "lugs". Use four for a smaller pot, increase the number as needed for larger pots. Large lugs are not necessary and might actually fall off due to centrifugal force. Hold the pot with one hand to prevent moving it while you place clay lugs. When applying the lugs, it is important to push them down onto the bat, NOT toward the pot as you may alter or damage the pot. *Tap the pot and listen to the sound it makes. At first the sound will be dull. Tapping will become very useful in knowing the thickness of the clay and will eventually replace the need for pintool measurements.
A. Make clay lug to hold pot
|
B. Push lug down
|
C. Use four lugs securely
|
|
|
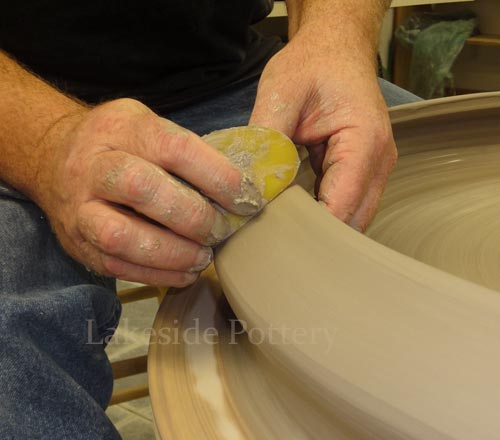
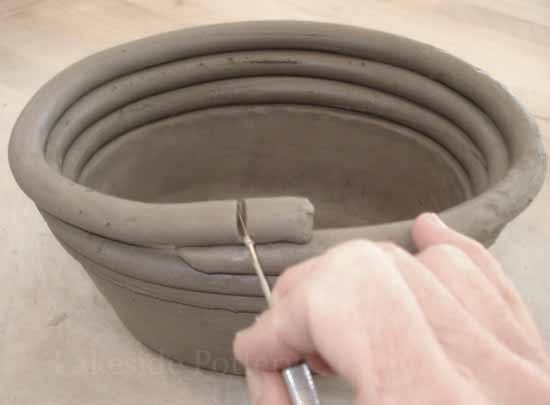
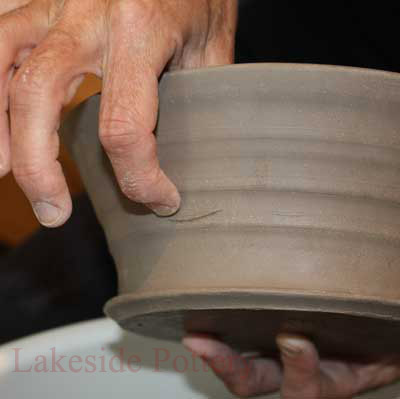
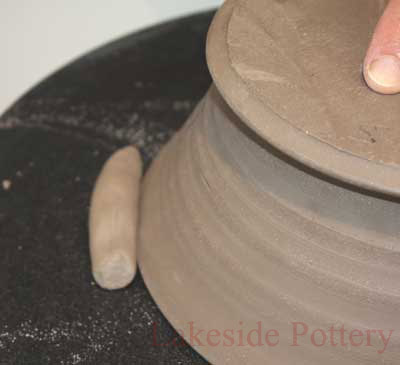
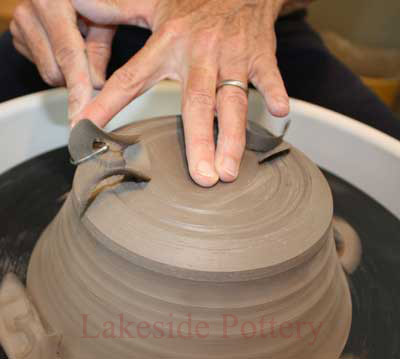
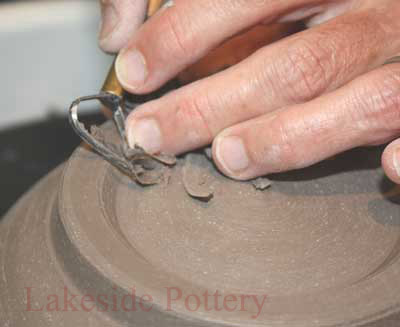
7. It is best to hold the trimming tools NOT like a pencil but under the palm of your right hand for strength and stability. Hold fingers close to trimming tool tip for good leverage and to avoid chattering. If trimming tool chatters, hold tighter and closer to tip. Try to always keep a finger from your left hand on the pot and, just as in throwing, your hands should always be touching. Tool position is at 3 o'clock on the wheel. The wheel speed should be pretty fast. Start by removing rough clay on the edge that might be in the way.
A. Trim off rough edge
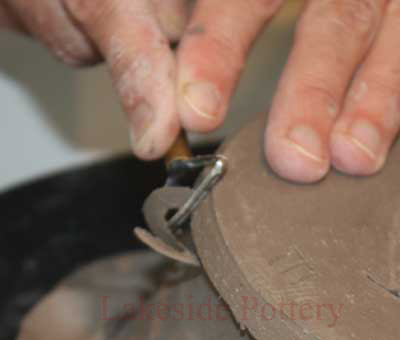
|
B. Connect hands for stability
|
C. Push down on pot
|
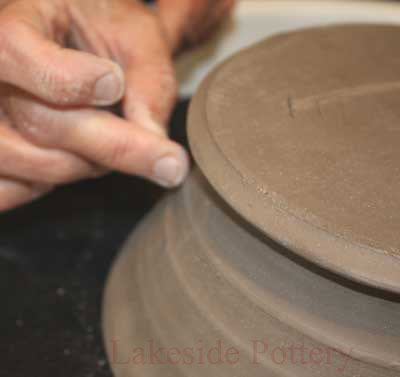
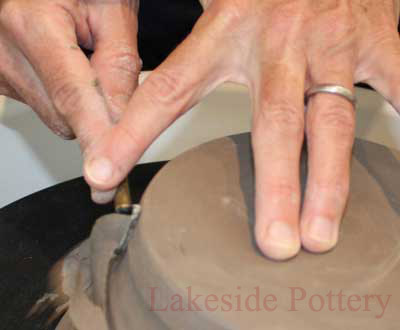
Mark foot placement
 With the tool, make a continuous mark where the foot will be. Do not make the foot too thin especially in the beginning, you can always take more later. With the tool, make a continuous mark where the foot will be. Do not make the foot too thin especially in the beginning, you can always take more later.
|
|
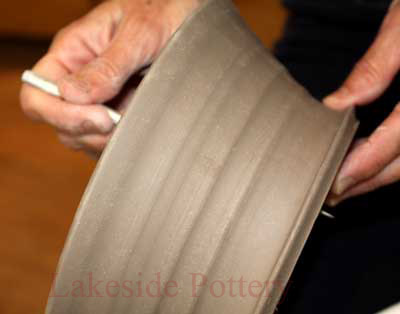
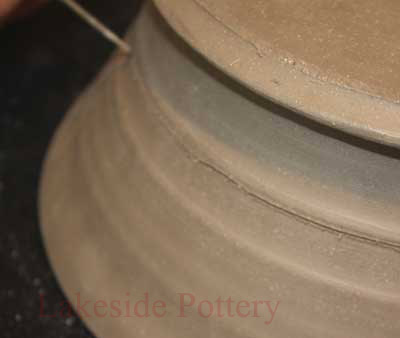
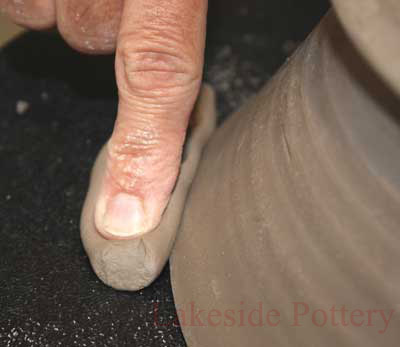
8. Start to cut into the outside mark of the foot. Remove clay from the outside of the foot down to the mark you made where the wall starts to thicken. Adjust and move the trimming tool to an angle that maximizes the best clay removal (approximately 30 degrees). You should see a steady clay ribbon peel away. If not, continue to adjust angle and pressure until you are catching the clay surface effectively. Use the measure you took initially to judge how much clay can be removed along side the outside of the foot (in this example we are aiming for 1/4"). *Tap the pot often as you remove clay listening to the change in sound as more and more clay is removed. This will give you more information than anything as you become familiar with the sounds.
A. Trim to marking
|
B. Define foot outside edge
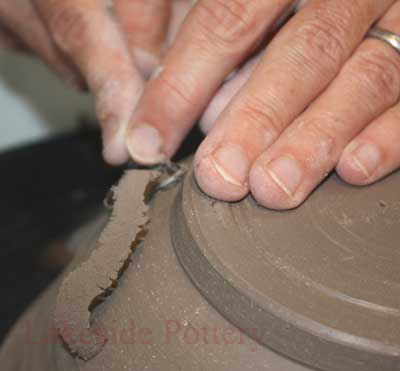
|
C. Check measurements
|
|
|
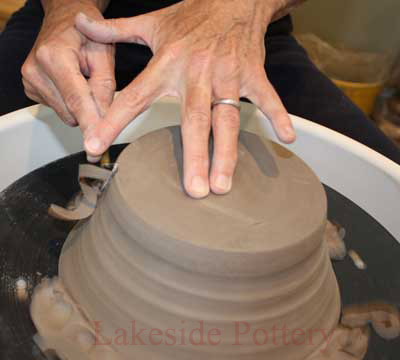
9. Now begin to remove clay from the inside of the foot. Be careful about pressure applied, if clay is too soft you may cave in the middle. Sharp trimming tools and proper trimming angle will minimize this effect. Take your time and use the measure you took for the exact thickness of the bottom (1/4"). *Tap frequently for the sound of the thickness change.
A. Trim off inside foot
|
B. Define inside foot edge
|
C. Refine wall trimming
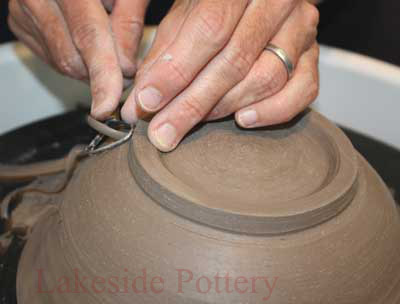
|
|
|
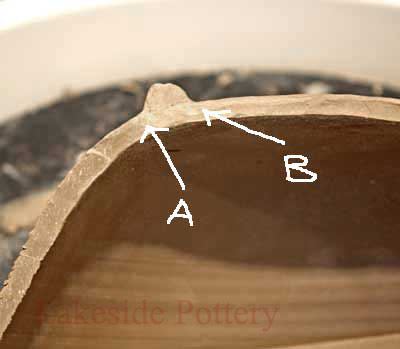
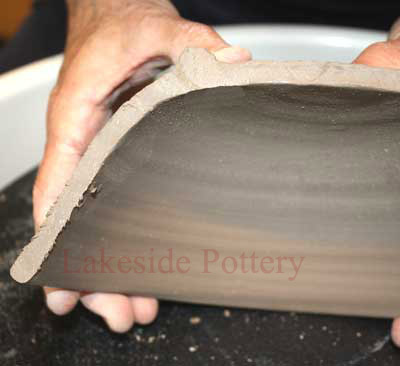
10. Once you have removed all the clay you feel is necessary, examine the pot. One tell tale to verify that you have removed enough clay is to make sure that the height of the clay outside the foot (see A in diagram below) is lower than what you see on the inside (position B in diagram below). Remember the inside walls of your pot, they move up at this point and this should be reflected on the outside as well. If not, you may have left too much clay.
Pot's wall thickness continuous
|
|
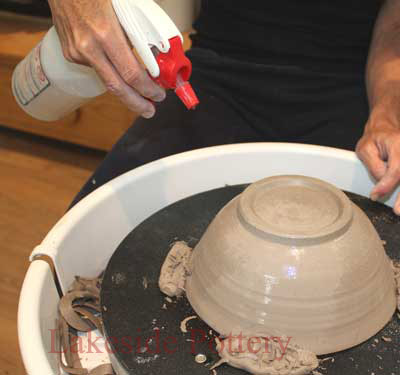
11. It is important to burnish at the end of trimming if the clay has grog in it. You will notice pits and scratches caused by the grog and if not smoothed there will be a negative effect in the glazing later. Spray the pot lightly with water, if it is too dry and burnishing is difficult. Using a wood tool or a rib smooth / burnish the clay surface. Make sure your foot does not have sharp edges. Sharp corners are more fragile and can chip or break easily.
A. If too dry, spray water
|
B. Burnishing tools. Wooden tool or better, mud-tool yellow rib
|
C. Burnish w/ wood tool
|
D. Burnishing w/ silicon rib

|
E. Burnish all trimmed areas

|
F. Grog marks

|
|
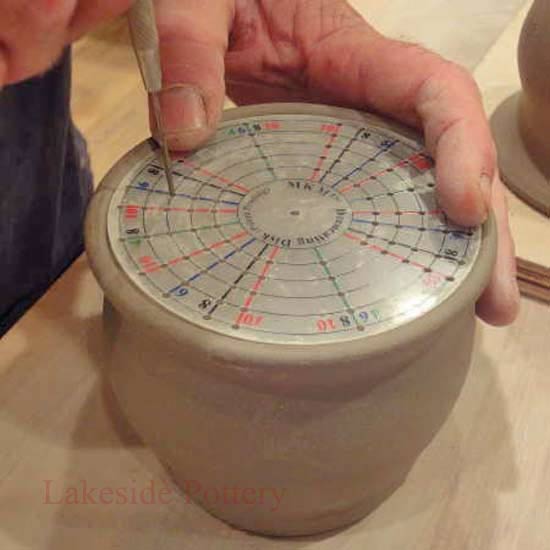
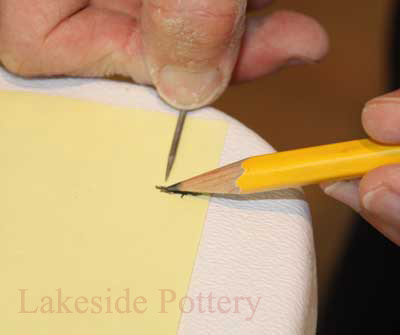
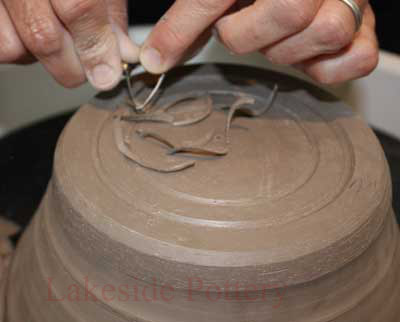
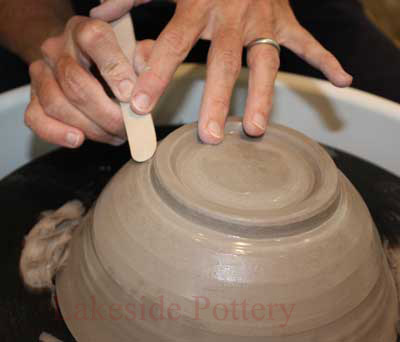
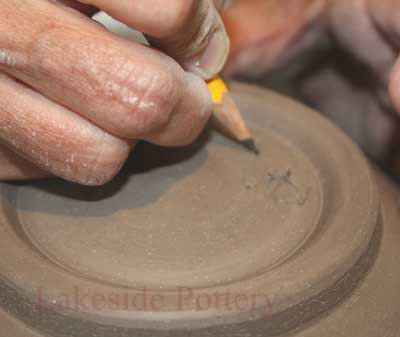
12. Sign your pot inside the foot area, do not push down too hard or sign right in the middle. Use a pencil or dull instrument rather than the pintool. Please sign with full last name! Remove your pot from the bat and inspect it for any imperfections. Smoothing and attending to your pot now is preferable to sanding it after it is bisqued.
A. Sign with dull object
|
B. Remove clay lugs
|
C. Examine trimmed pot
|
D. Slice to review results
|
E. Even thickness
|
|
|
|
Note 1 - trimming effect on glazing success:
The pot shape (a) and height (b) will determine the glaze liquid dynamics movement relative to gravity. More glaze will accumulate on the pot's bottom if the pot is taller or more vertical. Another factor in glaze movement towards the bottom of the pot is the pot's surface texture (c). Glaze will displace itself from any edge creating "rivers" of glaze that will reach the bottom with greater mass.
So, when applying the glaze, take all three variables (a, b and c) into account when determining the clearance provided for glaze movement on the bottom of the pot. Thus, designing the pot's foot during the trimming process, need to account for glazing "buffer zone".
Trimming a Large Platter Tutorial
Step-by-step Throwing a Pot on The Wheel Tutorial
|