How to Repair and Restore Pottery or Ceramic Objects - Demonstration and Tutorial
Home page Home page Broken pot as it was brought to our studio restored vase

Restoring Antique Ceramic Art: Lesson 2

B. Repair Job
A. Restoration Job

Restoration Home Calendar Pottery tips Press Useful links Gift certificates Contact us Pay online

On-line Restoration Cost Estimate Form

We have received inquiries based on from our repairing pottery basic lesson asking how to repair more complex broken art (ceramics, pottery, china, wood) when some pieces are missing, hiding the repair lines and coloring is required.

Some of the answered questions below are:
A) How to fill in missing pieces?
B) How to give the repaired item strength?
C) How to hide repair line?
D) How to restore color, luster and recreate the antique look?

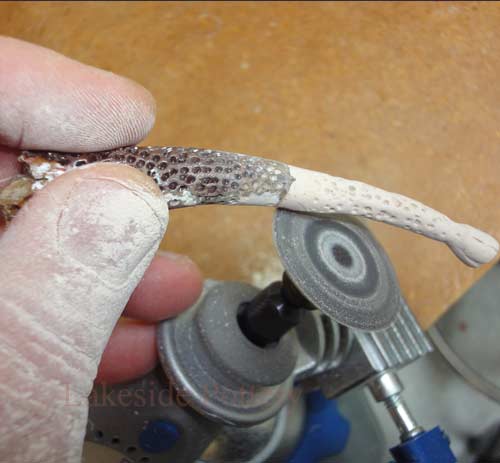
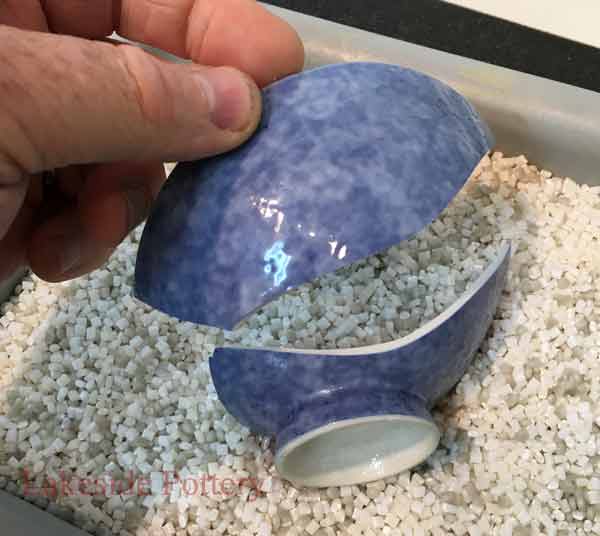
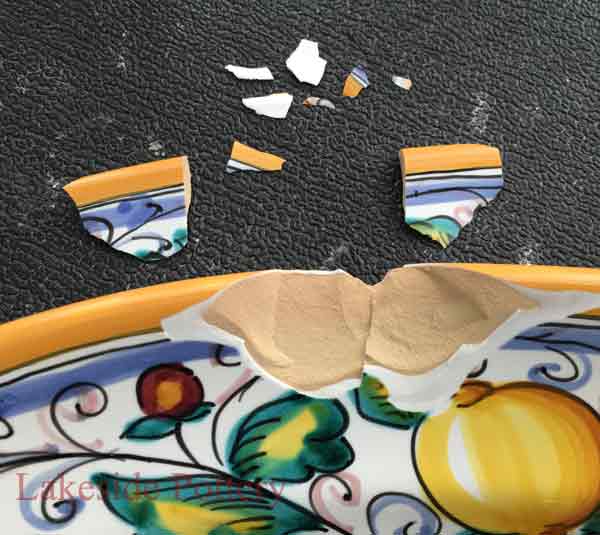
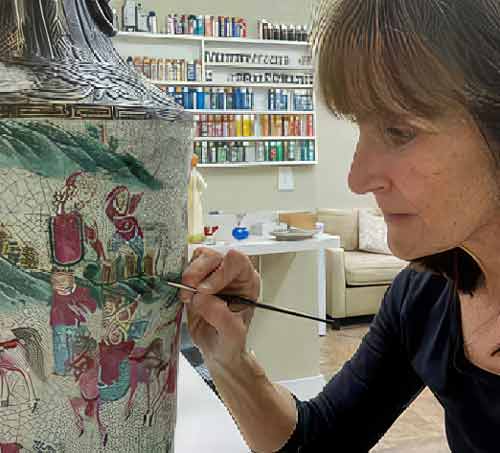
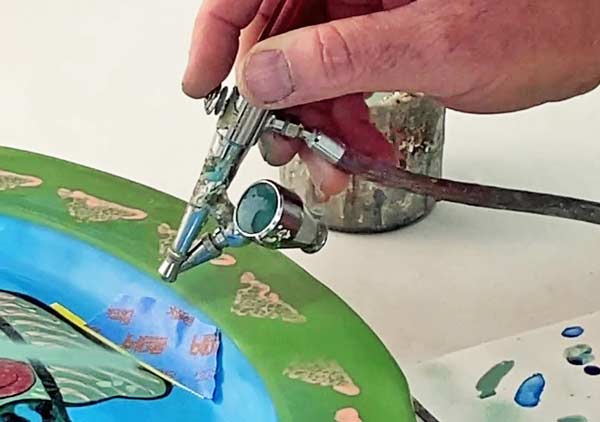
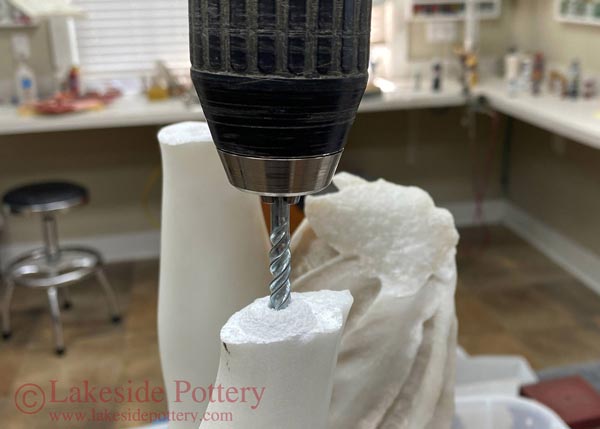
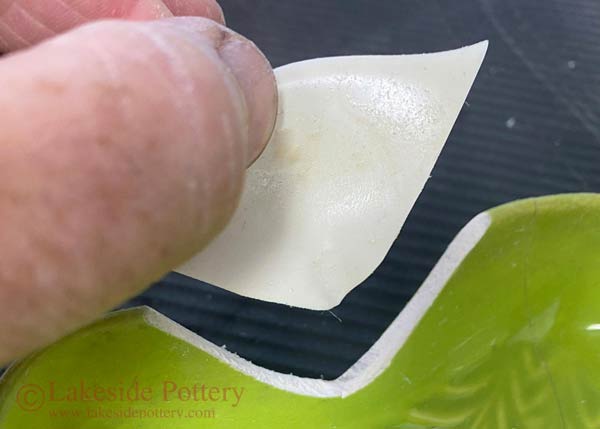
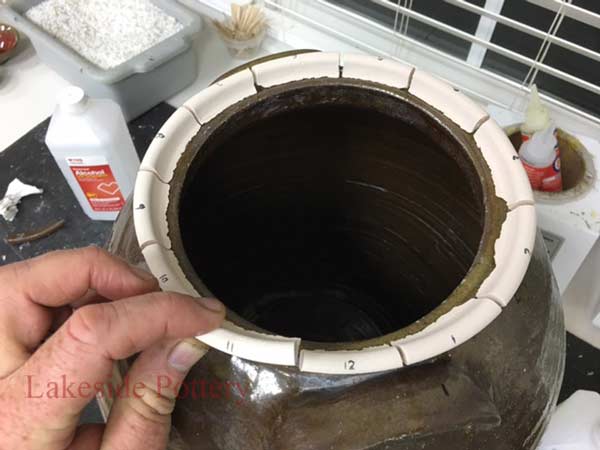
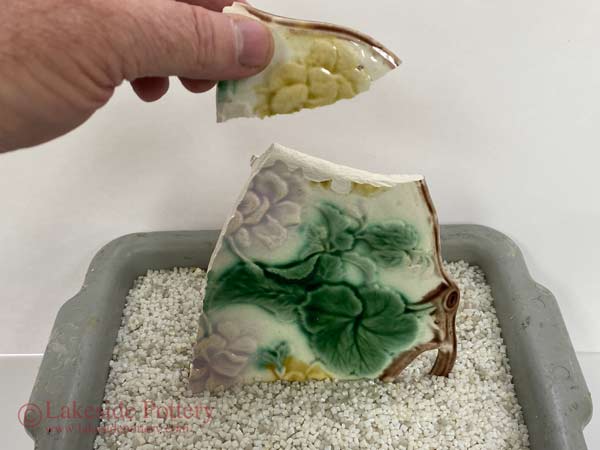
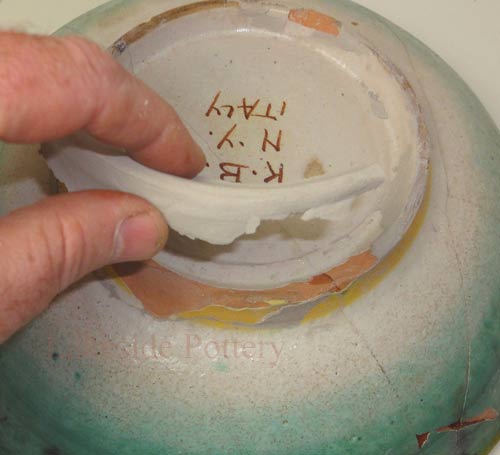
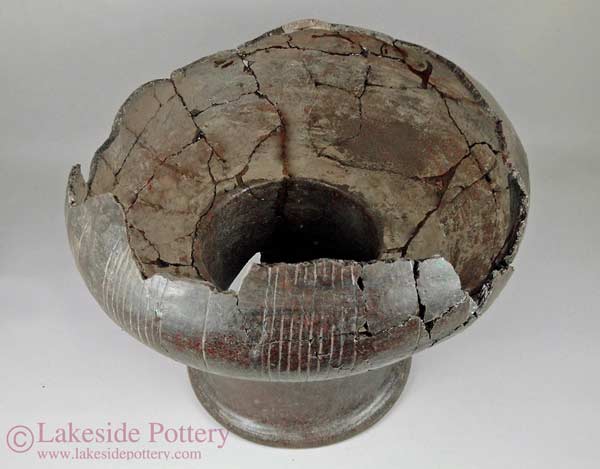
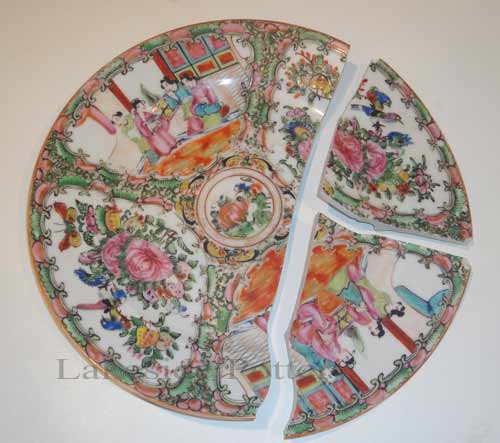
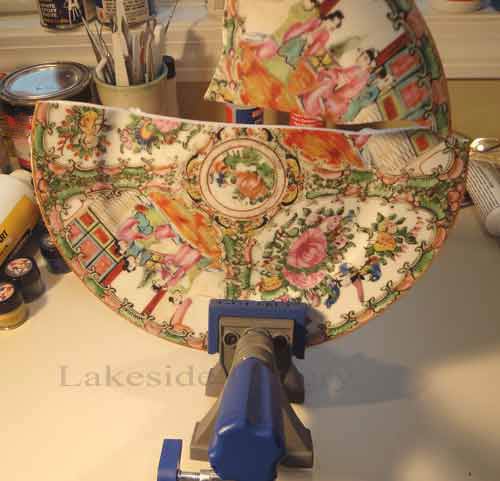
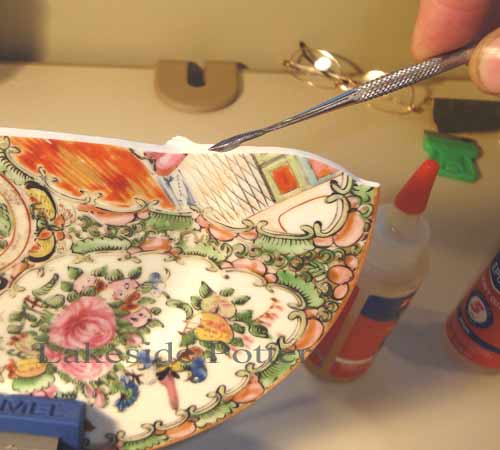
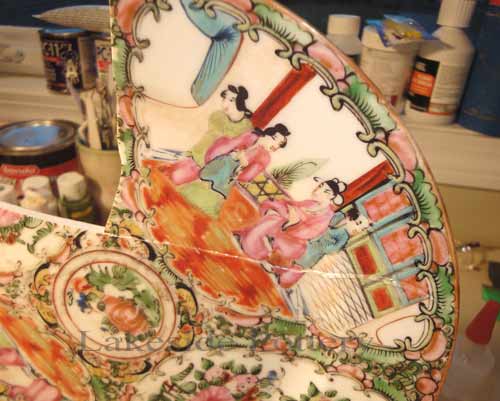
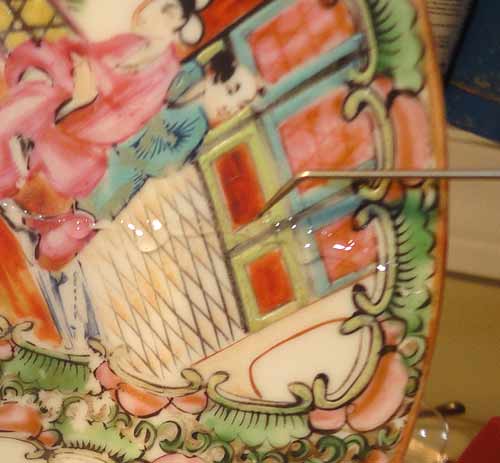
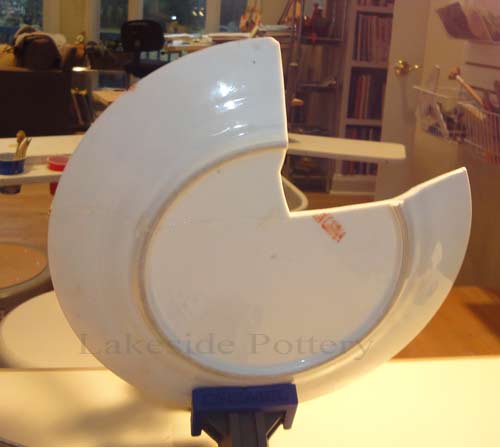
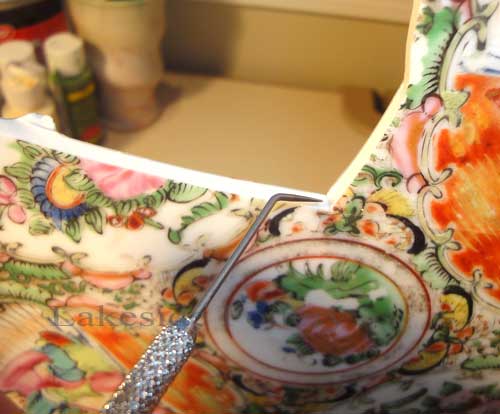
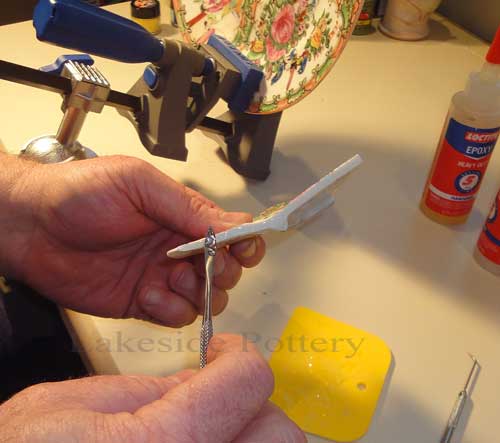
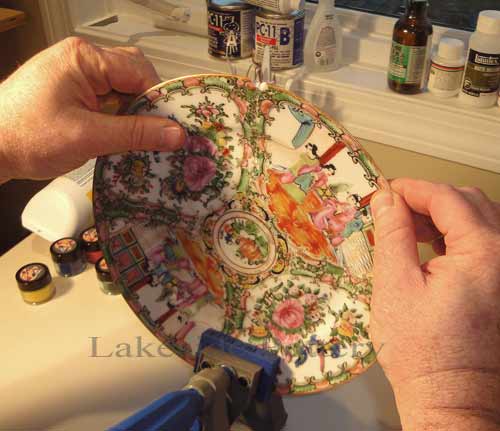
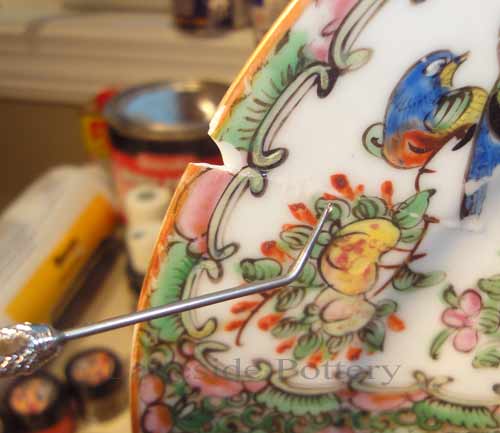
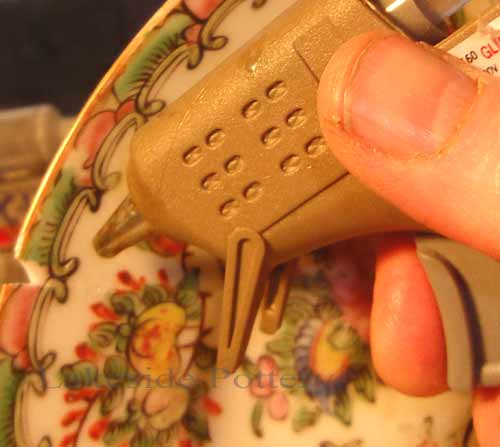
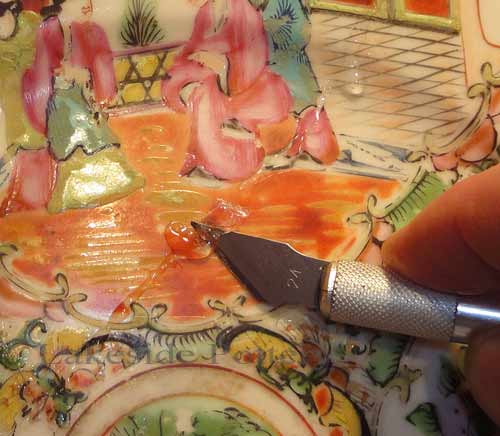
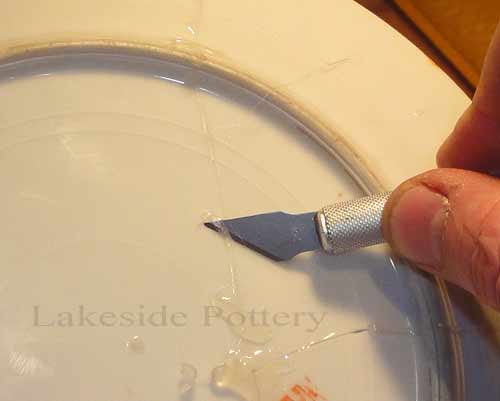
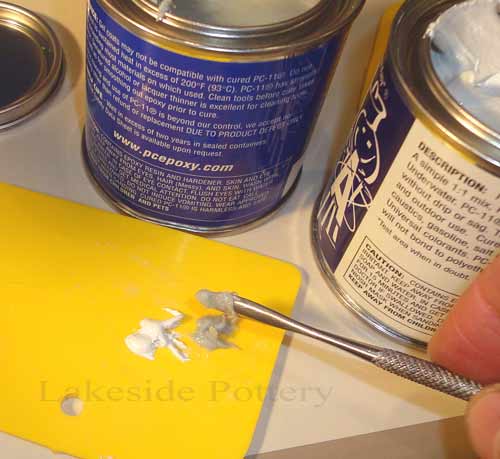
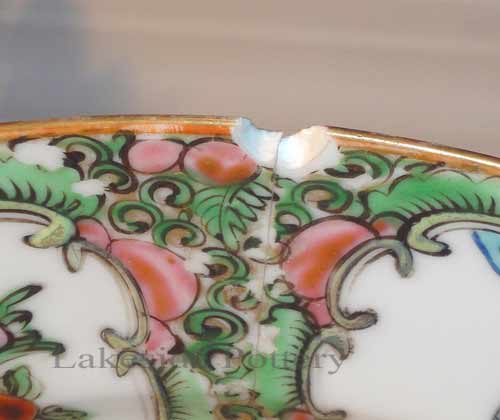
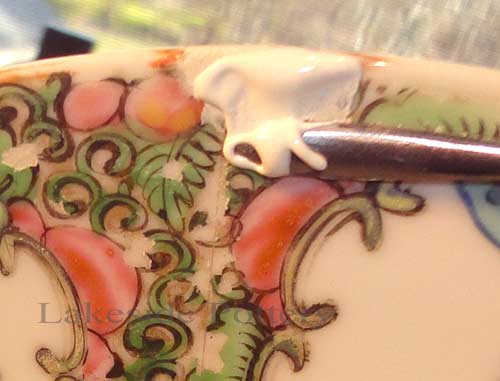
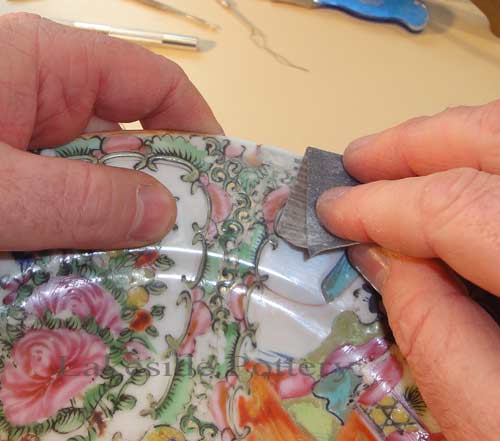
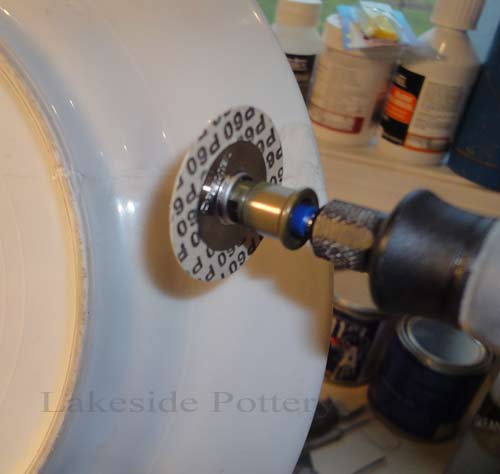
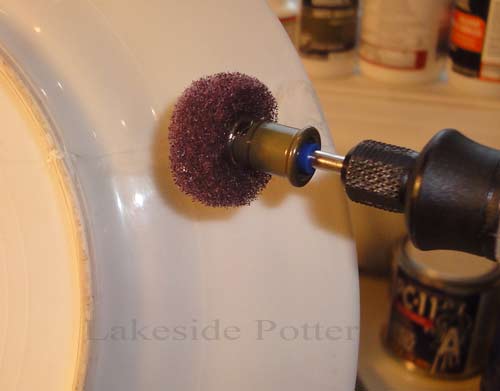
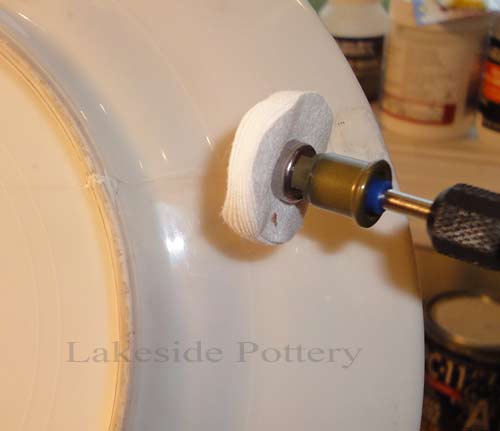
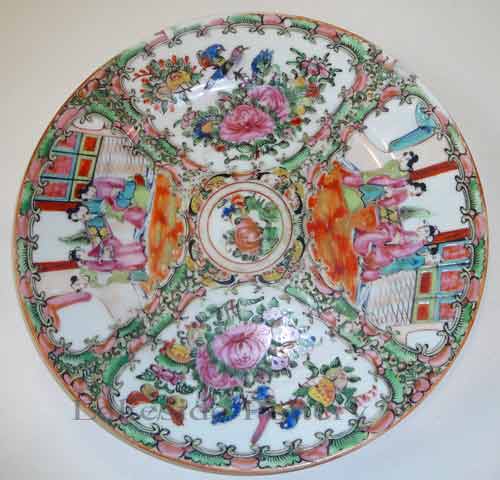
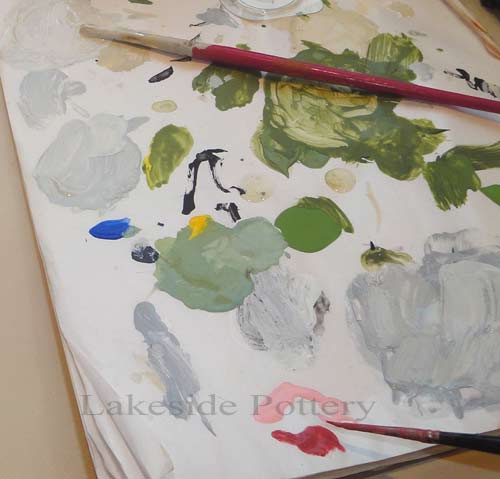
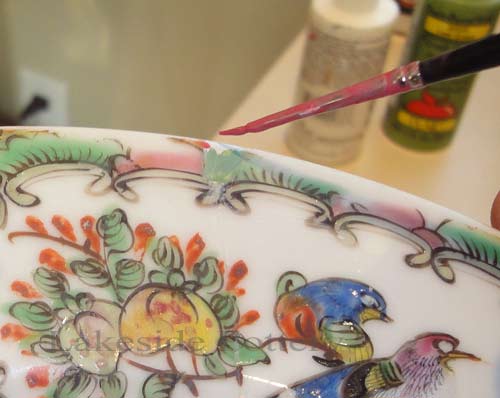
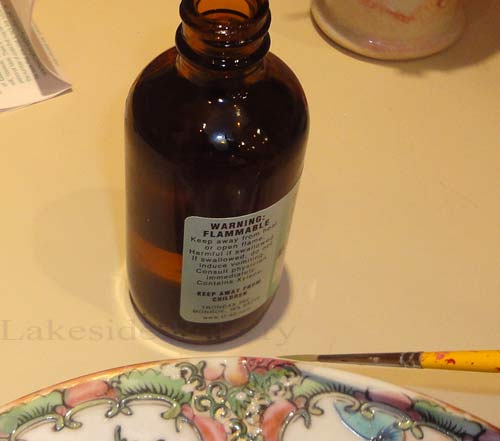
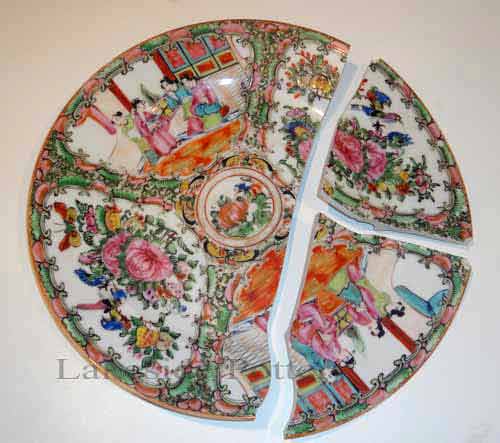
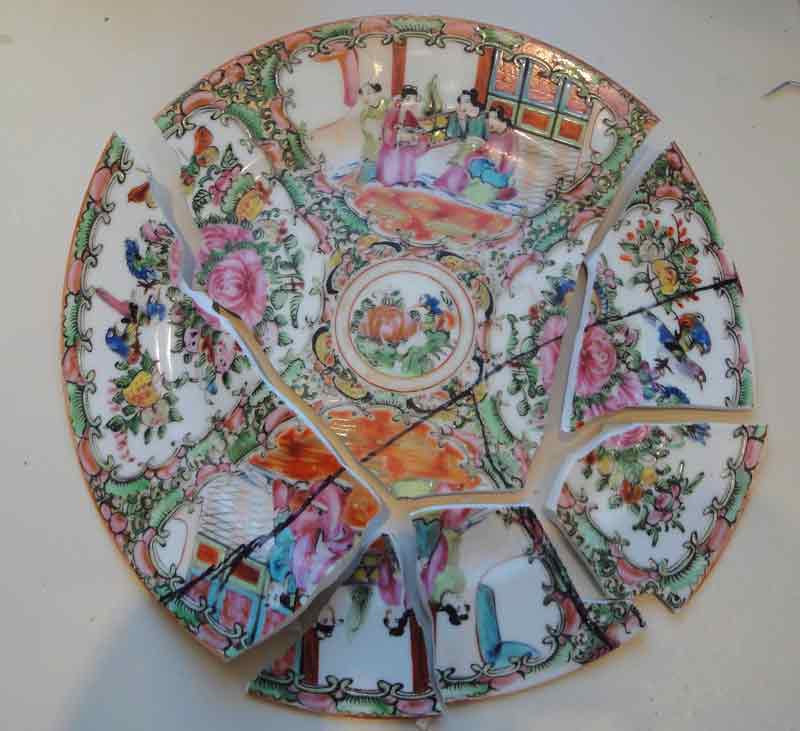
To illustrate the process, below we show two recent restoration projects. Some steps such as "antiquing" and "recreating glaze look" are touched on briefly but more detailed knowledge is required. Before you get started, note that for an experienced person with all the proper tools and material, each of this repairs took 3-4 hours beginning to end (not counting "waiting to cure" time). So make sure you budget your time and do not have to stop in the middle of some important time dependant tasks. To see the previous and more basic lesson, visit: Repairing Broken Pottery Lesson 1.

If you wish to use our Ceramic Repair and Restoration Services, please visit our Restoration Main Page

See some related links below:

chattered wall hand terra cotta statue
pices cemented
filler applied
restoring original textures and shapes
color mix using pigments and additives
Restoration completed


Convert to PDF - for better printing


A. Broken Antique Lizard vase Repair Filling Missing Pieces and Coloring B. Broken Antique Plate Repair, Filling Missing Pieces and Coloring (See Video | YouTube)

Before starting, scrape any old glue attempts, clean thoroughly and remove all loose particles. Before starting the repair, make sure parts are 100% dry! Cover working area with sheets of paper to avoid damage to your table with the various epoxies used in this tutorial. The two-part clear epoxy is a quick dry type and you have about three minutes to apply and adjust pieces. "Dry run" the order of cementing the pieces to determine to order of gluing them together. For step by step using the two parts clear epoxy, see Lesson 1

Broken antique vase
Broken pot as it was brought to our studio
Two parts clear epoxy
We chose quick cure two parts clear epoxy
Glue pieces - see 1st lesson
Attached small pices
Glued pieces - close up
Broken antique plate
We chose quick cure two parts clear epoxy
Vise with soft clamps
Mix well 2-part clear epoxy
mix
Apply epoxy
apply
Place1st piece - push hard
Check for perfect alignment

Fiberglass repair is required to provide the strength needed when the repaired object material is brittle or too many pieces are missing. The process is very similar the boats repair methodologies. When cutting the fiberglass sheet, be sure to cut pieces large enough to cover all the broken area plus an additional 1" on each side of the joints. Use a respirator mask when working with the fiberglass resin as recommended by the resin manufacturer and work in a room with good air circulation. Don't bother cleaning the brush - use a low cost one and dispose when done.

Fiberglass used for reenforcement
Used a loose mesh fiberglass sheets
Cut to size to fit on glued areas
cut fiber to size
Mix quick dry fiberglass resin
used fiberglass resin for wall reinforcment
Apply resin over glued area
applied first layerr over the cemented broken pieces
Use glue gun to keep in place
Back view
Clean epoxy on other repair areas
Apply glue on 2nd piece
Place tightly
Align perfectly

The fiberglass resin is applyable only for about three minutes, once it starts to get "jelly like" do not apply anymore - it will not cure properly. Note that the fiberglass resin will generate heat as it cures. Once cured, it is very hard to work with (e.g.., sanding) and it is not paintable unless the surface is roughened.

Place fiberglass over 1st resin coat
laid the pre cut fiberglass pieces
Brush a 2nd resin coat
applied second coat of fiberglass resin
Repeat on second vase part
repeaded second coat on second broken section
Cured fiberglass repair
waitted for resin to harden
With a pintool, feel alignment
Use glue gun to keep in place
Scrape excess epoxy - front
Scrape excess epoxy - back
Mix white epoxy filler
Fill in missing pieces w / epoxy
Once the resin is cured, repeat the two-part clear epoxy process above to connect the larger parts. Note that each broken pot has it's own puzzle attributes and the steps shown here will probably be different for each situation. When the two-part epoxy is settled (about 20 minutes later), use a sharp knife to scrape the glue that squeezed out to the surface. If you wait too long, and the epoxy is completely hardened, scraping the extra cured cement will become a more difficult task.
Glue two vase parts with epoxy
Attached the two sections of broken pot
Vase all glued together
waited for it to cure
Scrape all excess epoxy glue
cleared extra cement
Mix epoxy filler (quick dry)
mixed two parts epoxy filler
Apply Magic Sculpt or PC-11)
Rough clean epoxy
Sandpaper surface
Clean surface with alcohol
Mix fine epoxy filler
Apply epoxy
Use 2-part epoxy filler to fill cracks and missing parts. Use gloves and a respirator mask when applying and sanding. The epoxy filler will be ready for sanding within 20 minutes. When sanding, graduate to a very fine sandpaper to insure no sanding marks are visible. The best way to verify surface smoothness is by gently running the tips of your fingers over the worked areas. Clean all surfaces thoroughly with a damp cloth.
Apply to cracks & missing parts remove and sanded filler Use fine sandpaper
fine sanding of filler and pot
Vase all sanded
all sanded and ready for color
Prepare color w/ proper additives
colors and color additives
Spread epoxy
Sandpaper epoxy
Use fine sandpaper (Dremel)
Polish surface
Fine polish surface
Clean and ready for coloring

Wait until surfaces are completely dry and wait at least 10 hours before applying color. Mix colors and additives until satisfied with color match and luster. Wait until applied color (s) are completely dry before starting the "antiquing" process.
Apply color and wait to dry
applied color
Use antiquing tools / techniques
entiquing tools
Antiquing process
untiquing process
Finished restoration
vase all finished and restored
Mix colors and additives
Apply colors
Apply high-end cold glaze
Before - click picture to enlarge
Analysis -breaking the plate
Retoration repair analysis
After - click picture to enlarge
Your input is greatly appreciated and will help in creating improved pottery tips.

Thank you, Patty and Morty

about lakeside pottery

Name:
Email:
Input


Studio hours | Directions

543 Newfield Avenue
Stamford, CT 06905
Phone: 203-323-2222
studio@lakesidepottery.com


COPYRIGHT Lakeside Pottery LLC COPYRIGHT and linking policy details

.


View My Stat
s