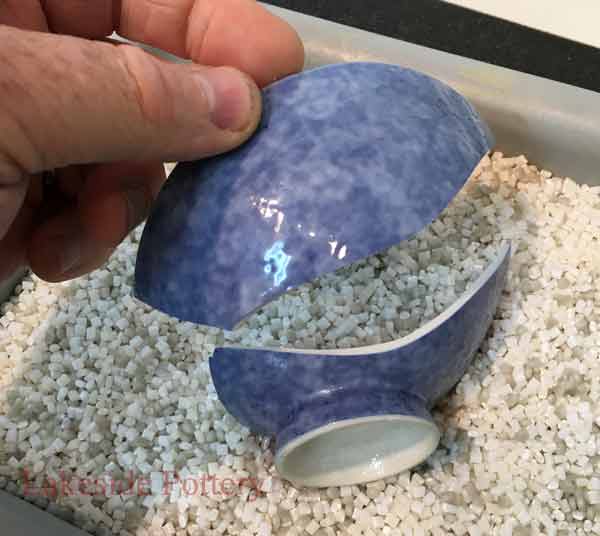
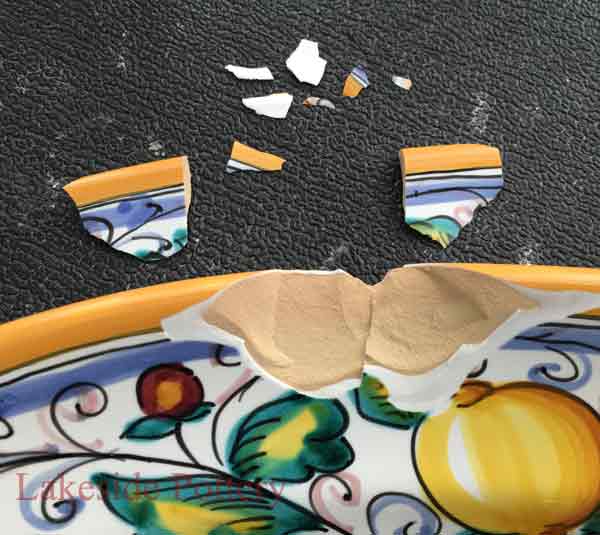
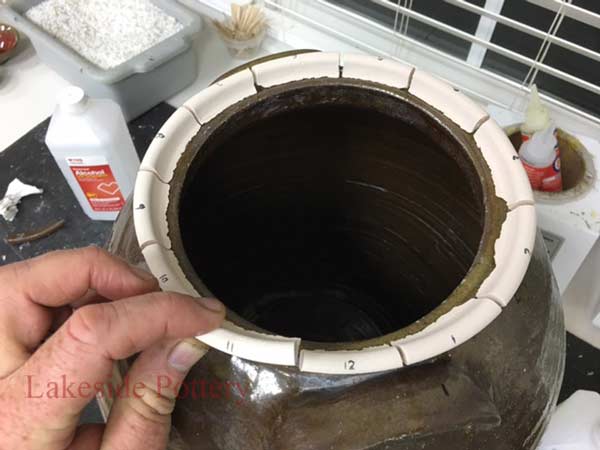
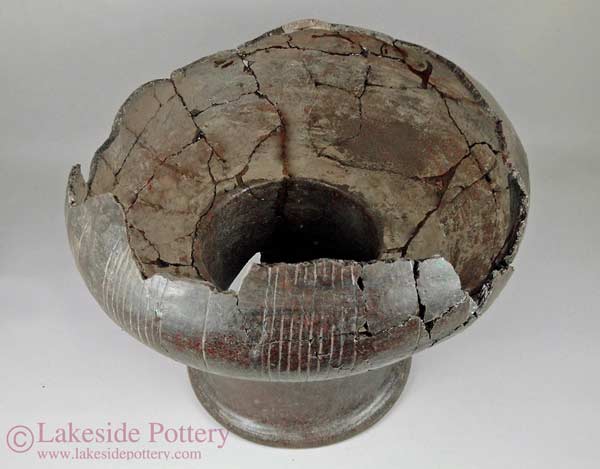
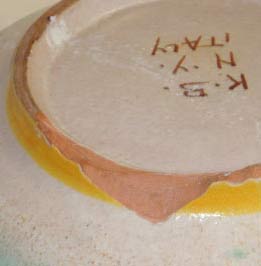
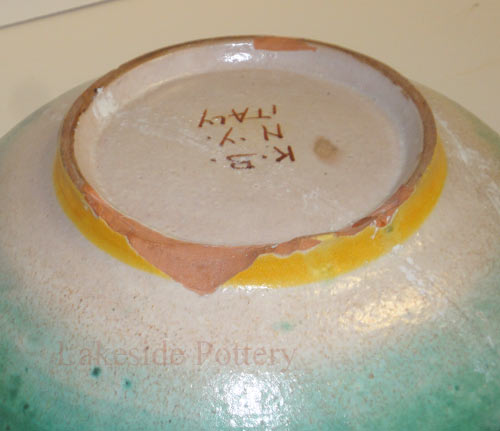
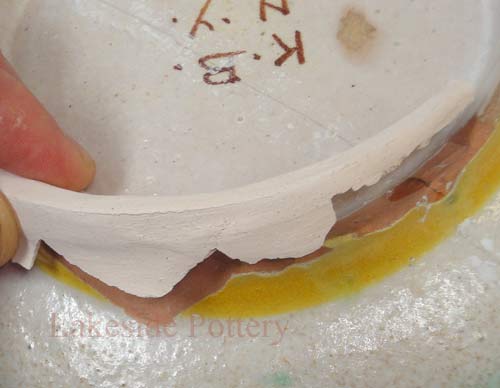
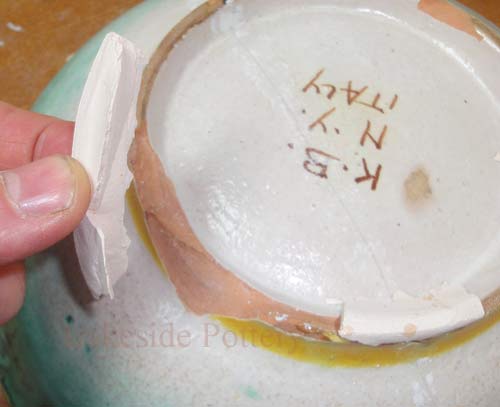
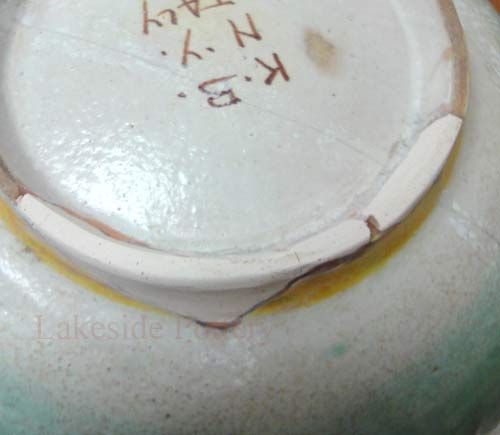
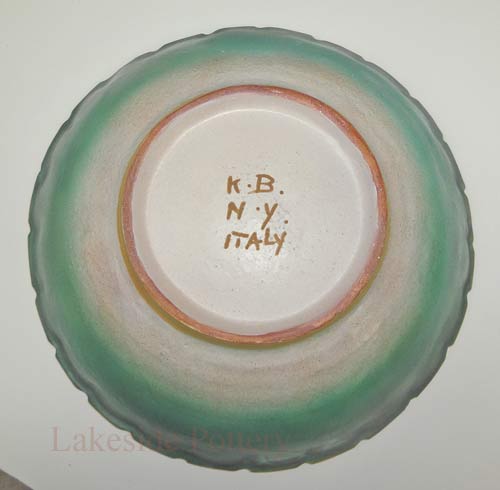
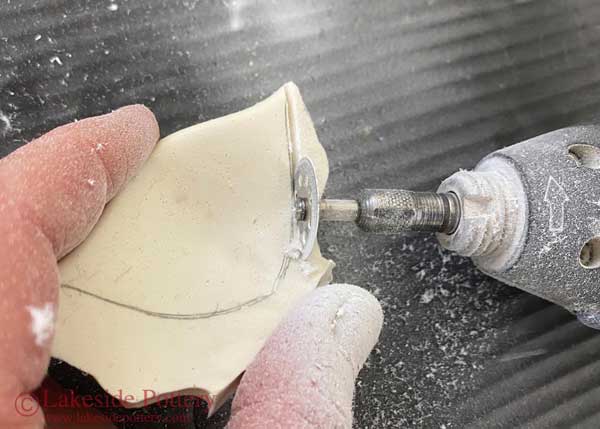
In these two examples, (A) a unique bowl broke to several pieces, but the base of the bowl was chattered to tiny little pieces and powder, thus, requiring creating a large segment.
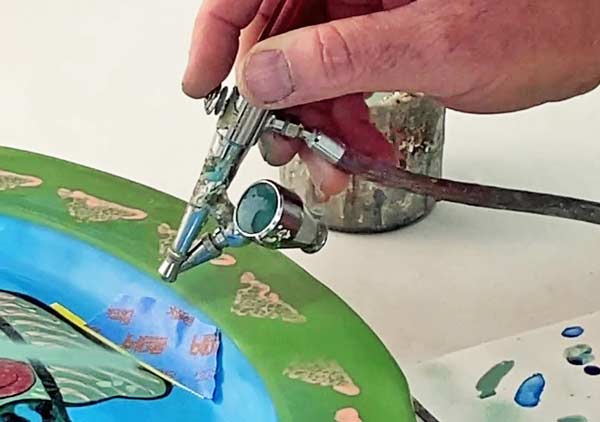
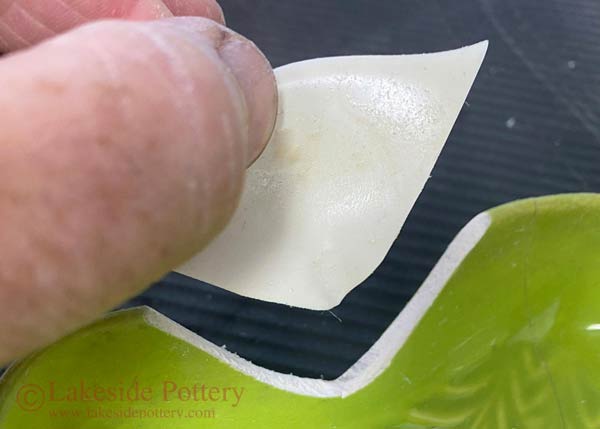
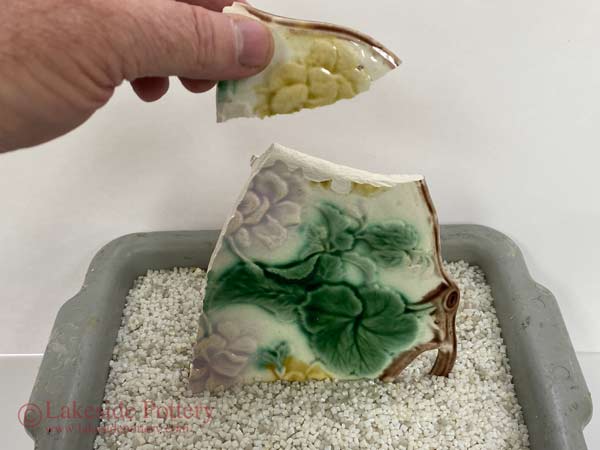
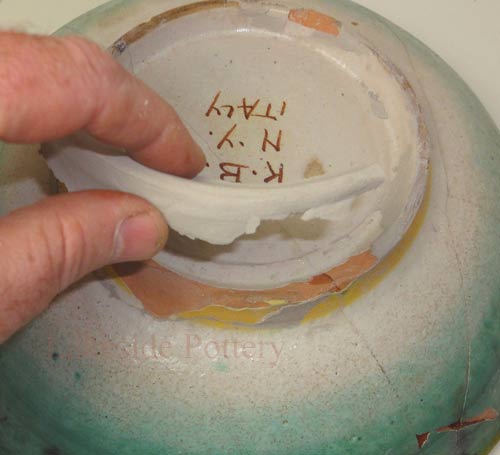
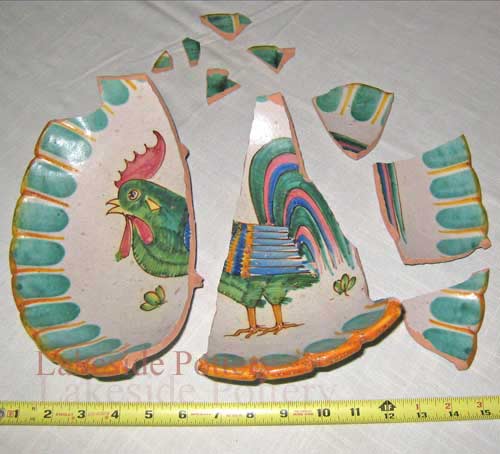
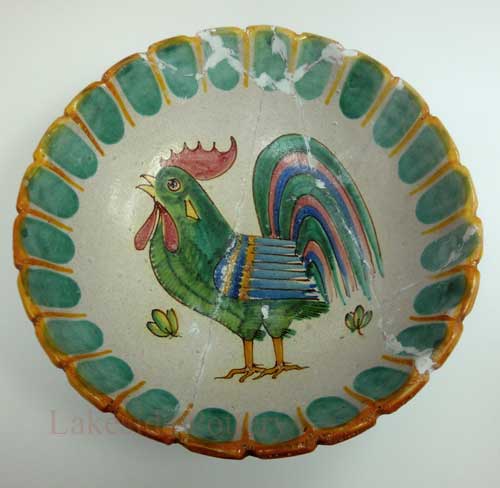
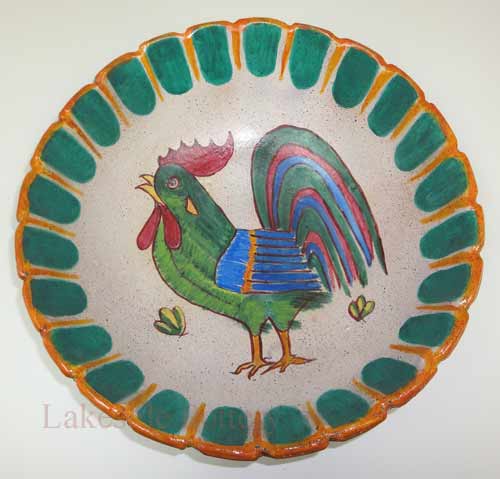
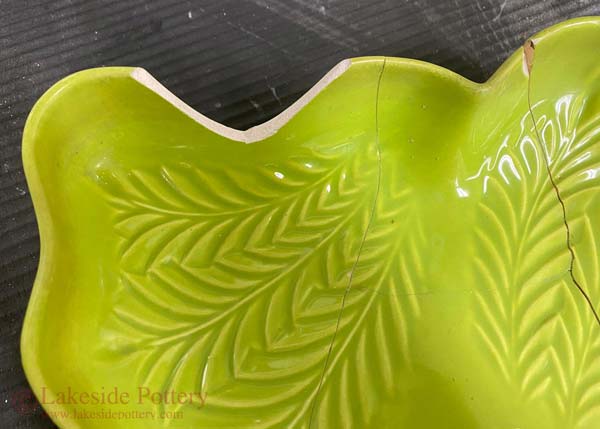
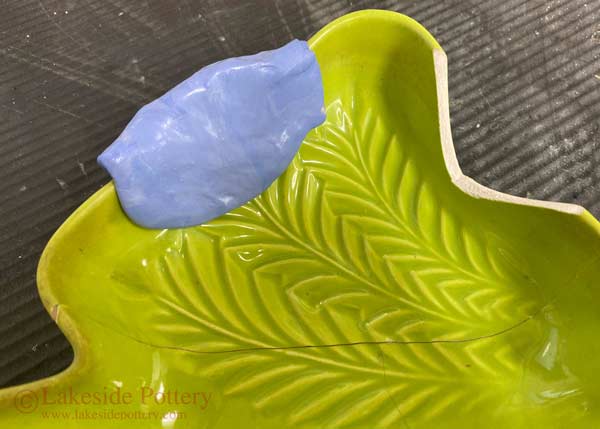
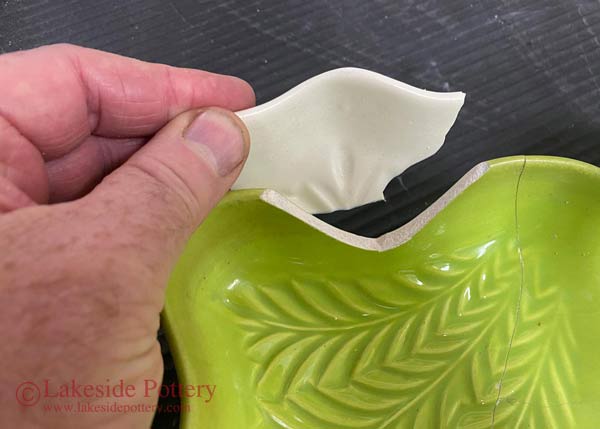
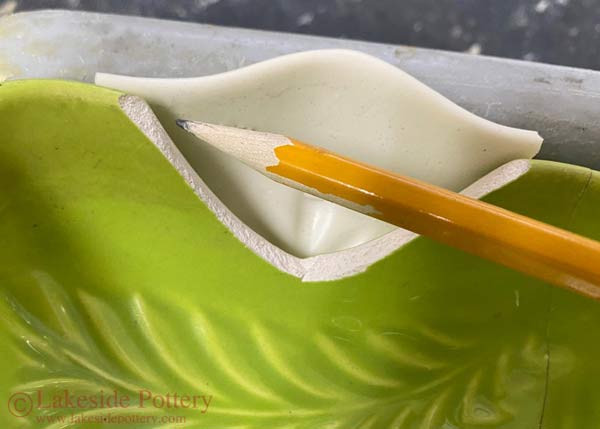
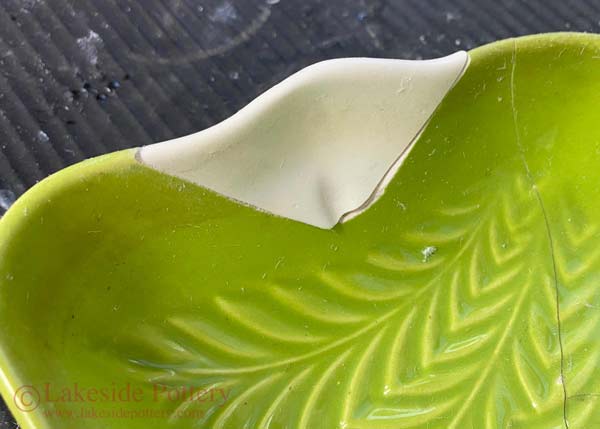
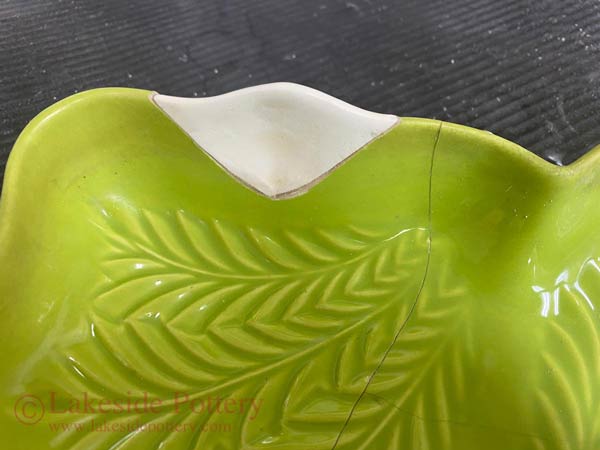
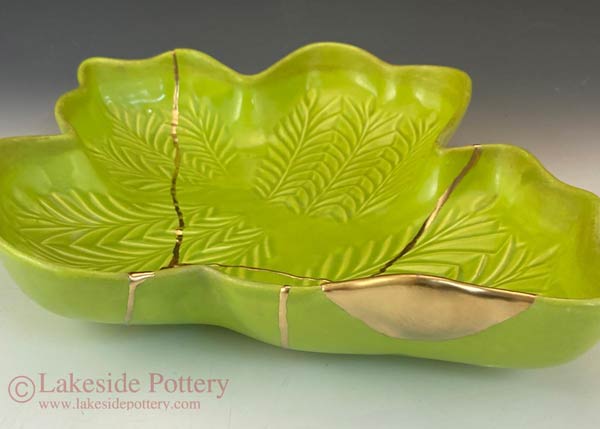
The other example (B) is a green platter that was missing a large rim segment.
This tutorial / illustration was created as examples showing how Lakeside Pottery Studio handlesmissing piecesusing these two options:
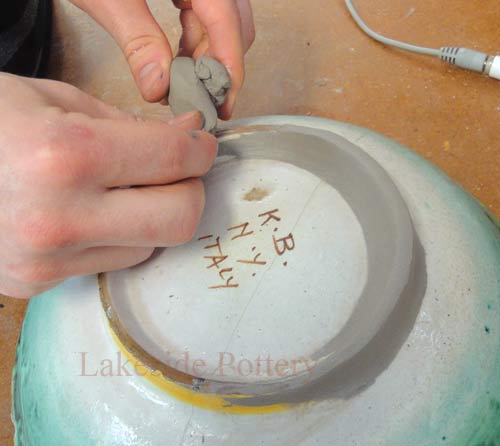
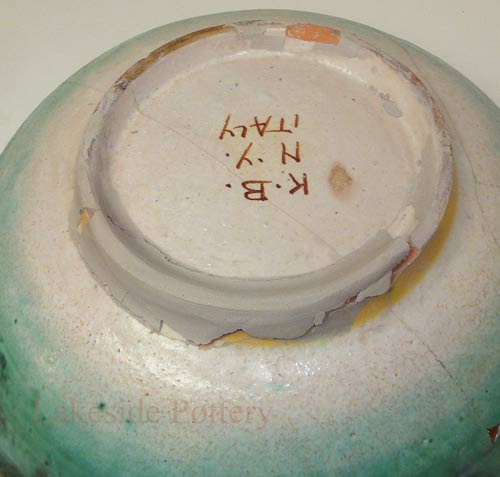
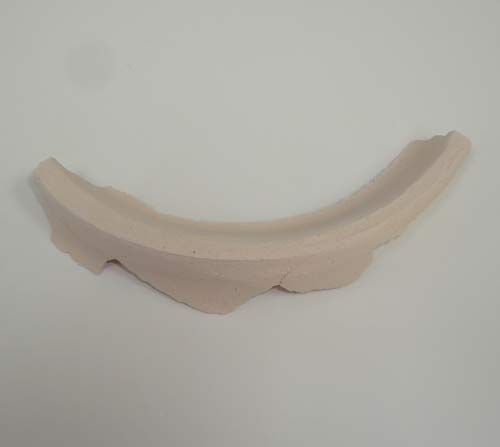
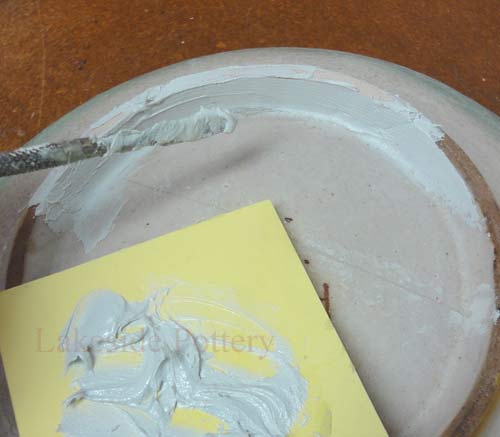
A) Sculpting a replacement from clay and finishing it through kiln firing
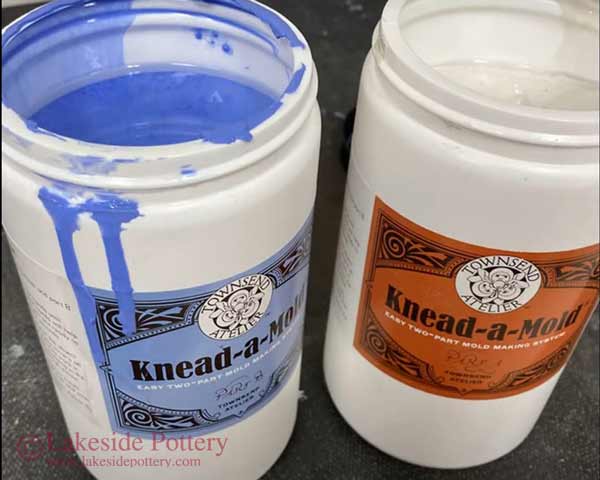
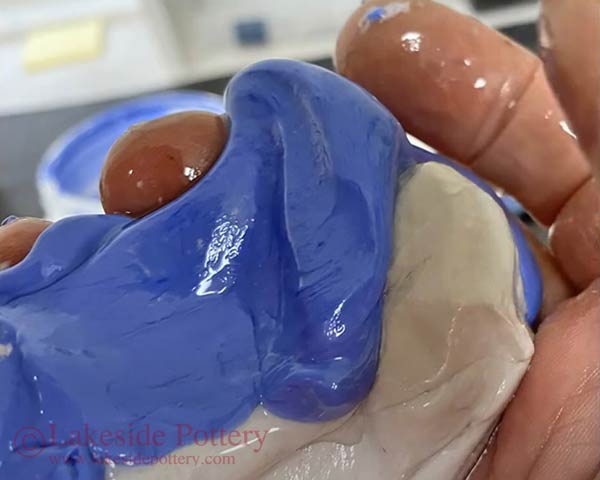
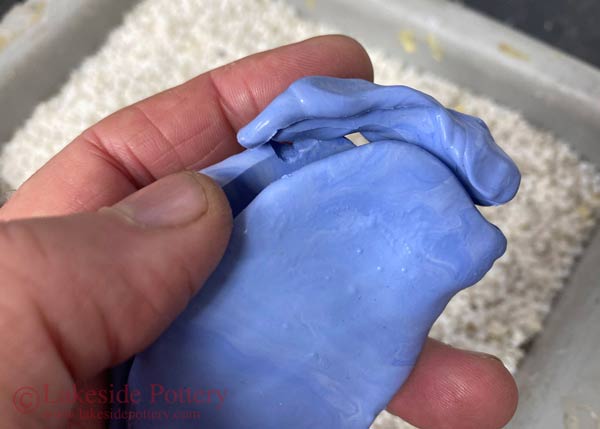
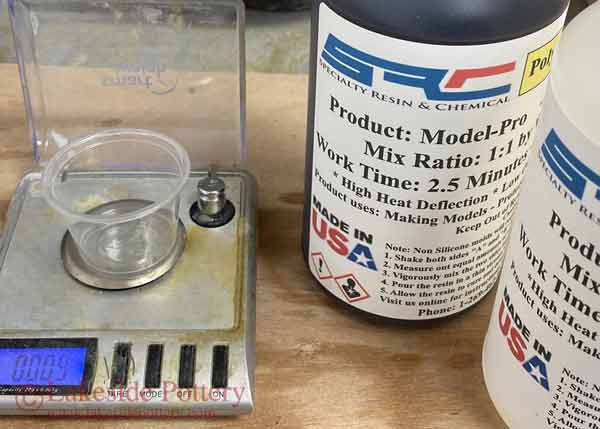
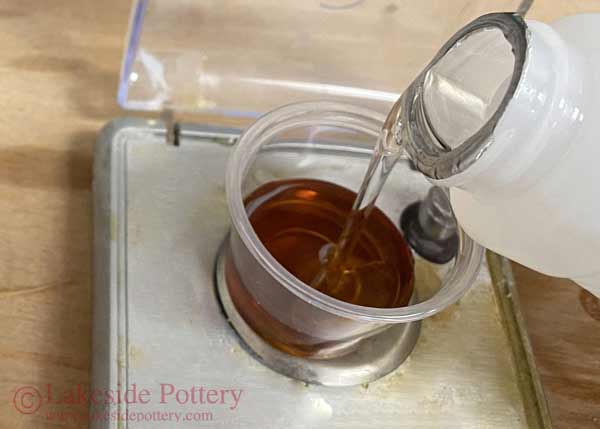
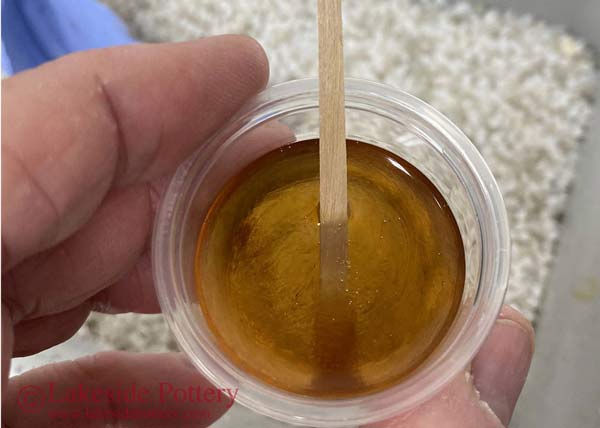
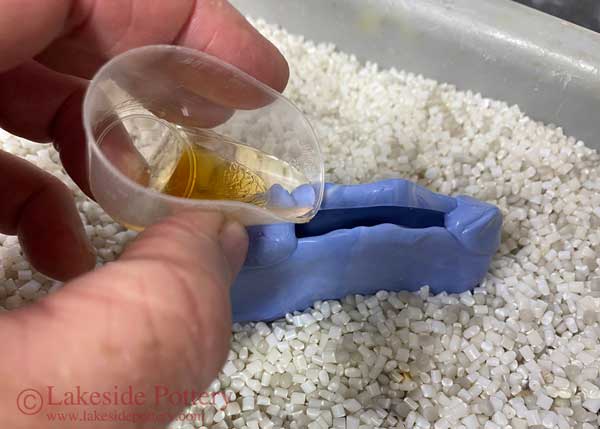
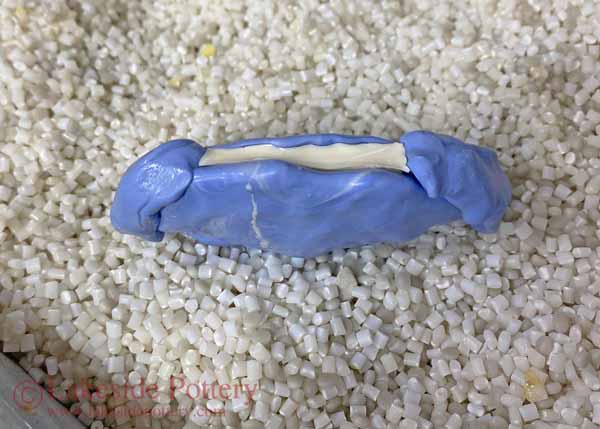
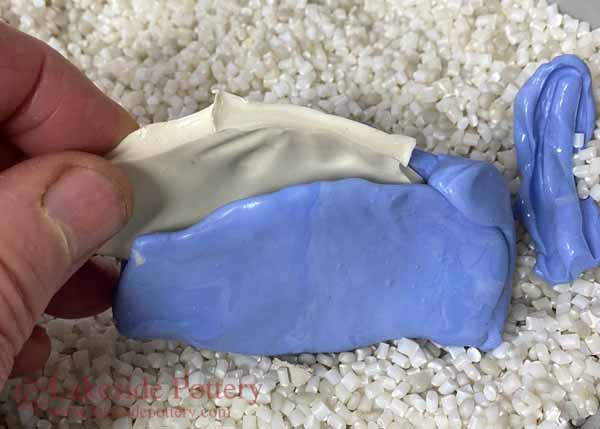
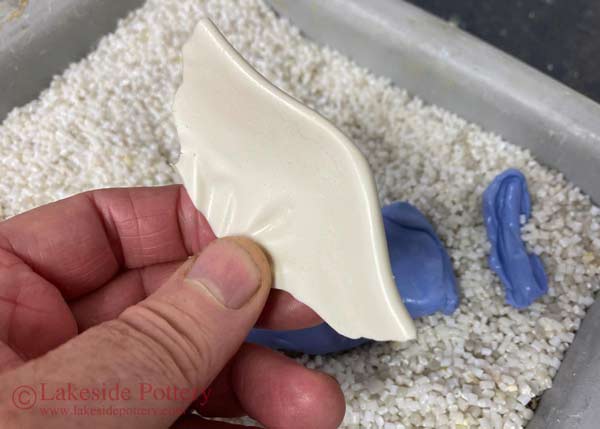
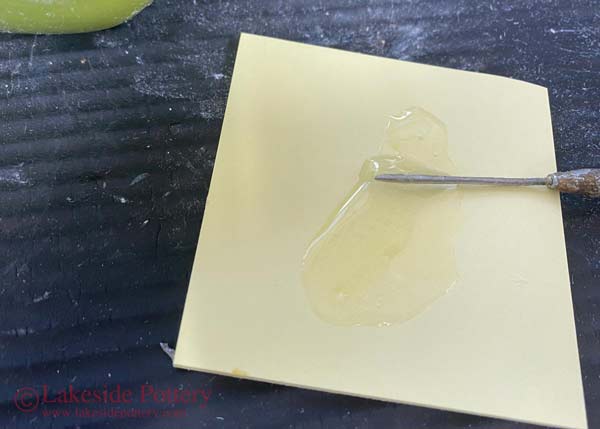
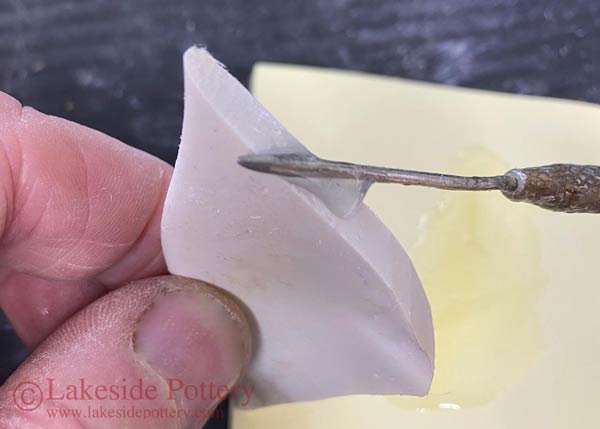
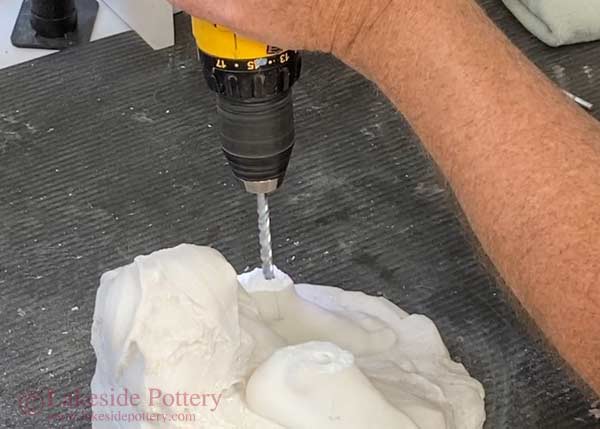
B) Creating a mold impression and casting the replacement using resin epoxy
IMPORTANT: Ceramic restoration materials are not food safe, liquid or heat proof (over 190 degree F) and repaired items should not be used on cooking or food serving ware more...
IMPORTANT: Ceramic restoration materials are not food safe, liquid or heat proof (over 190 degree F) and repaired items should not be used on cooking or food serving ware more...