Sgraffito, from the Italian word “sgraffiare” meaning “to scratch,” is a traditional pottery decorating technique. The process involves applying layers of underglaze or colored slip to leather-hard clay, then scratching through the surface to expose the natural clay beneath. This reduction process allows potters to carve images, patterns, and textures, creating high-contrast designs. Sgraffito can be applied to functional pottery, tiles, or sculptural forms, and works beautifully for both simple and complex designs.
Detailed video step-by-step demo of a Sgraffito project
Below are three example projects at different difficulty levels:
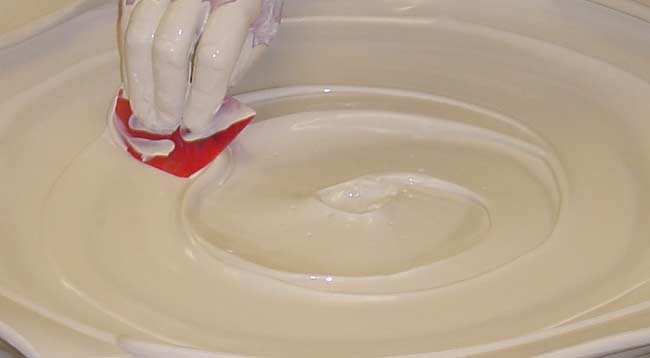
** Important: Maintaining the Proper Clay Consistency **
When performing the scratching or carving in Sgraffito, it is essential that the clay is at the leather-hard stage, similar in feel to firm cheddar cheese. At this consistency, the clay is strong enough to hold its shape yet soft enough for smooth, controlled scraping. Working at this stage makes the process easier, more effective, and safer, as no harmful dust is created and your tools will not wear down as quickly.
Always keep your piece covered between tasks to preserve the cheddar cheese like consistency. If the surface becomes too dry, a fine misting with water will restore the proper workability without affecting the underglaze or design. After spraying, wait a short while for the moisture to absorb before handling to prevent smearing or lifting of the underglaze.
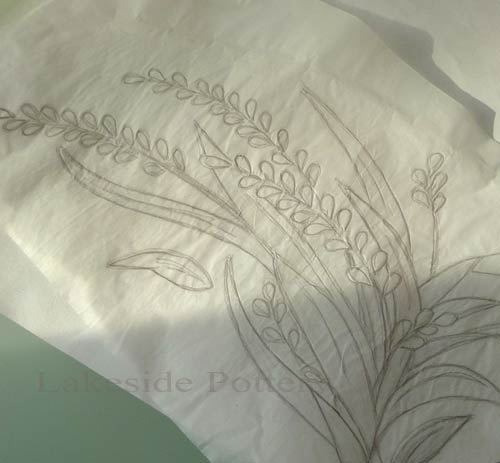
How to Trace a Design onto Clay Using Tracing Paper
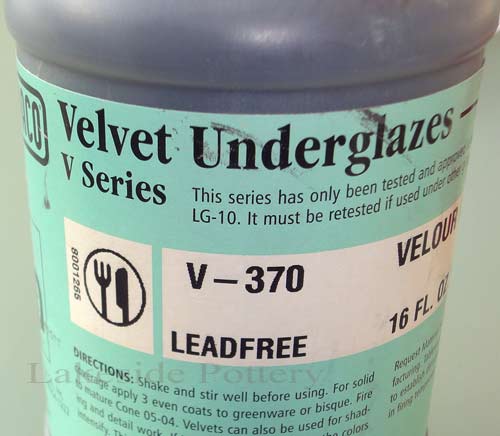
Transfer design to tracing paper and then use sharp pencil and trace design to clay. Tracing paper is flexible and able to withstand the wet clay and multiple tracings. If using black underglaze, we like Amaco V-370 or LUG-1 (V-370 has slightly better coverage). Both perform well up to cone 6 glaze firing.
Design pattern on tracing paper
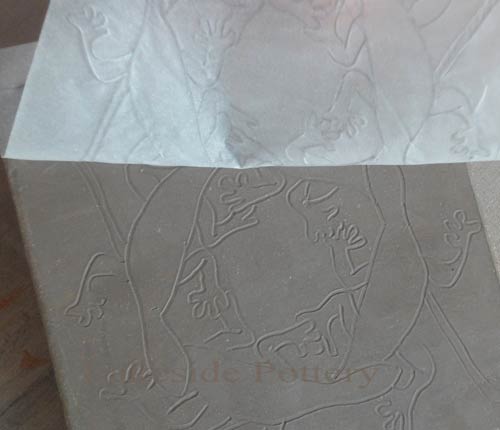
Trace pattern on clay with pencil
Lift tracing paper and verify
Use underglaze or colored slip
1. Basic Sgraffito Project - Tile
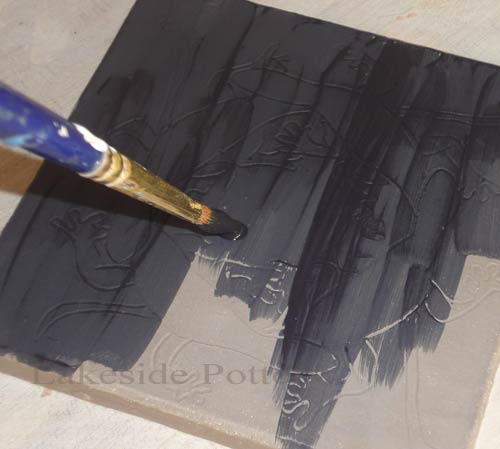
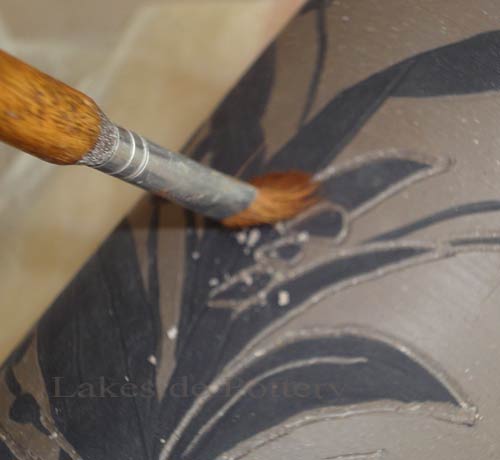
Apply 2-3 coats of underglaze, apply additional coats in alternate directions, and wait to dry before starting the scratching-off process. The tools and the pressure you decide to use are dependant on the affect you wish to see on the clay. If looking for rougher surface texture, push the tool a bit harder and take more material using more pointy tools. Scratches can have uniform or random patterns. NOTE: Only use a soft dry brush to remove debris to avoid damaging the colored areas.
Apply underglaze evenly (2 coats)
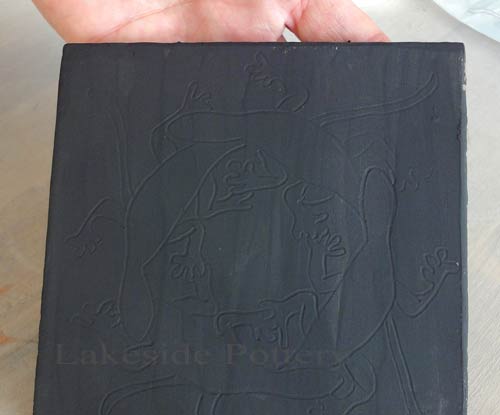
Insure tracings can be seen
Remove color where desired
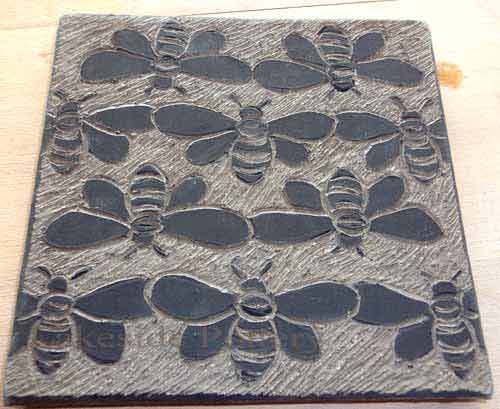
Unwanted colored areas removed
To refine your lines and keep the surface clean, use rubber shapers or wooden modeling tools to gently clear away burrs and rough edges. Once the carving is complete, thoroughly clean the surface with a dry brush to remove any loose debris before firing or glazing.
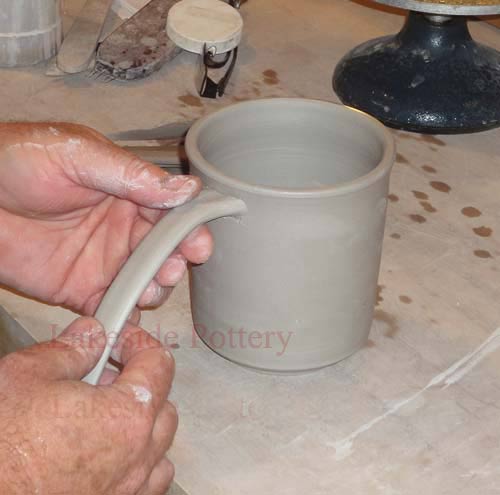
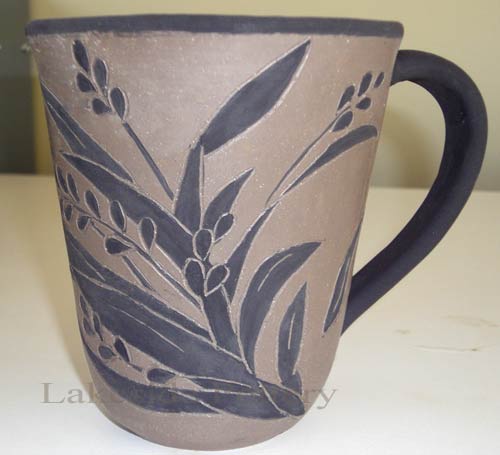
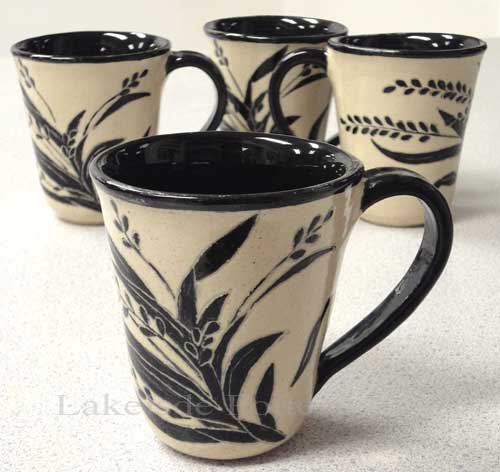
2. Simple Sgraffito Project - Mug
The cups below use a slightly different technique than above. Only the traced pattern is painted on and the outline and lines within the pattern are scratched off.
Same process applied on a cup
Remove all debris with a brush
Ready for drying and bisque firing
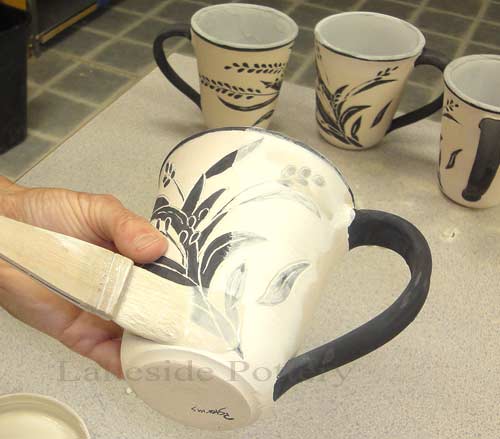
Once bisqued, touch up underglaze
Note: After your design is bisque fired, you'll have another opportunity to touch-up with underglaze before applying clear glaze and glaze firing.
** We use brush-on AMACO Sahara HF-9 cone 6 clear glaze. Use soft brush and be careful with 1st coat to avoid underglaze details smearing.
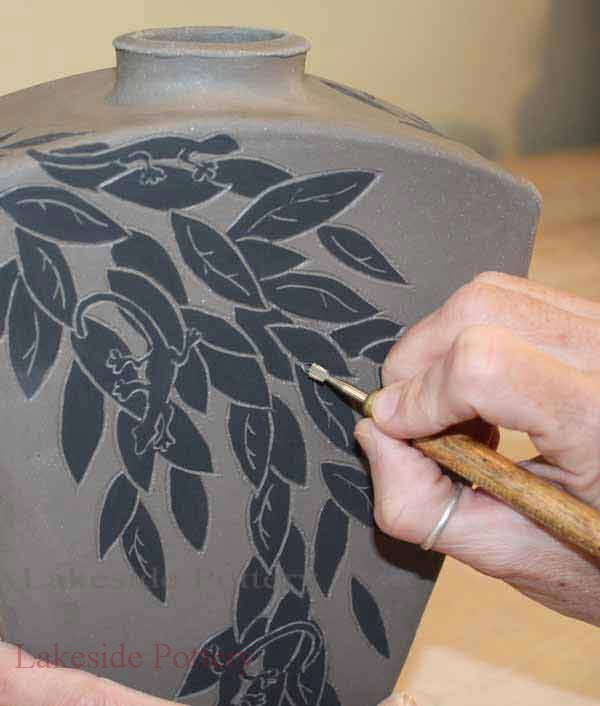
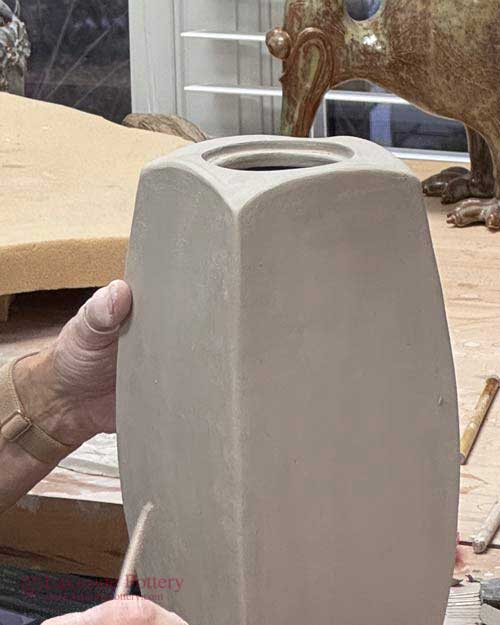
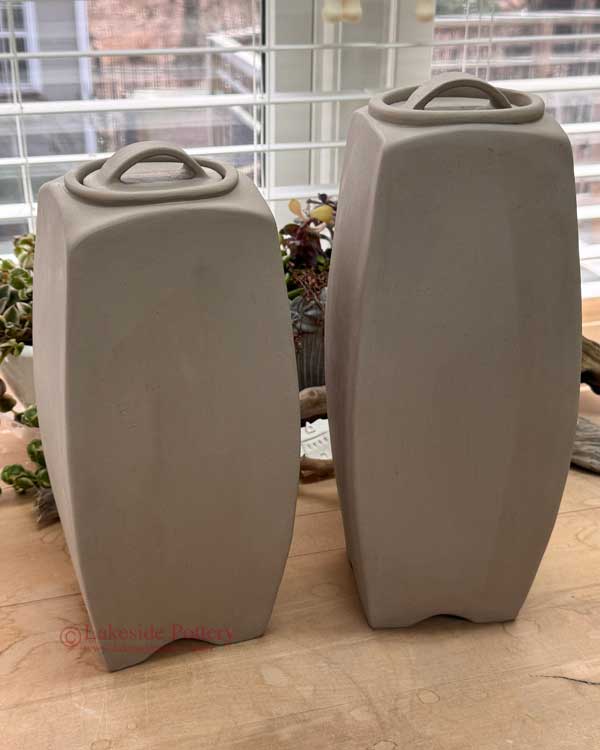
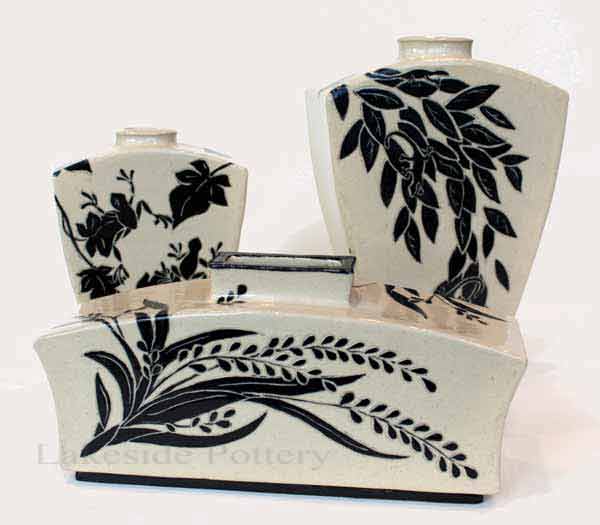
3. Advanced Sgraffito Project – Two Urns
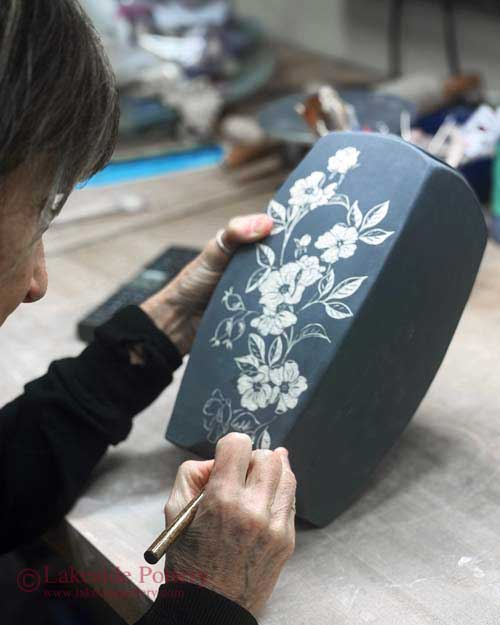
This project shows how Sgraffito can be used on curved surfaces with detailed designs. Working on urns requires careful planning, steady carving, and attention to drying stages. The steps below illustrate how layered underglaze and precise line work create bold, intricate patterns that elevate a simple vessel into a refined decorative piece.
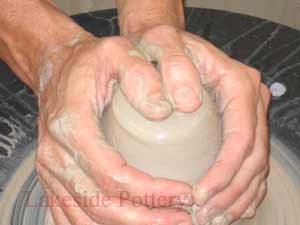
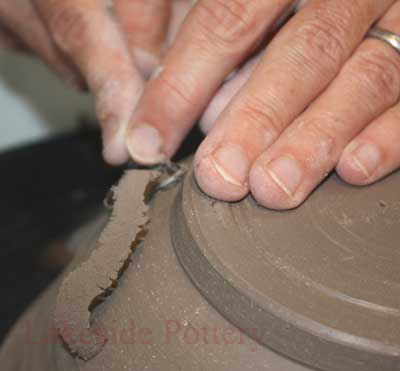
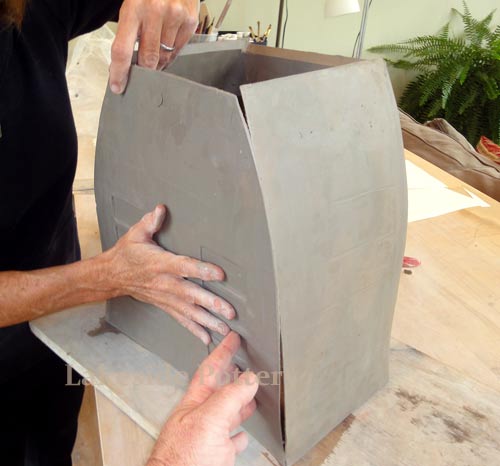
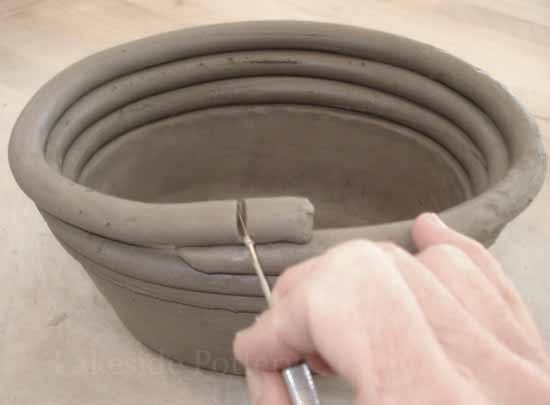
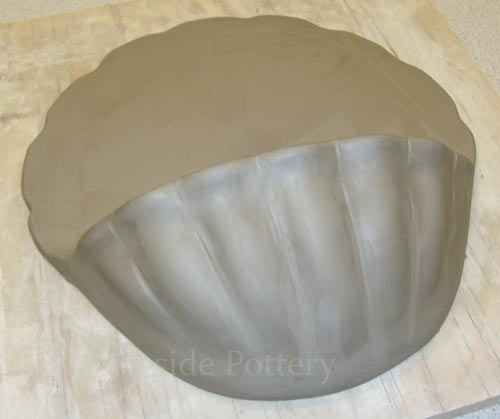
Using 1/4 slab rolled in slab-roller
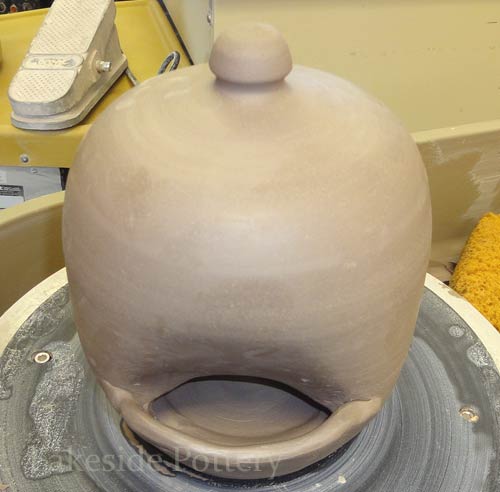
Urn made and in a leather-hard state
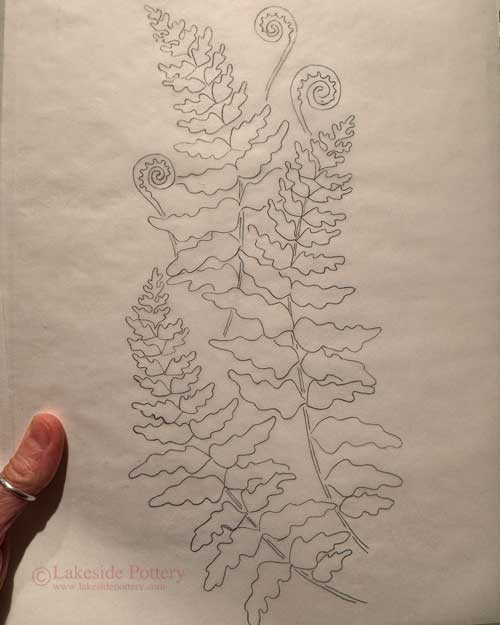
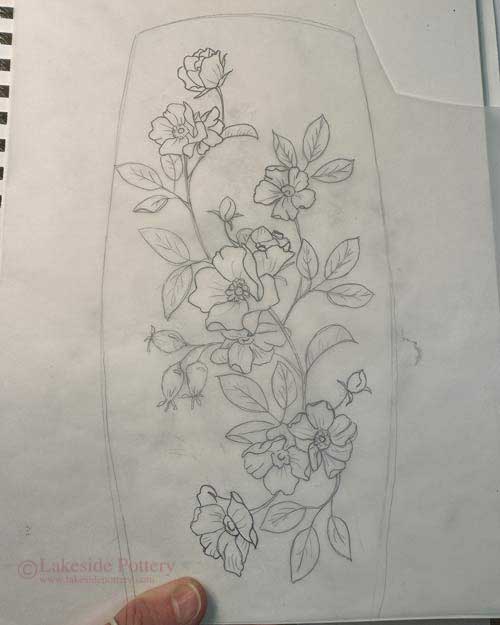
Draw design on a tracing paper
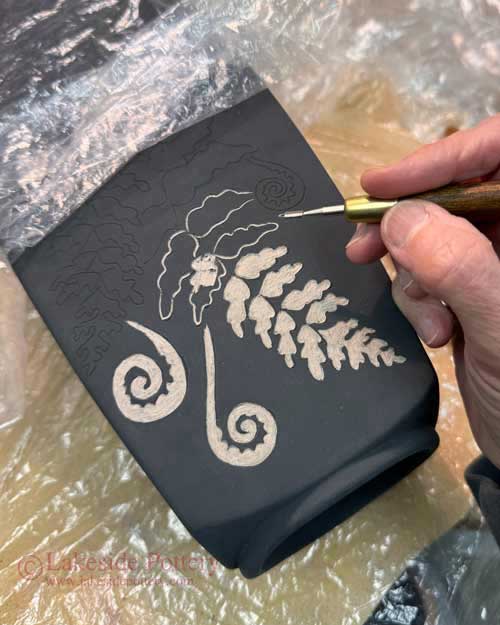
Carve outline first
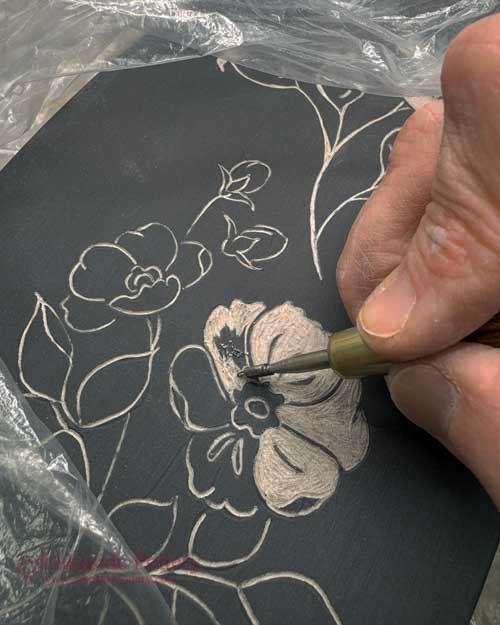
Scratch off within the outline
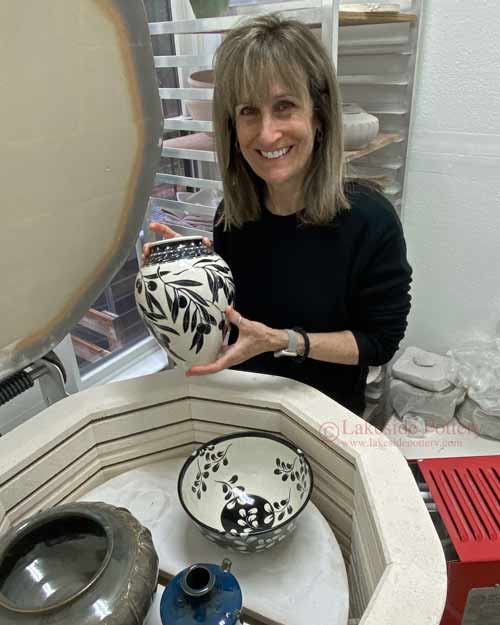
Patty Storms hard at work
Sgraffito partially done
Done, drying ready for bisque firing
Cone 6 glaze fired
Tools and Materials
Wire Stylus Tools for Sgraffito We recommend fine-point wire styluses for clean, detailed carving. Kemper wire stylus Sgraffito tools are widely available online and through ceramic supply stores.
Mini Ribbon Sculpting Tools Mini ribbon sculpturing tools are excellent for controlled line work and removing underglaze.
Clay: The clay should be at the leather-hard stage, firm enough to hold its shape under light pressure but not so dry that it cracks or resists carving. This stage provides the best surface for clean, sharp lines and prevents accidental gouging or smudging. For stronger contrast, we us Standard's clay 181 white stoneware
Rubber shaper for clean up
Leather hard clay (tile / coaster)
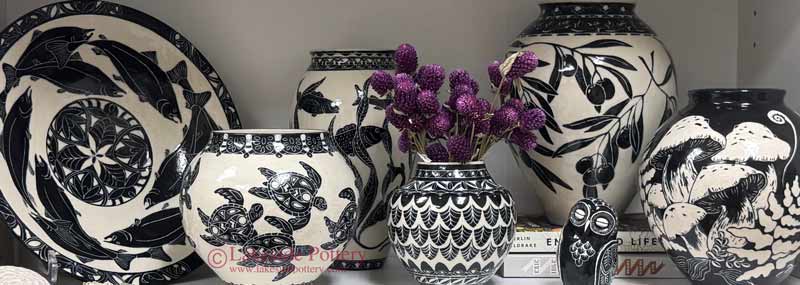
Finished Sgraffito Pottery Examples
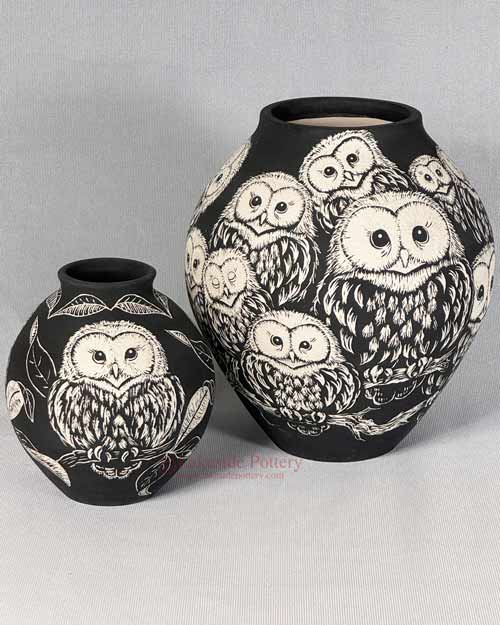
Sgraffito owl vases
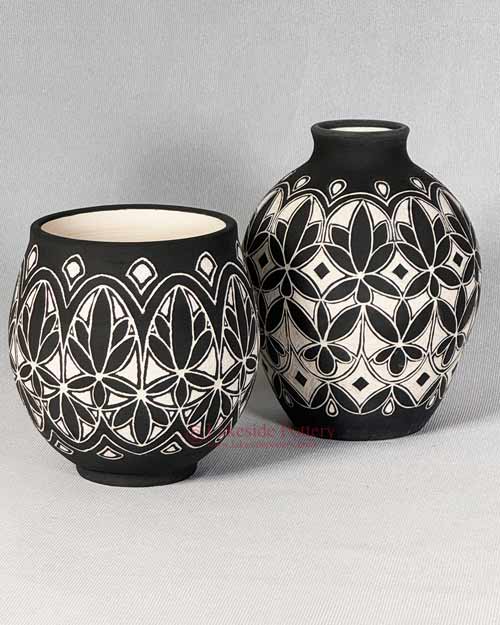
Vases with geometrical design
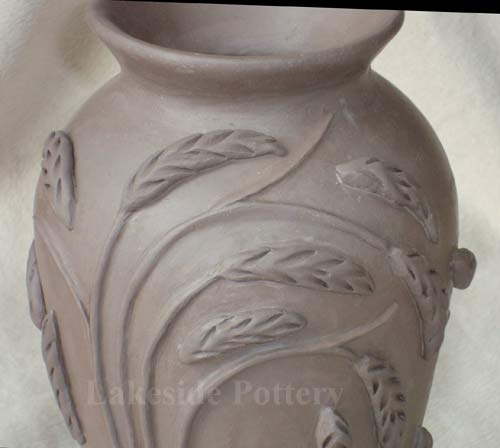
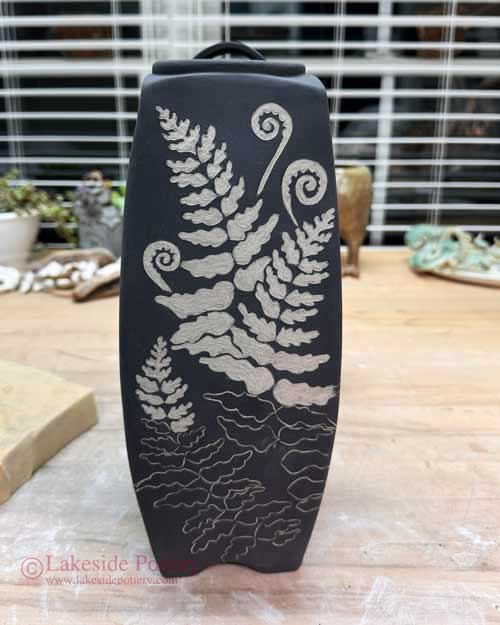
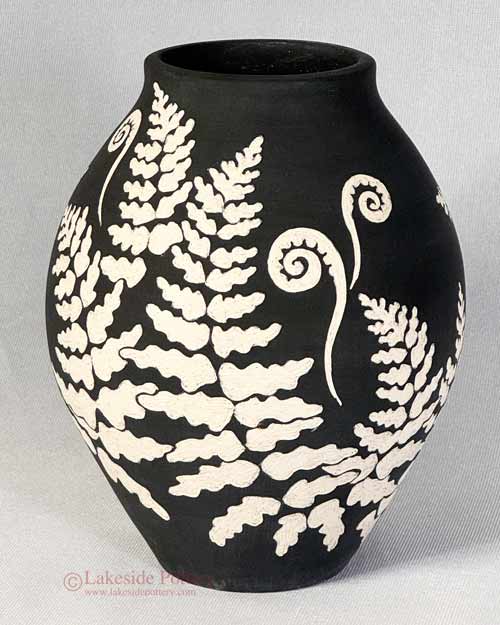
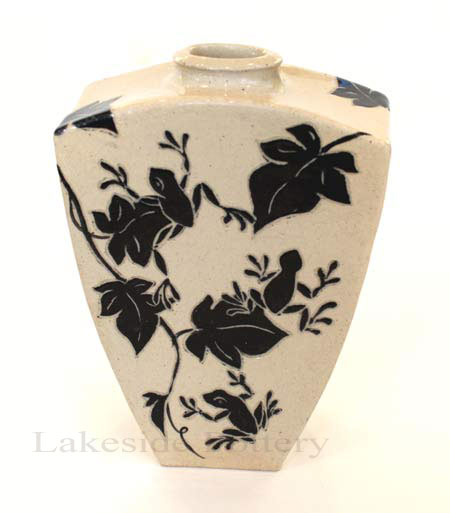
Sgraffito fern design vase
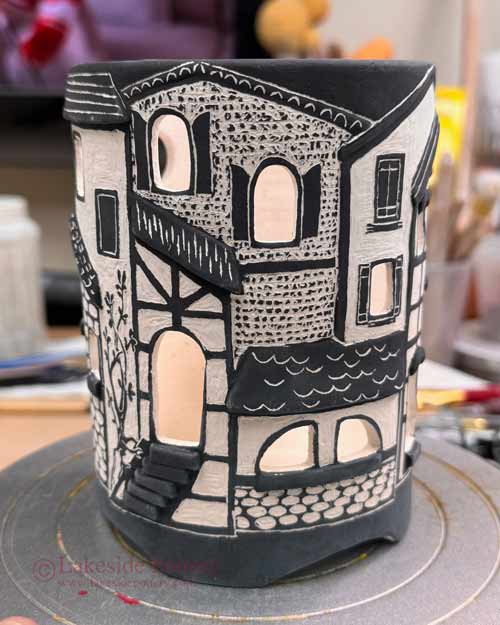
Sgraffito house lantern
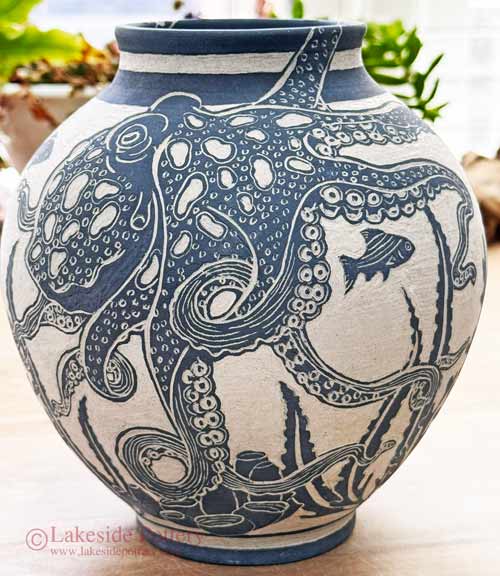
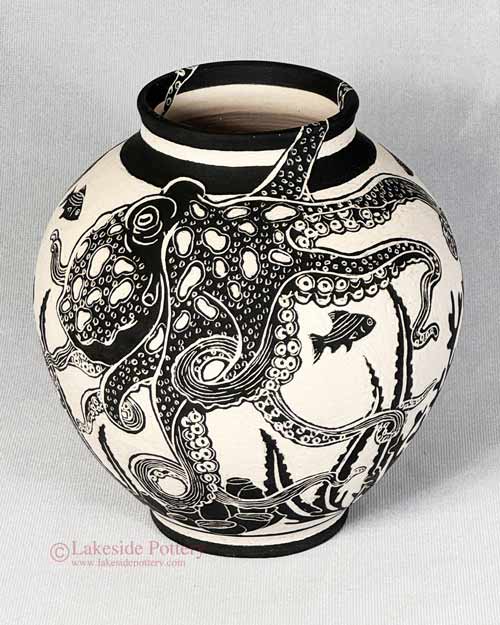
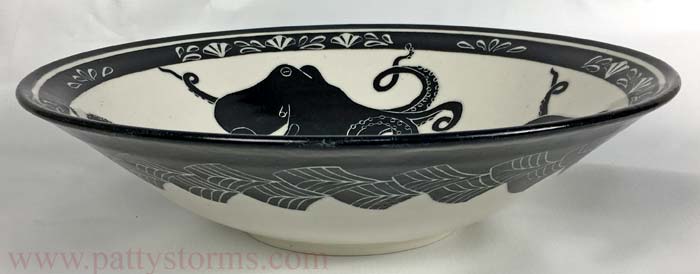
Sgraffito octopus
Sgraffito vase with red and black
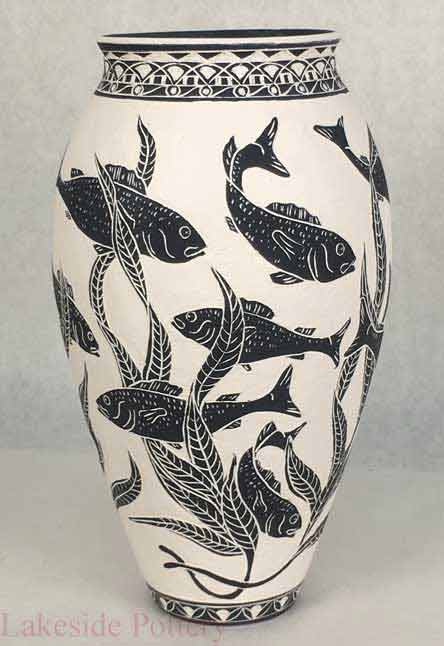
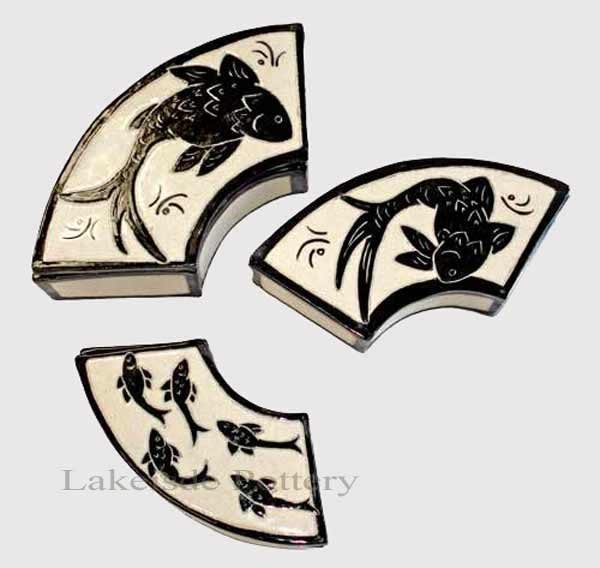
Sgraffito fish vase
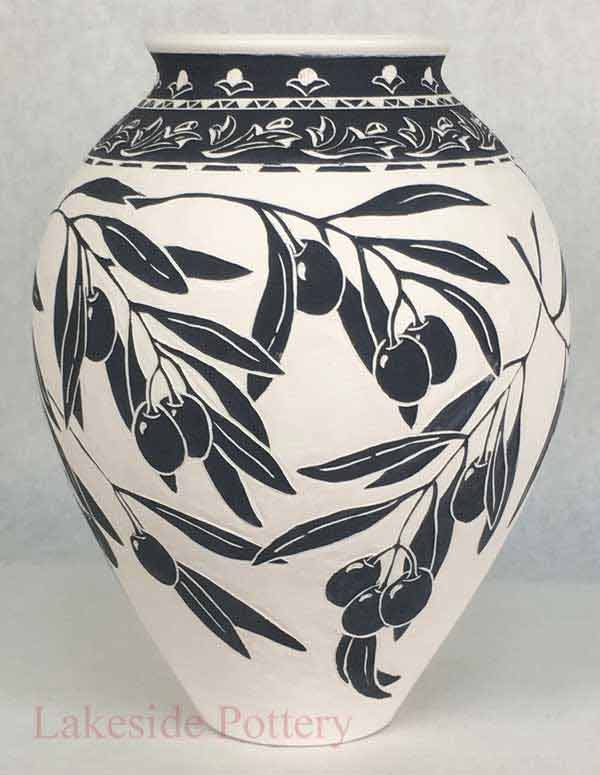
Sgraffito olives vase
Glazed-fired Sgraffito - Patty Storms
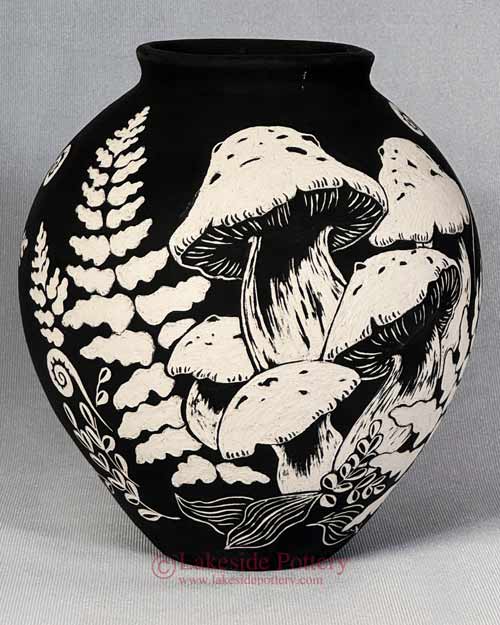
Sgraffito mushrooms vase
Sgraffito container with a lid
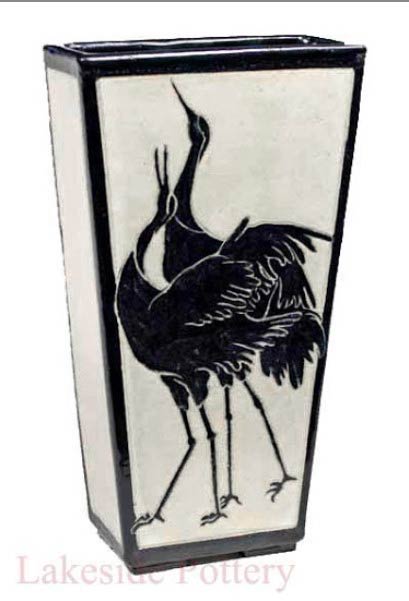
Sgraffito Ostriches vase
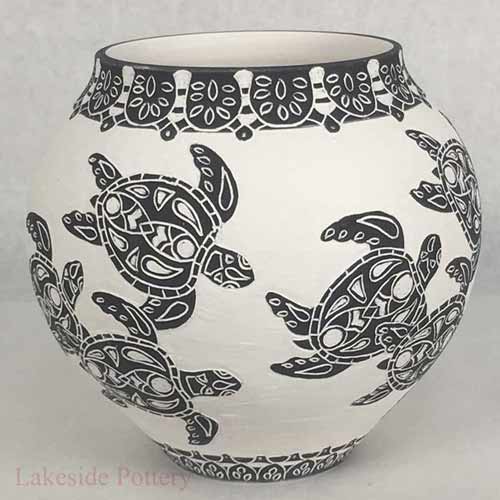
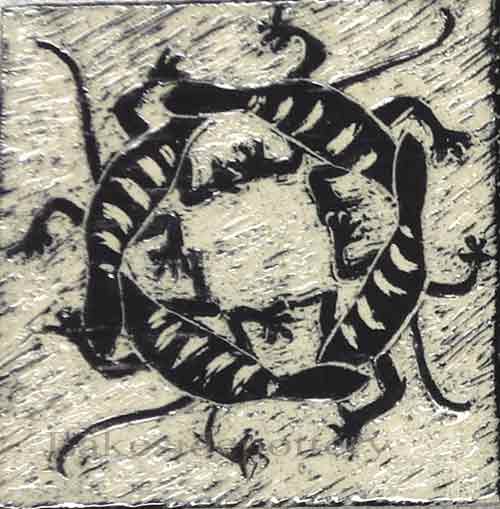
Sgraffito turtles vase
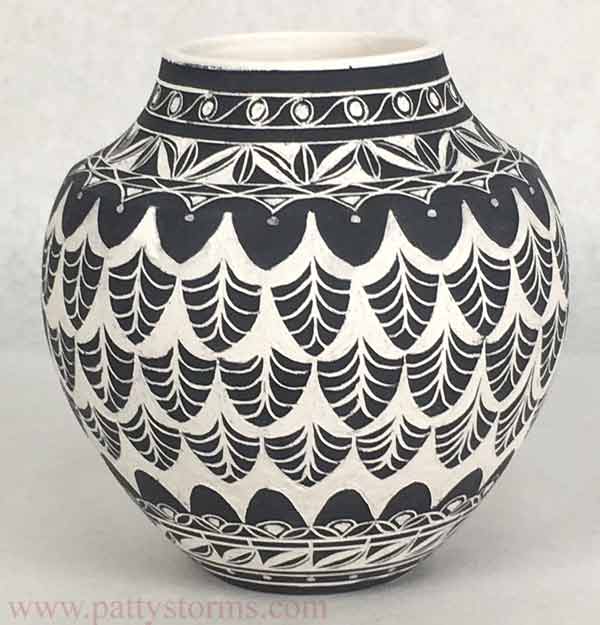
Sgraffito geometrical pattern vase
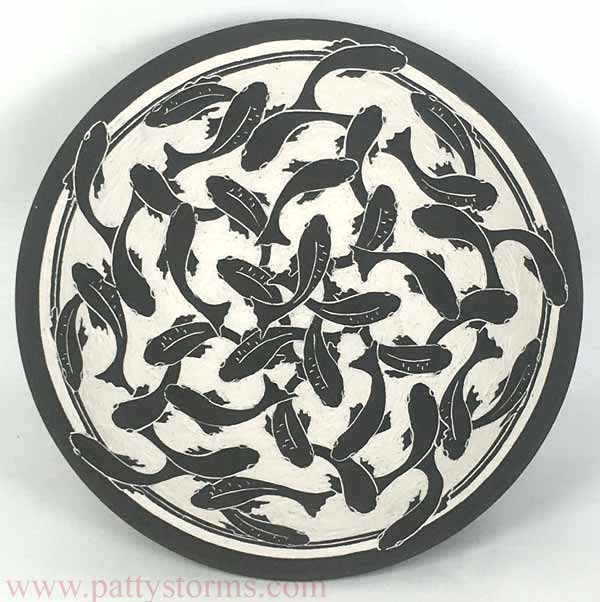
Sgraffito fish bowl
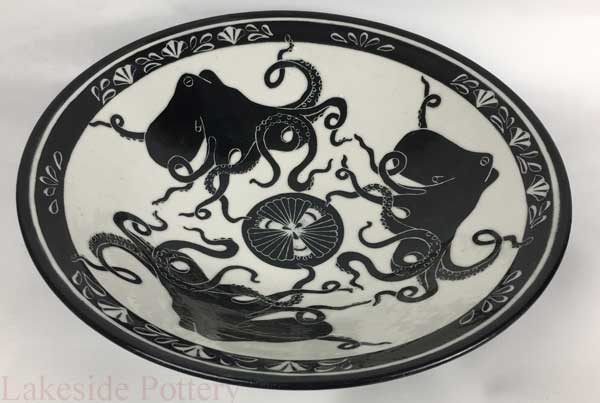
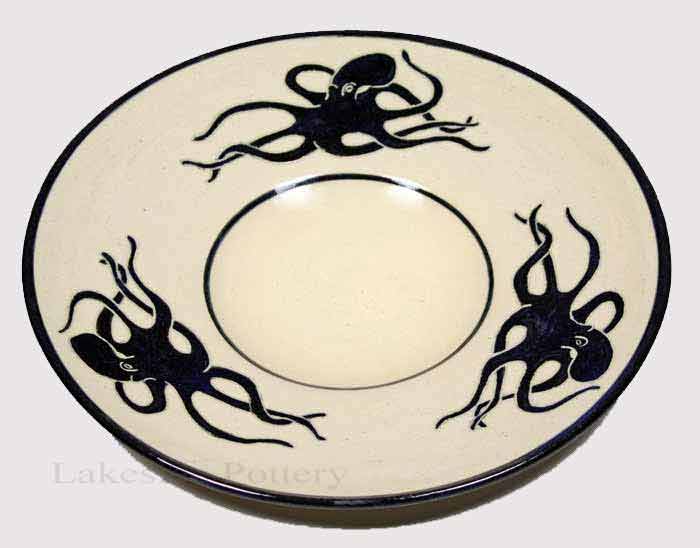
Sgraffito bowl with three Octopuses
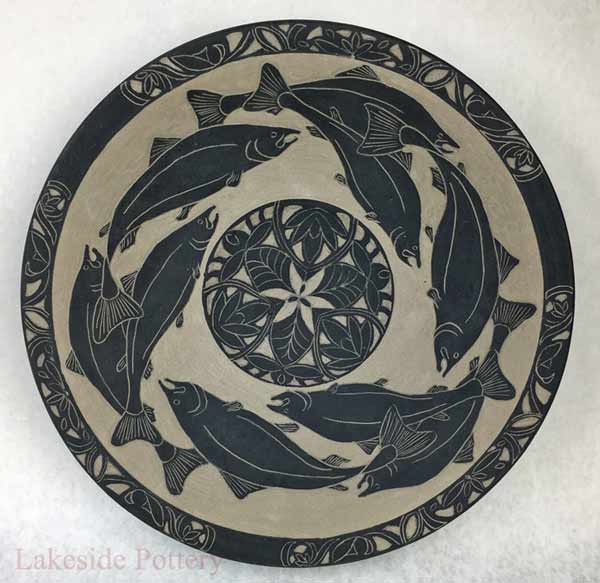
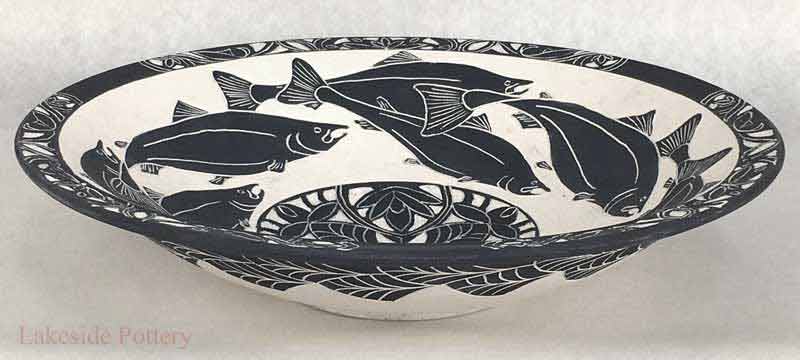
Sgraffito Salmon bowl
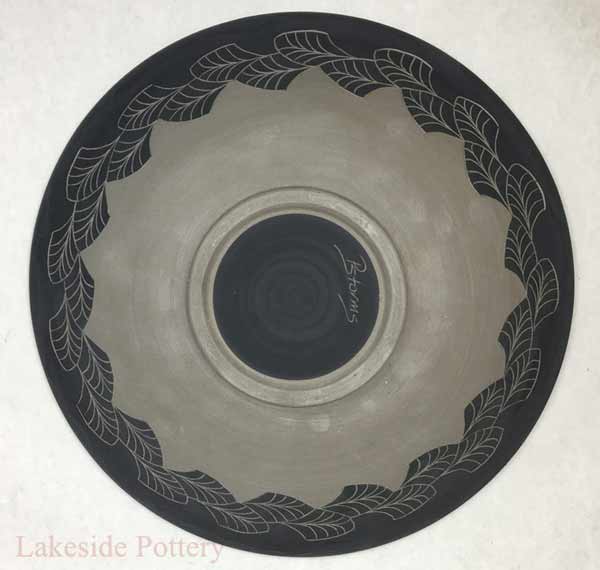
Sgraffito - back of Salmon bowl
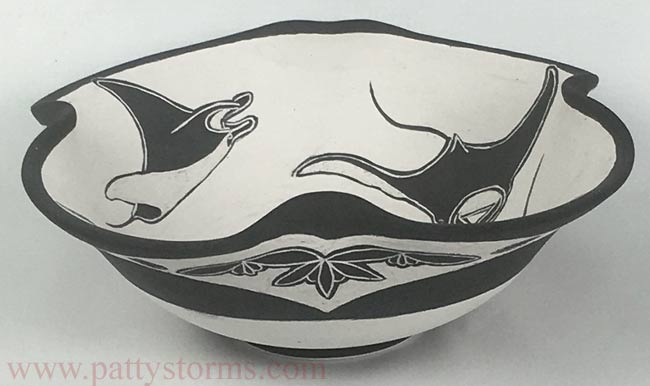
Sgraffito manta ray bowl
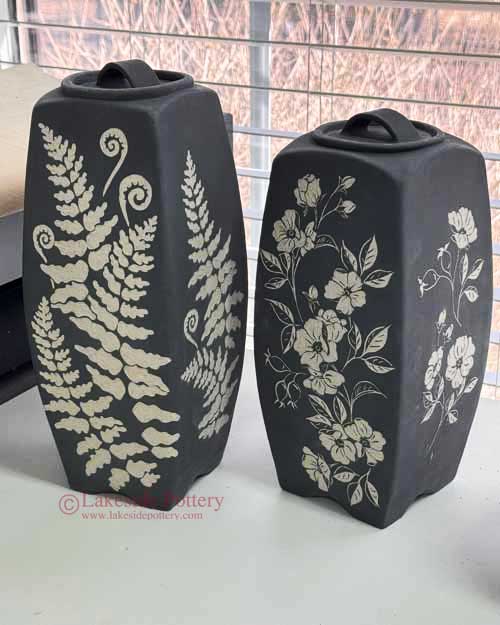
Sgraffito mushroom and fern vases set
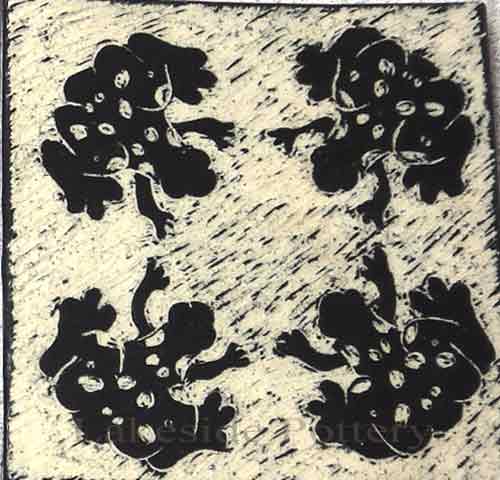
Sgraffito tree frogs vase
Sgraffito vases
Sgraffito octopuses bowl
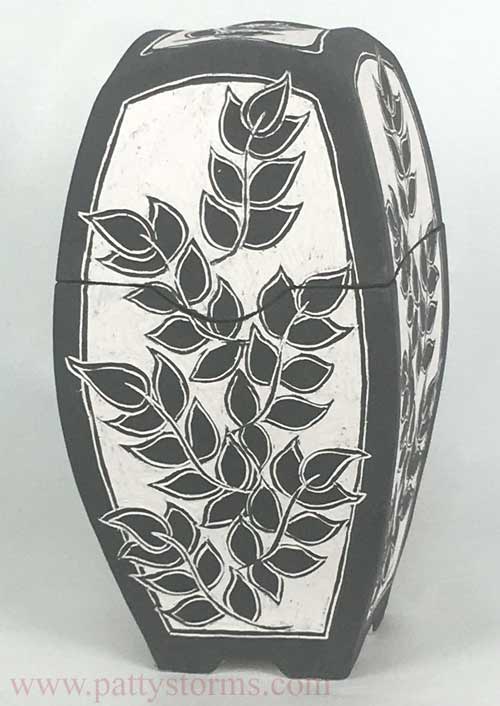
Sgraffito boxes with lids
Sgraffito octopus bowl
Sgraffito salmon bowl
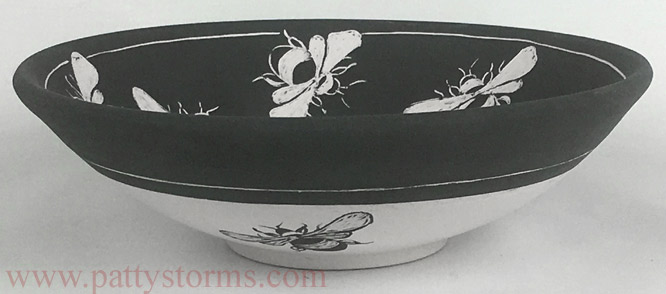
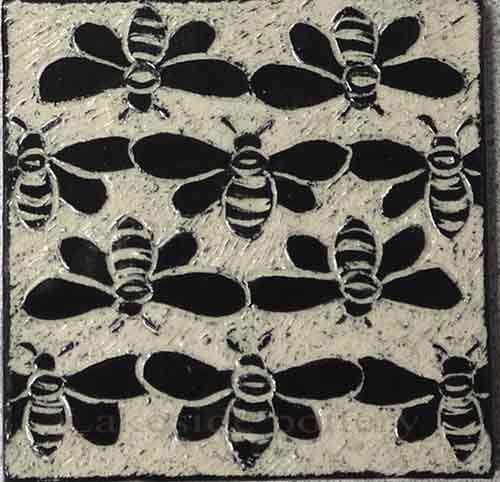
Sgraffito honey bees bowl
Sgraffito manta ray bowl
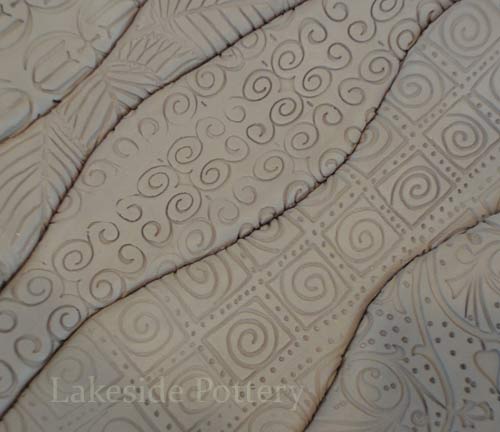
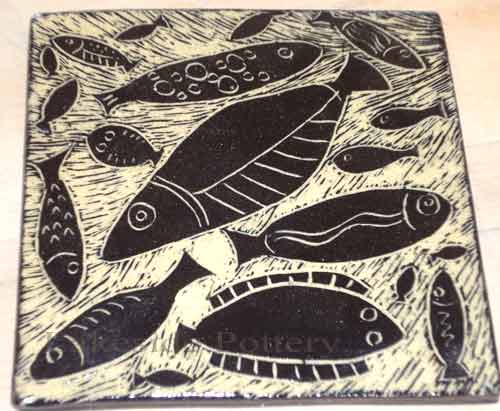
Finished Sgraffito tiles:
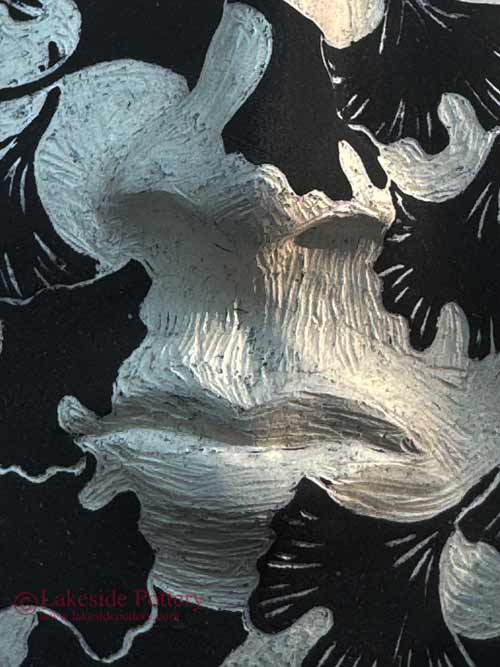
Sgraffito Texture Question:
How do you get the white surface that you have scrapped away smooth after you have removed it?
See a close-up photo of the surface at the bisque stage where the scratch marks are still visible. Once the clear glaze is applied and fired, it pools slightly into the carved areas, softening and masking most of those marks. When you touch the finished piece, you can feel that the black uncarved areas are slightly higher than the white, giving the surface a gentle raised texture.