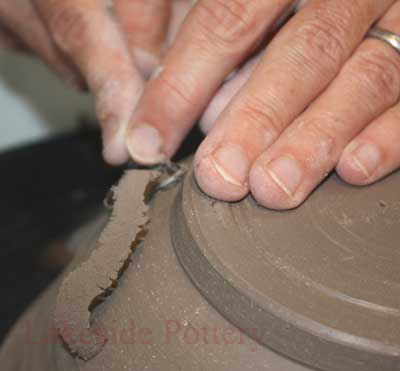
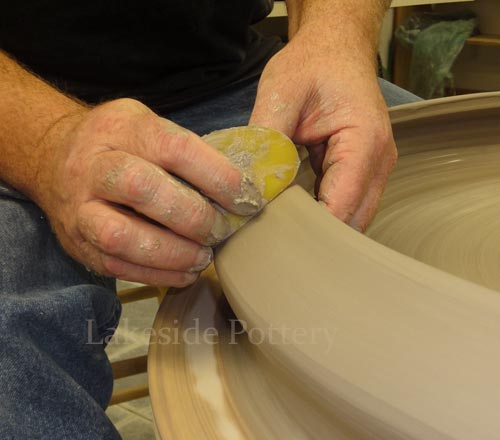
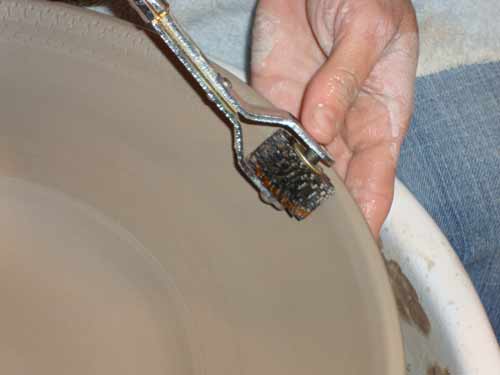
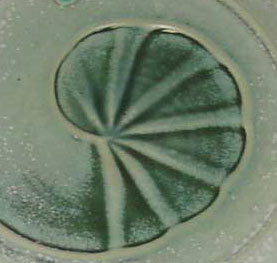
A chatter texture can be created using any springy metal tool. The resulting chatter pattern is determined by the relationship between wheel speed, the pressure applied to the clay, the firmness of the clay body, and the distance between where the metal flexes and where it is held. Together, these variables control the frequency and depth of the vibration.
Once the metal begins to chatter, maintain the same position and pressure until the sound becomes strong and consistent. That audible feedback indicates a stable vibration and a well-formed texture. When the desired surface is achieved, withdraw the metal from the clay quickly, then stop the wheel immediately. This prevents smearing or softening of the chatter marks.
See the Appendix below for specific considerations and planning when creating chatter and expanding the form from the inside only.
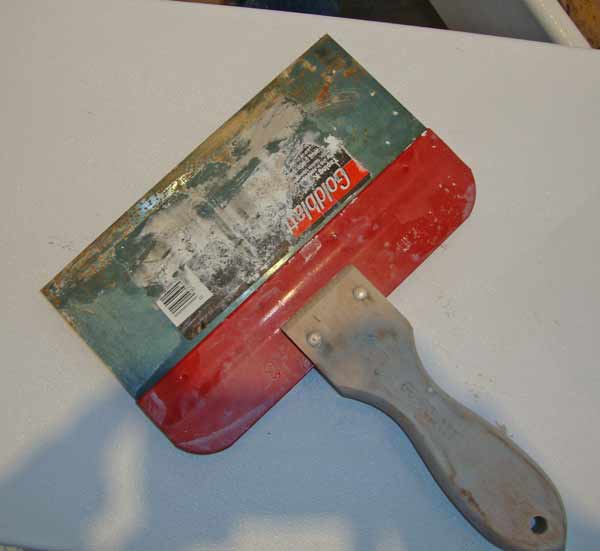
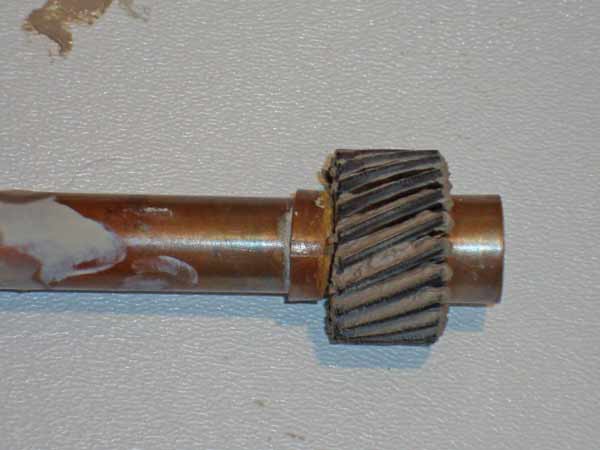
Flat metal
Spring flat metal 2
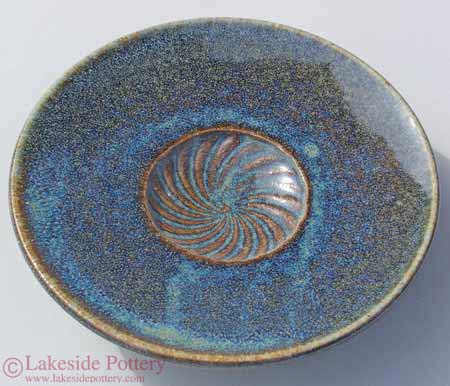
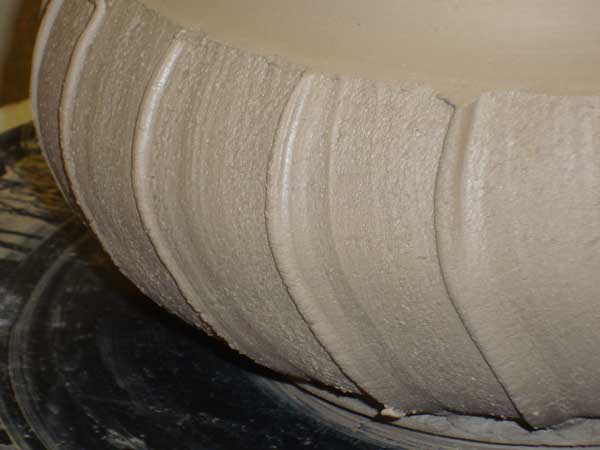
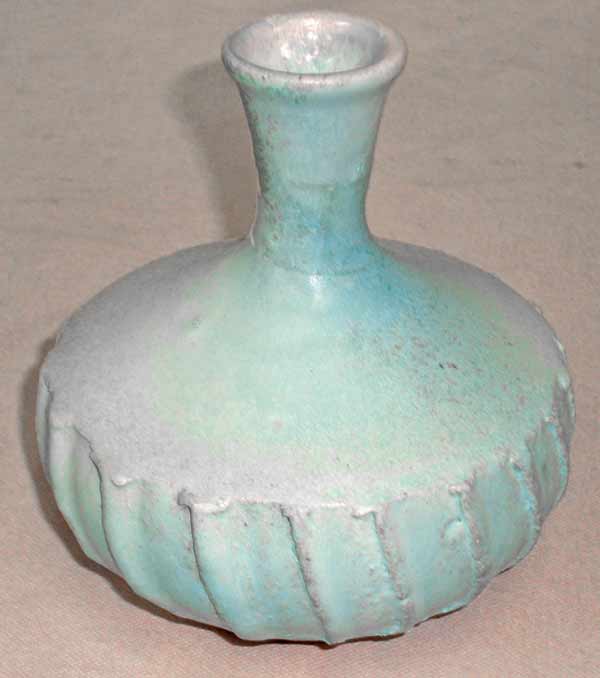
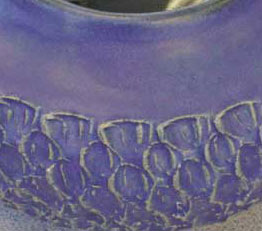
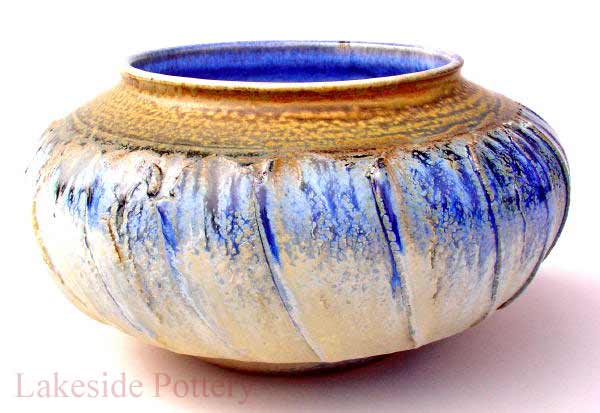
Chatter Texture
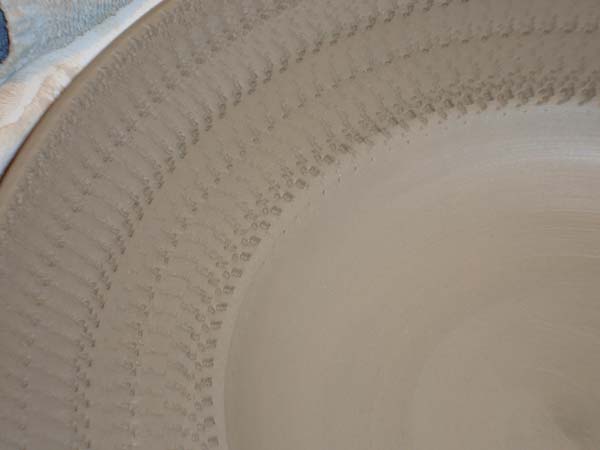
Chatter texture close up
Higher frequency chatter
Low frequency chatter
Higher frequency chatter
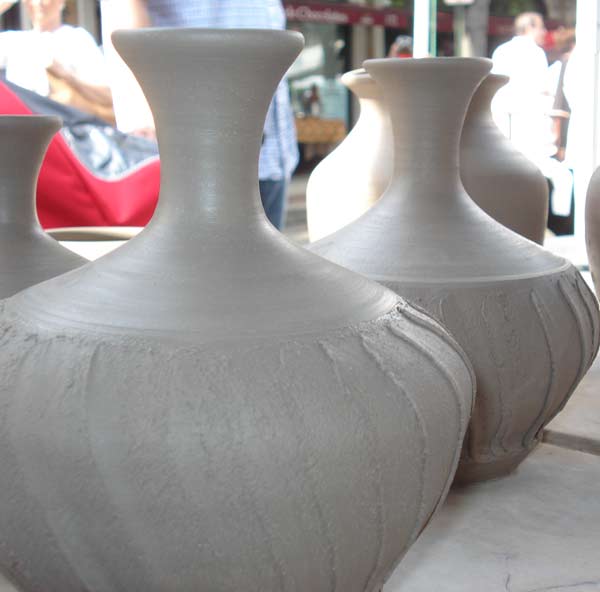
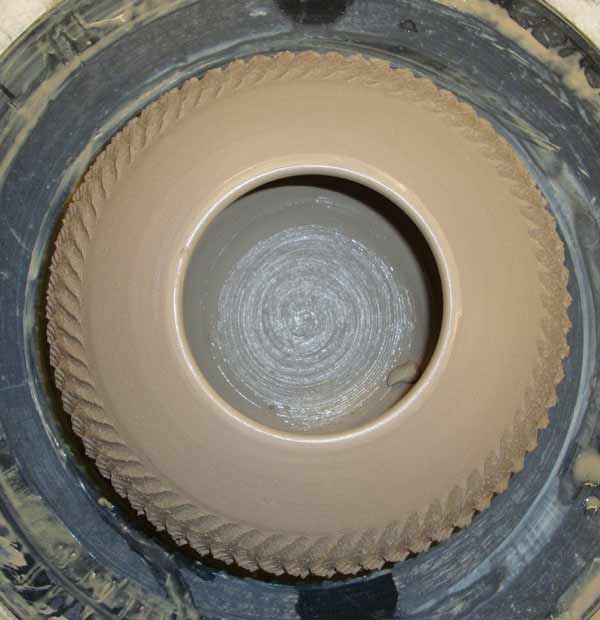
Chatter Tall Form
Rough texture
Low frequency chatter
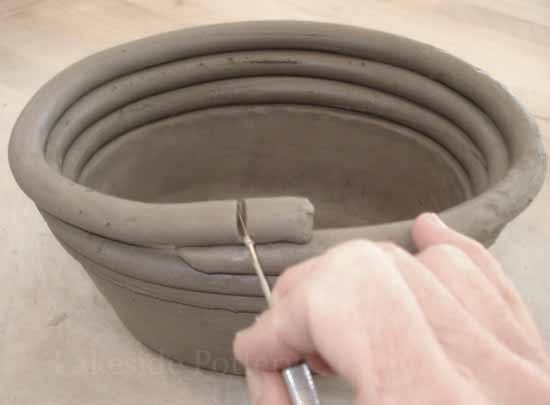
Dry pot to desired level
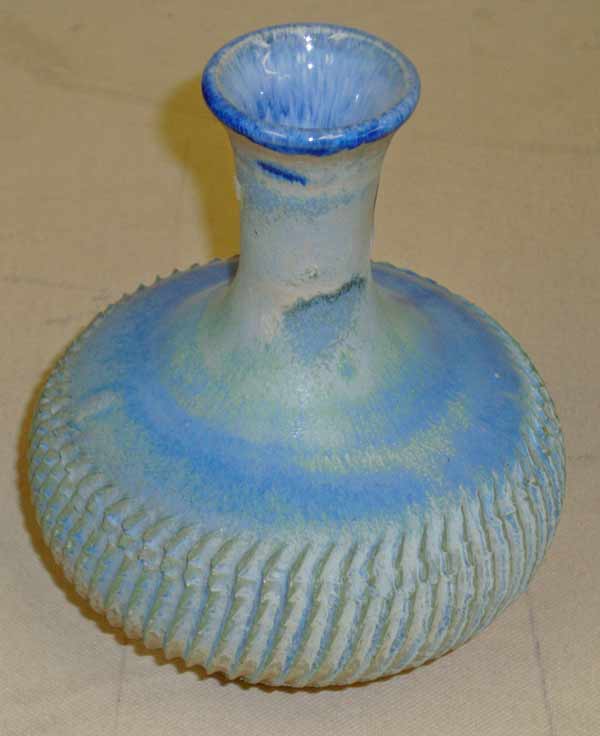
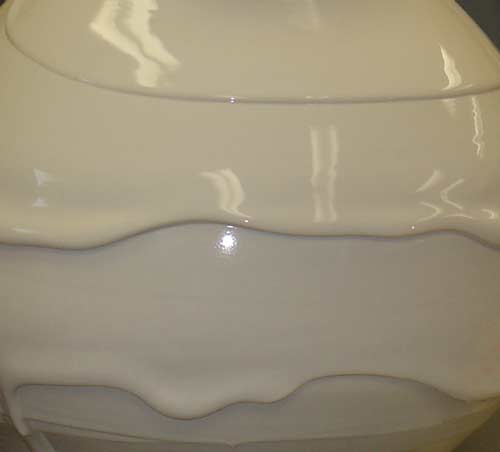
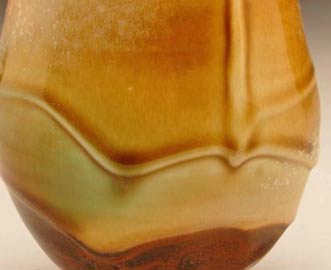
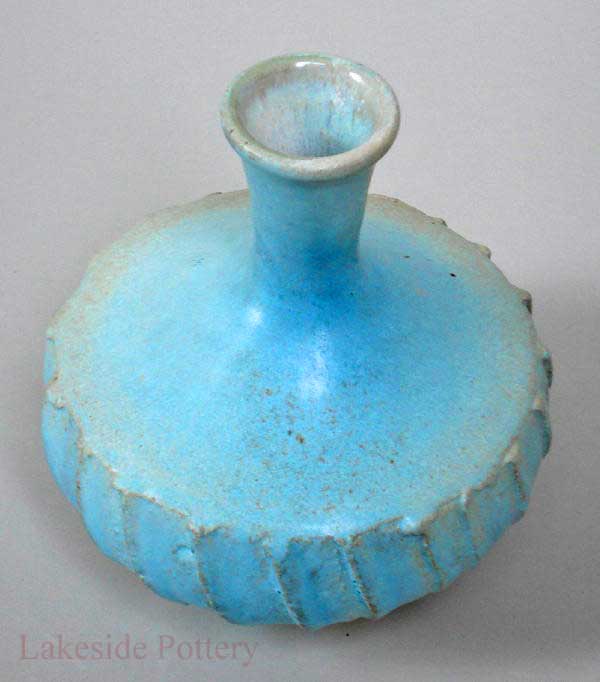
Flat form texture
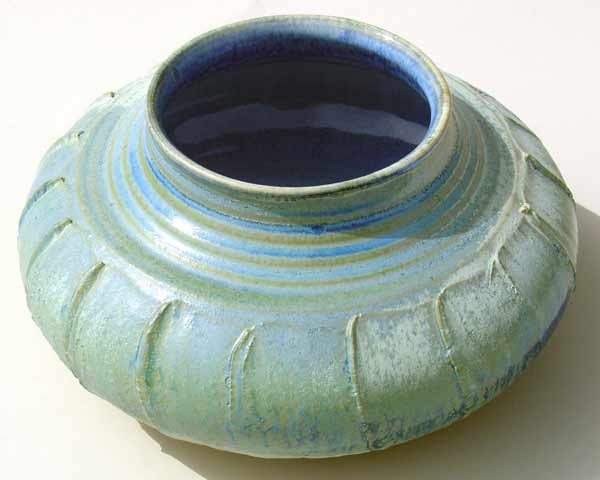
Flat form texture - glazed
Flat form texture - glazed
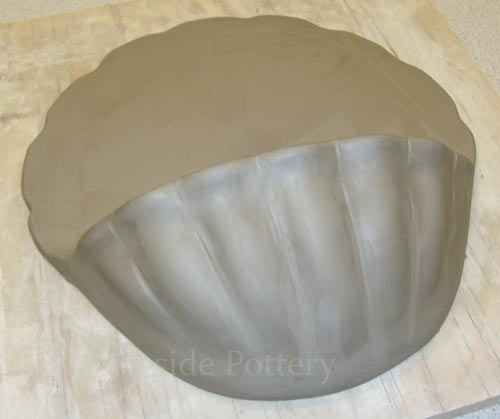
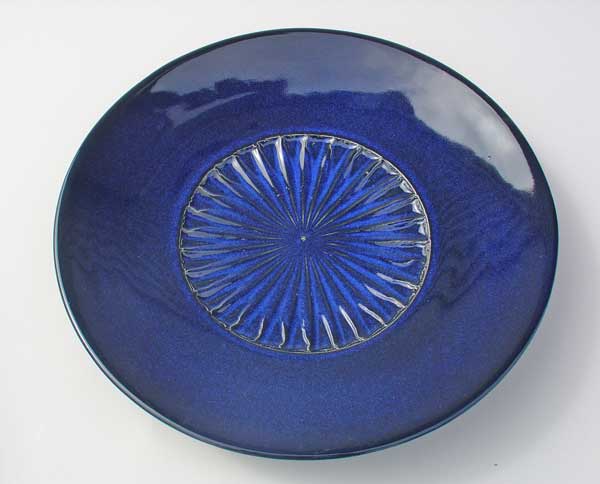
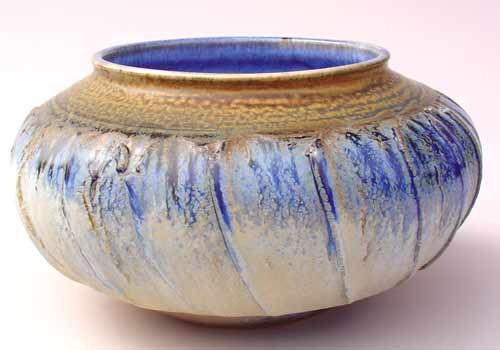
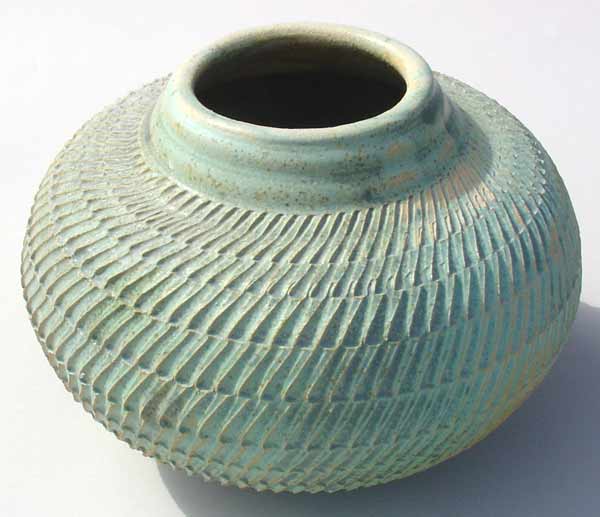
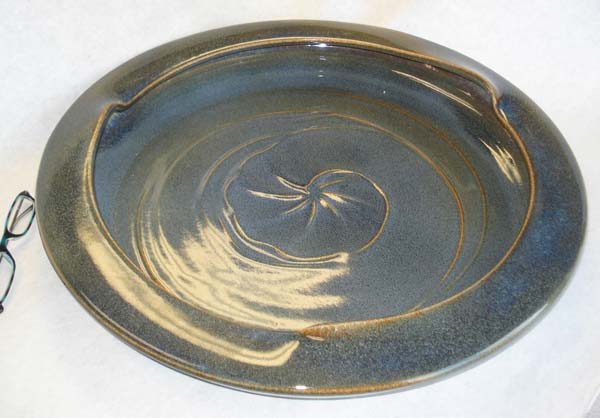
Chatter Flat Form
The Tools - Surface Texture on Pottery
The information below will illustrate (pictures and video clips) how to quickly create beautiful and unique texture on your pots using some basic tools, simple techniques and slip. Have fun!
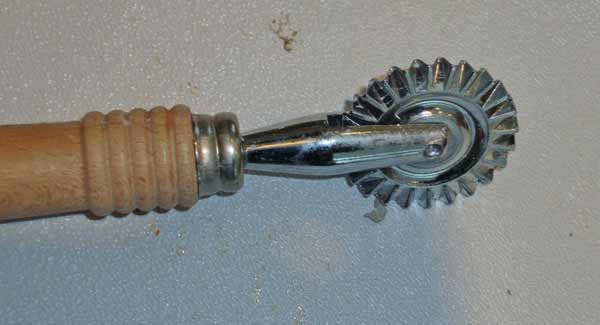
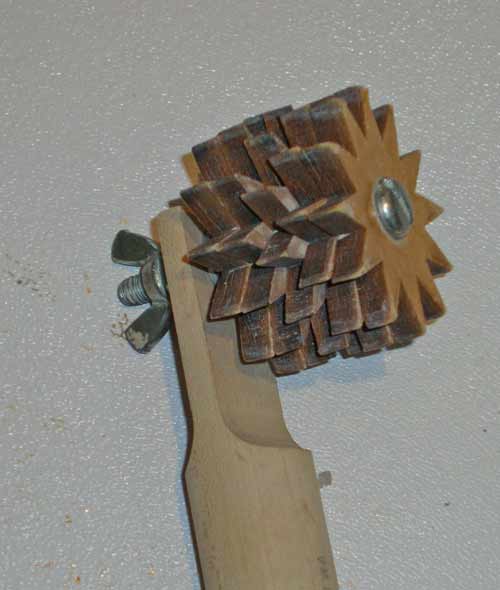
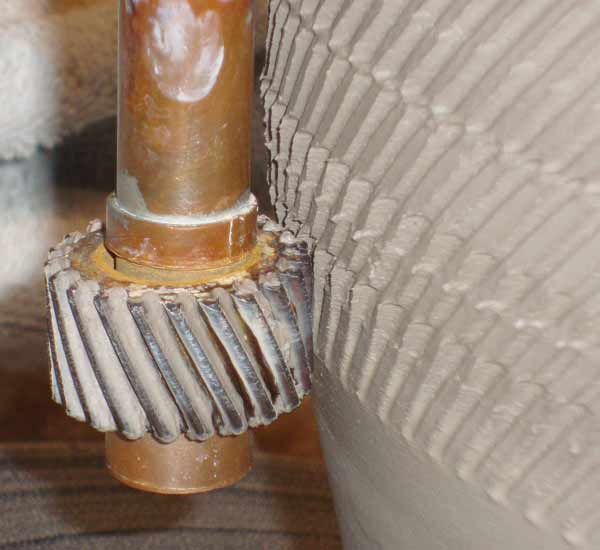
Roulette is a technique used to texture the pot while it is turning. You apply the gear (see a few options below) to the clay while the pot is turning which turns the gear. Typically, the texture is created when the pot's walls are vertical and a bit thicker. When done with the texture, the pots shape can be changes to create a nonlinear potters.
Gear Texture top view
Gear Texture side view
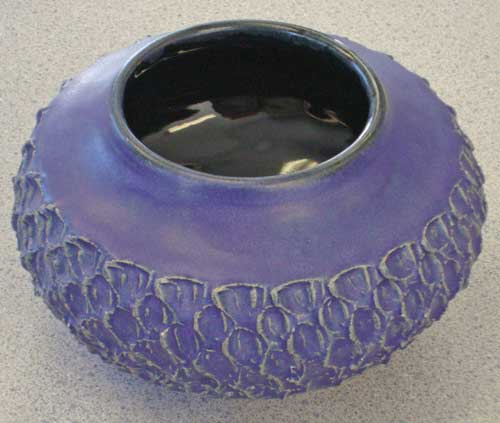
Light pressure gear texture
Flat form gear texture.
Gear - flat form
Gear - Tall form
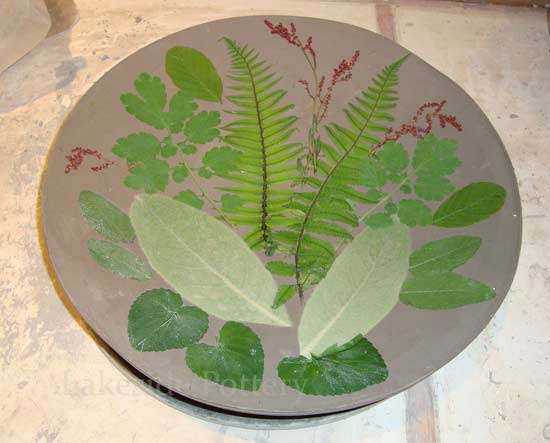
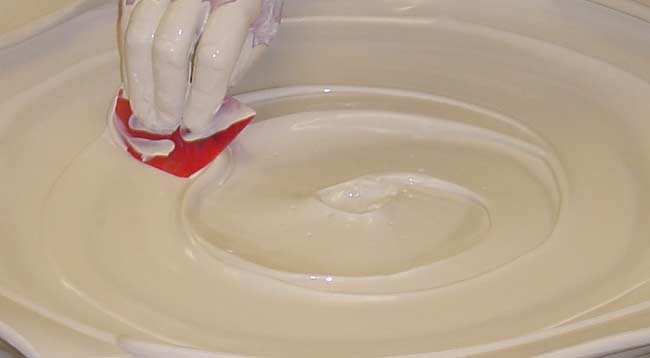
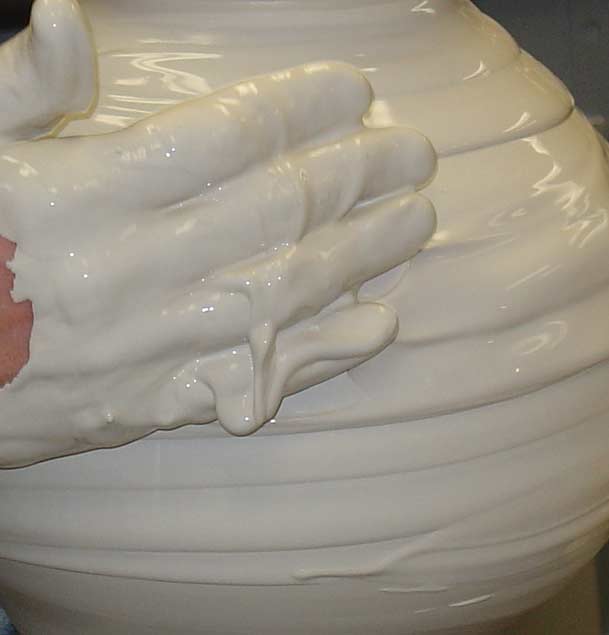
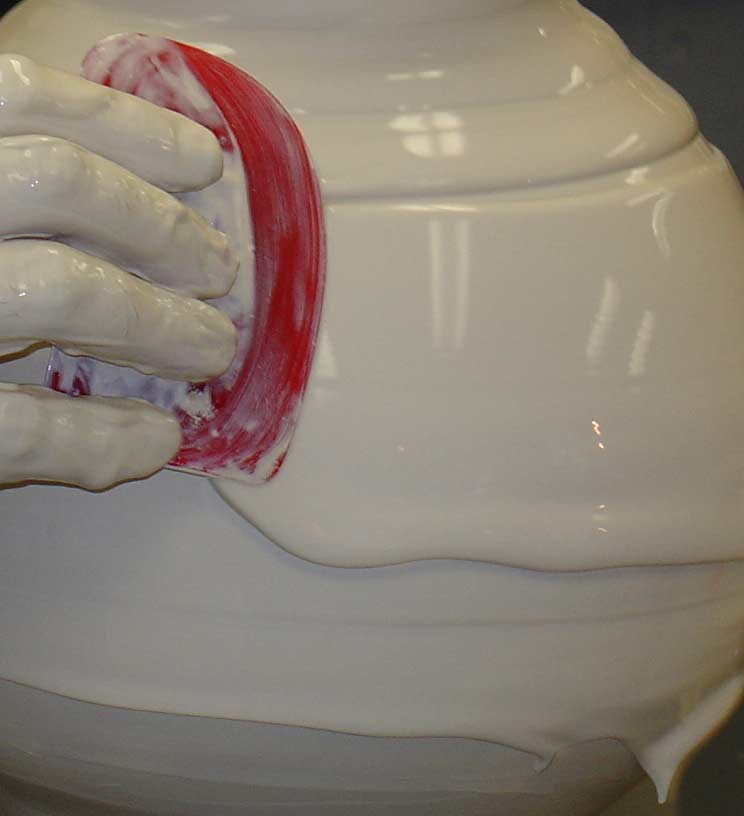
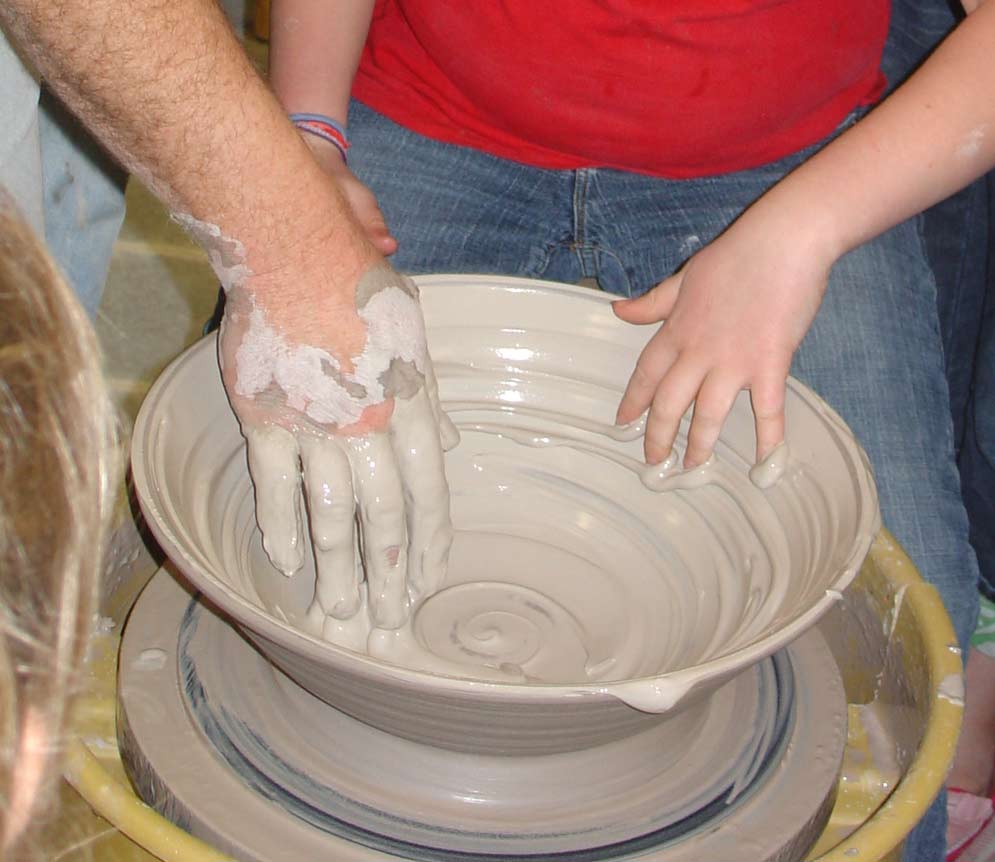
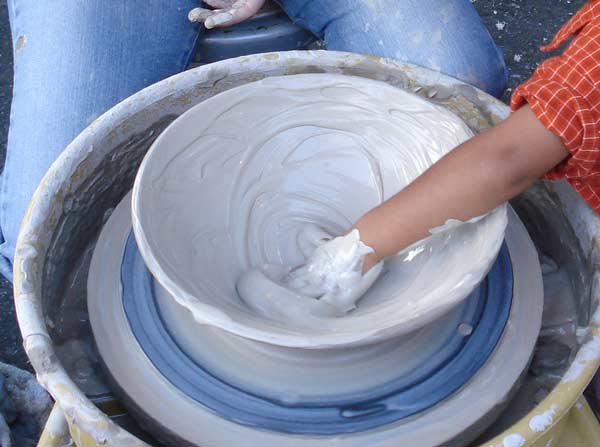
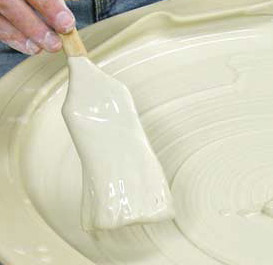
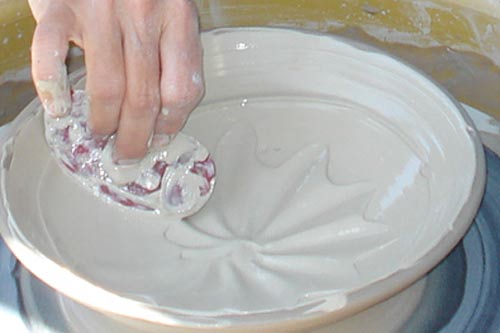
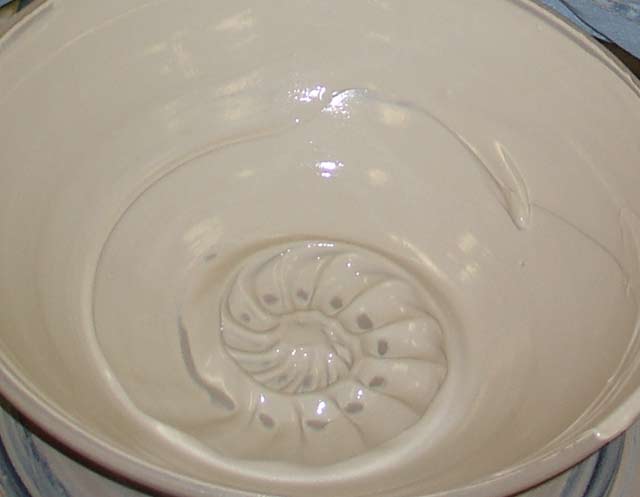
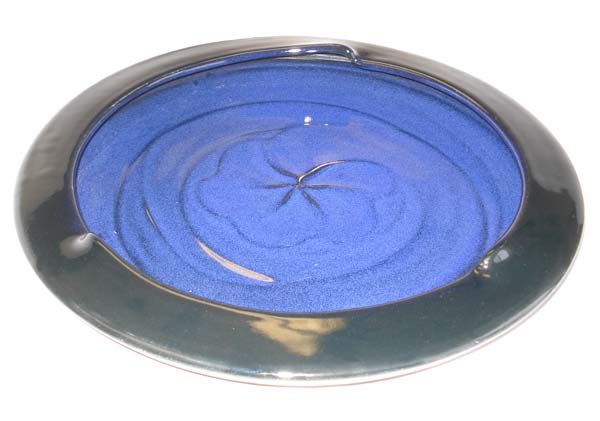
Use of Slip for Surface Texture
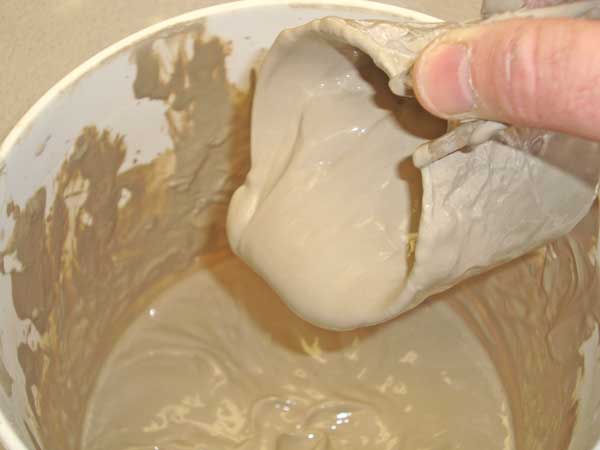
Using slip can be really rewarding if used properly. The slip should not have any grog in it, if made from different clay, test for compatibility with your clay (e.g., cracking) and it thickness should similar to yogurt where the shape can stay and hold the design achieved. It can be applied and formed by hand or with tools such as Mudtool red rib or a brush. Make sure the pot is hardens a bit (wait a few hours or dry with a heater / torch. If clay is too wet, the moister from the slip will weaken the pot and it will collapse. If the pot is too dry, the slip will not bond to the pot properly and will crack or peel off. The fun part about it is that if you do not like the design, you can try several times until you achieve the liked results. Eventually, the moisture from the slip will absorb in the clay and it be less applicable. Remember that whatever texture you achieve, it will shrink about 50% when the slip and the pot dry. In addition to having our students make beautiful pots using slip, children love to play with it and can easily achieve aesthetically pleasing results while having a lot of fun with the slimy texture of the slip. How to make slip
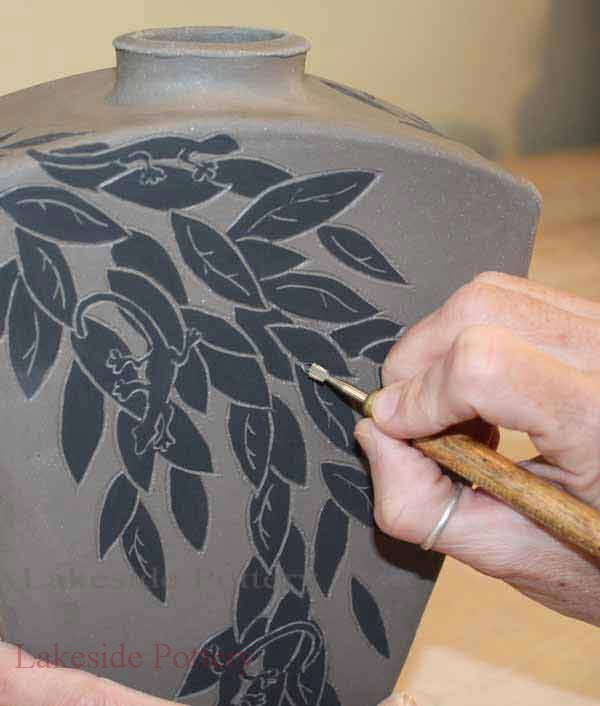
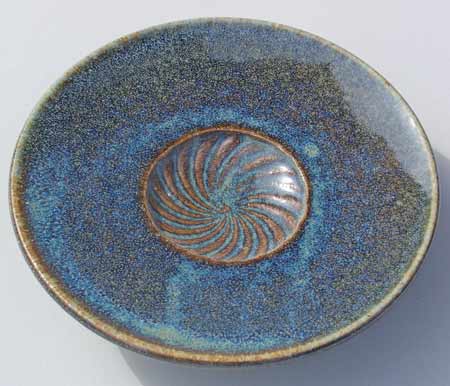
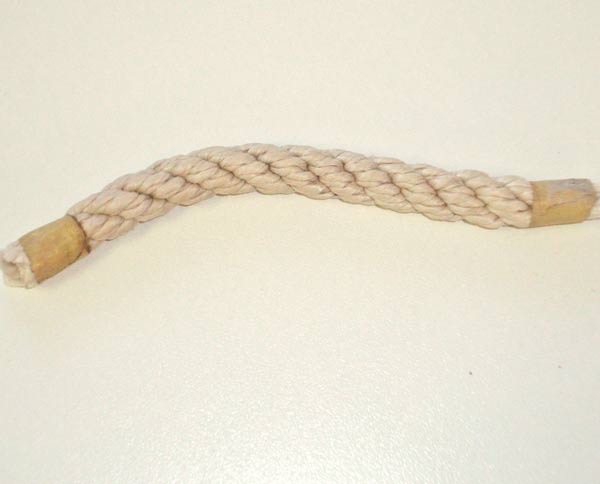
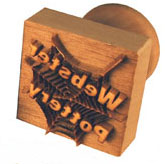
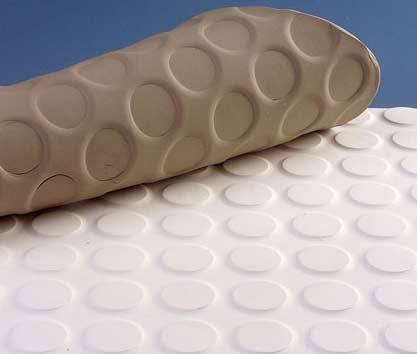
Curving can be a lot of fun and there are some sample below. A) With a small piece of rope, one can create variety of textures pushing the rope against the clay as while moving it around. B) Fluting: This stainless steel fluting tool makes it easy to carve pots with beautiful designs and exacting control. The unique design includes panels on the side of the cutting loop that act as “runners” (like on a sled) to maintain a consistent depth as you cut. This makes for a fluid stroke. Each tool has two fluting designs: rounded and pointed. C) Various stamps and texture mats or texture molds can be purchased or made to order.
D. Hand building projectusing slab mats - clay quilt
Appendix: Creating and Preserving Chatter During Expansion
Start Form
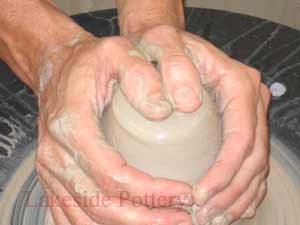
Always begin with a cylinder. Starting from a stable, symmetrical form provides predictable wall thickness and control before any expansion begins.
Clay Firmness and Planned Wall Thickness
Begin with slightly stiffer clay and plan wall thickness in advance. Leave more material in areas where expansion from the inside will be needed. This extra thickness allows the clay to respond to internal pressure without collapsing.
Interior Lubrication and Low-Contact Pushing
Keep the interior surface well lubricated with water to prevent friction. When pushing the wall from the inside, use the smallest possible finger contact area. Minimizing contact reduces drag and helps the clay move outward without grabbing, tearing, twisting, or distorting.
Foot Limitations and Structural Risk
Because trimming must be limited to protect the chatter surface, the foot width is largely predetermined by the form. This makes the pot more vulnerable under normal working conditions. Expansion driven only from the inside and intentional twisting are inherently risky. These limits are learned through repetition and experience.
Optional Controlled Twist
In some cases, a twist may be introduced intentionally. To do this, remove all water from the interior and allow the inside surface to dry slightly to create friction. That friction can generate a controlled twist as the wall is pushed outward. This is typically done earlier in the process, when the clay is more stable, after the chatter effect has been established.
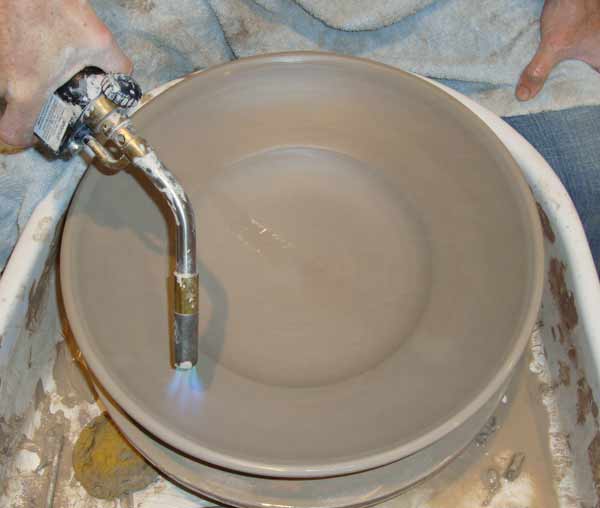
Stabilizing Large Forms
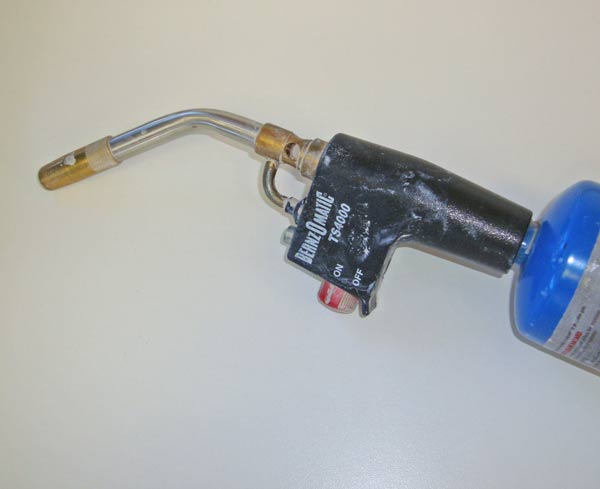
With larger forms, expansion into a more bountiful shape can lead to collapse seconds after completion if the clay remains too soft or if the work relies heavily on force from the inside. Keep a small torch nearby to lightly stiffen the exterior surface after the final expansion is complete. This quick skin-stiffening helps the form hold without disturbing the chatter.
Torch Timing and Chatter Failure
Timing is critical. If a torch is used too early, before full expansion has occurred, subsequent outward movement can crack the chatter ribs. Once those ribs fracture, the surface cannot be recovered.
Important Note: Remove Excess Water
Because of the amount of water used during expansion, remove excess water before finishing. After the form is complete, flip the vessel upside down to drain trapped water before running a wire or using a sponge. This prevents soft spots, distortion, and sudden collapse at the base.