#lakesidepottery
|
|
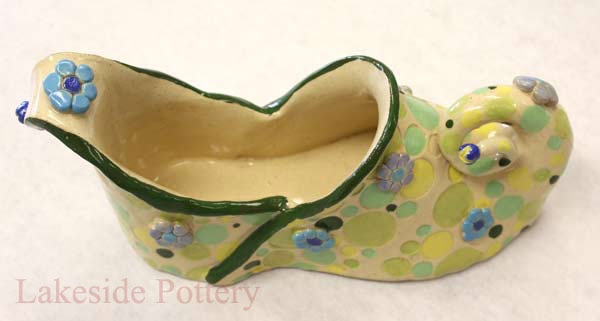
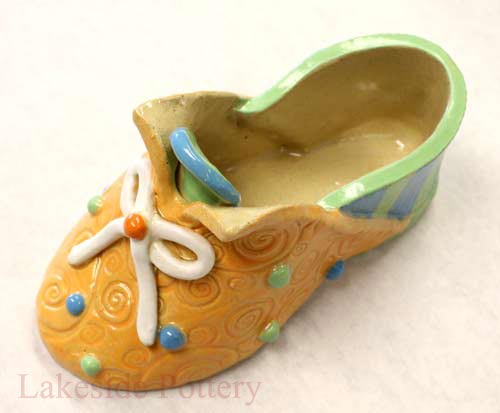
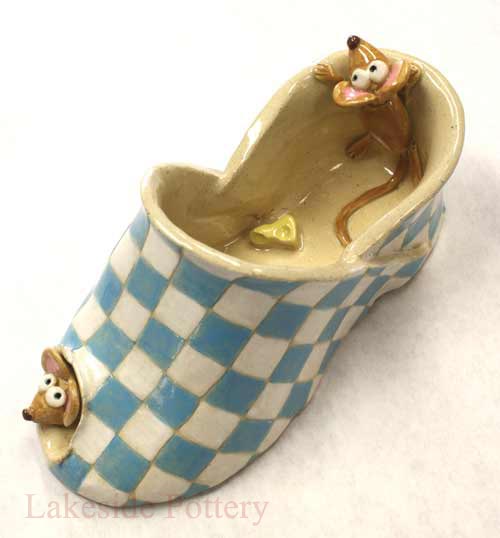
Ceramic shoes can be used as decoration or as a container, planter, wine bottle holder, etc. This project can be achieved by adults or children.
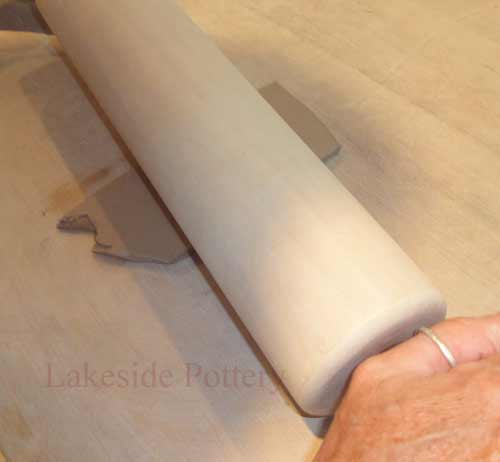
The slab used is 1/4" thick for the most part. For part of the heel and the decoration use 1/8 - 3/8" thick slab. Below is an example of one technique and what can be achieved.
Tools used: Scissors, slab roller or rolling pin, 45 degree bevel / miter tool, basic wooden tools, clay cutting knife, pin tool, sponge and a soft flexible rib.
Clay used: Make sure the clay is not too soft. Let is dry a bit (but not firm leather hard) so that it can still be pliable yet it will hold a shape.
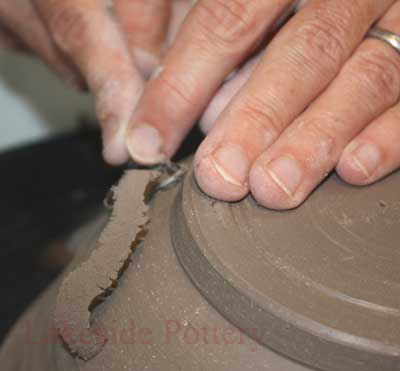
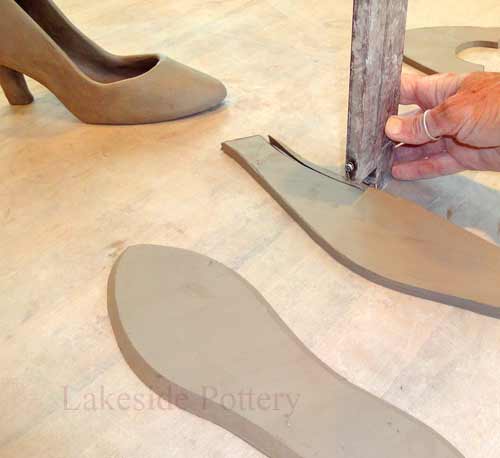
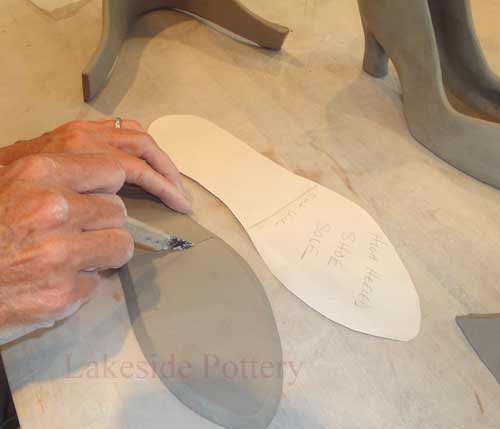
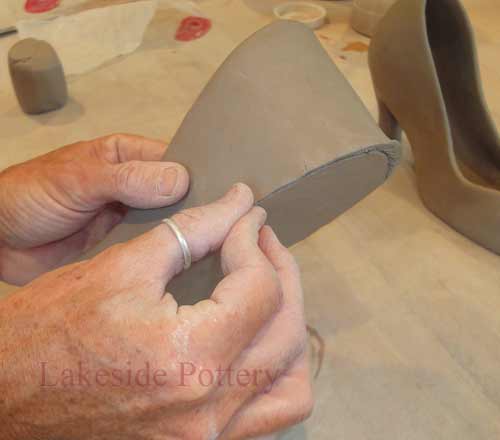
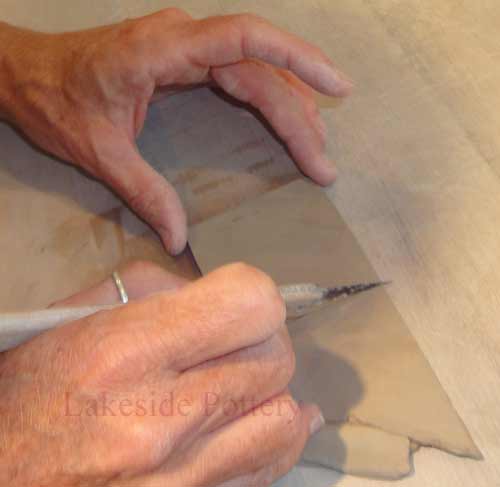
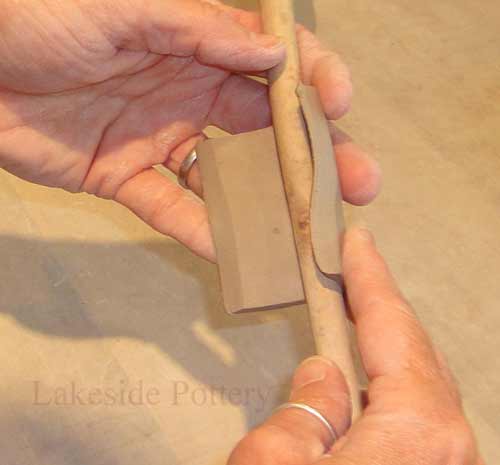
Use sharp pencil and trace design onto smoothed clay slab. Tracing paper, card stock or manila folders are able to withstand the wet clay and multiple tracings. Bevel the bottom edge of the heel and the entire sole piece.
|
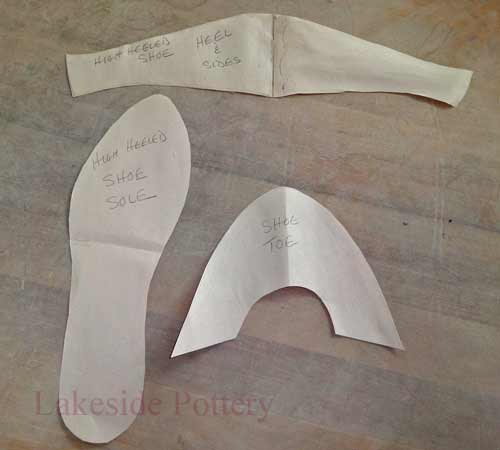
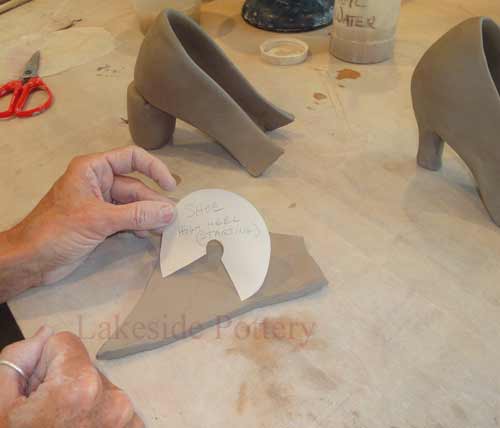
Make shoe paper templates
|

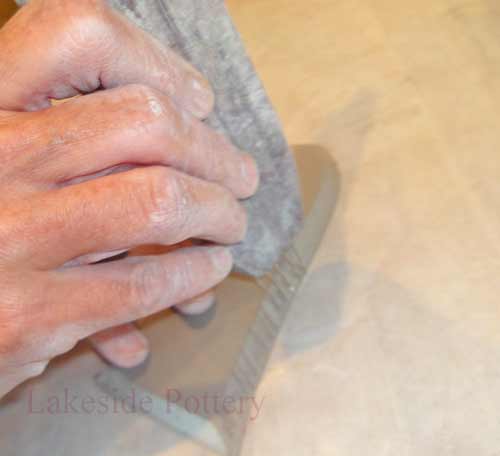
Cut-out shapes in 1/4 slab
|
Miter joining parts to 45 degrees |
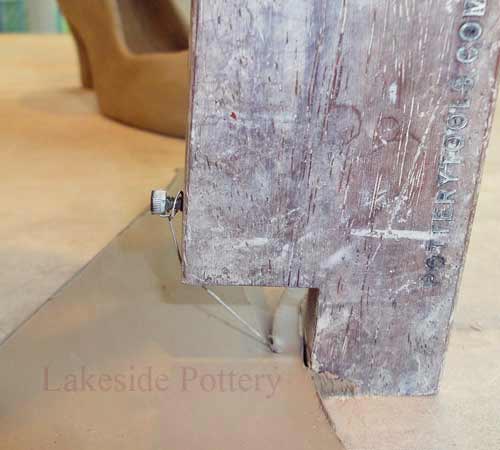
Close-up of beveled edge |
|
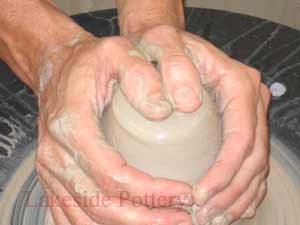
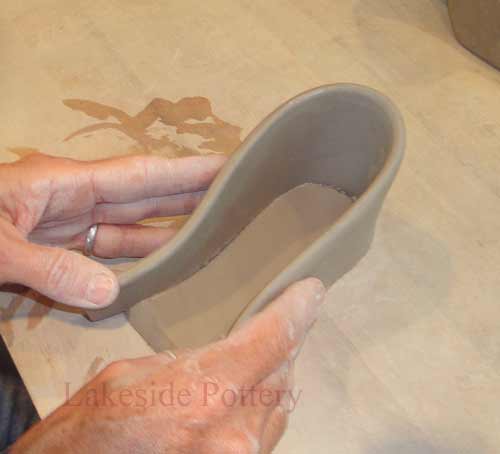
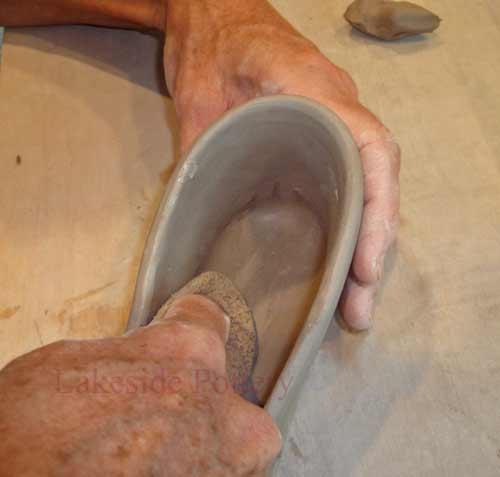
Especially if your slab is a little firm, carefully and gently wrap the heel around the sole cut-out and measure approximate distance. For ease of construction, separate the sole at halfway mark. Note, the heel piece should extend past this half-way point just a little for later joining with the toe piece.
|
Cut sole in the middle
|
Score all contact points
|
Slip (or magic water) all edges |
Bring slab heel to shape of sole |
|
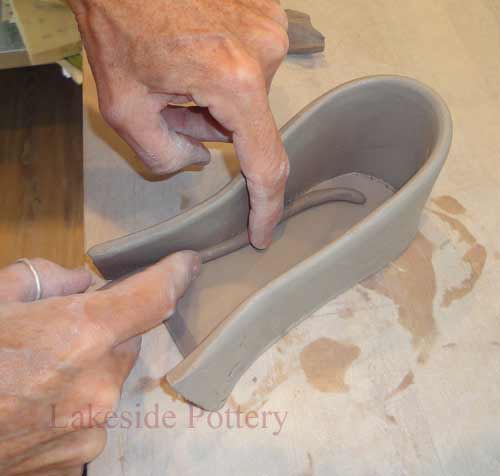
| Carefully blend the joined edges and reinforce the connection on the inside using a small coil. |
Connect and blend heel to sole
|
Use coil to reinforce connection
|
Blend coil into construction |
Smooth all coiled areas |
|
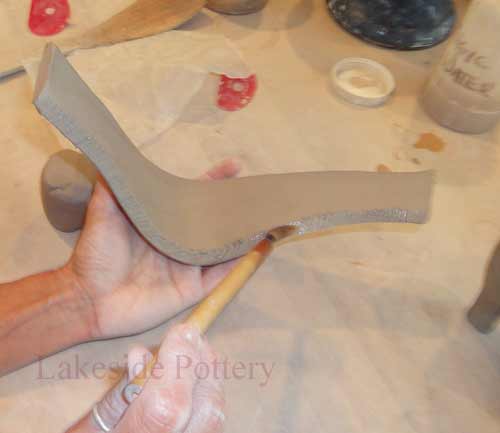
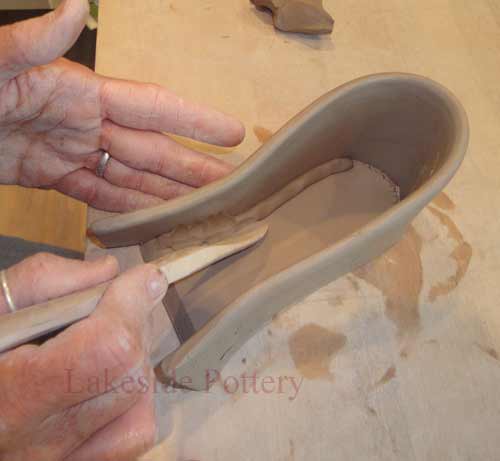
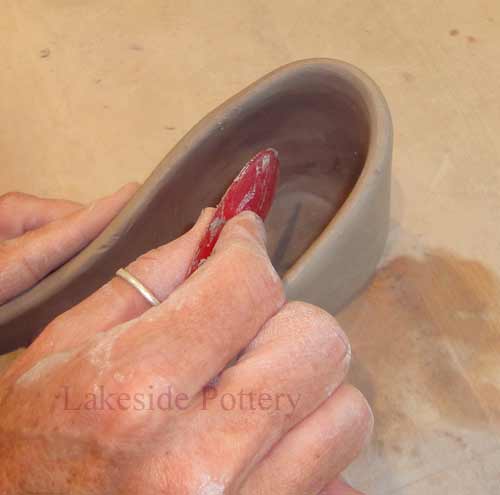
| Give the heel desired shaping using a soft rib. Prop up constructed heel with extra clay to judge height of heel. Create heel's base: cut-out, miter opposite edges, slip and score and join. Place on bottom of heel and mark. |
Use rib to finalize shape
|
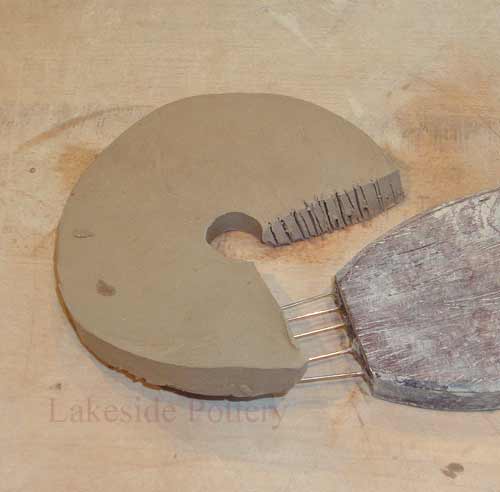
Use template for heel's base
|
Cut to size, score, slip and attach |

Mark location on back of shoe |
|
| Score and slip heel base to bottom of sole. Blend well - a small coil may be used to give added support to joint. For the post of the heel, thin a piece of slab to 1/8" and cut into a rectangle, length will be adjusted so keep a little longer than desired. |
Slip and score and attach
|
See next to finished shoe
|
Thin a small slab for heel's post |
Cut to size |
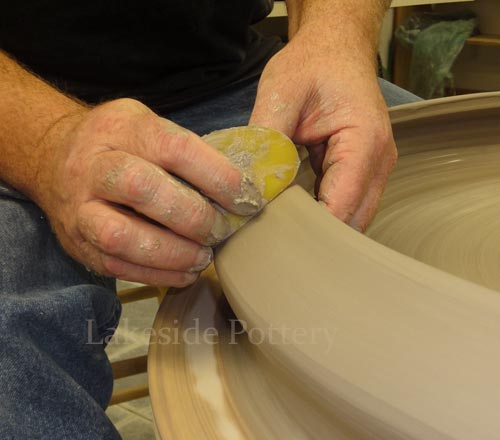
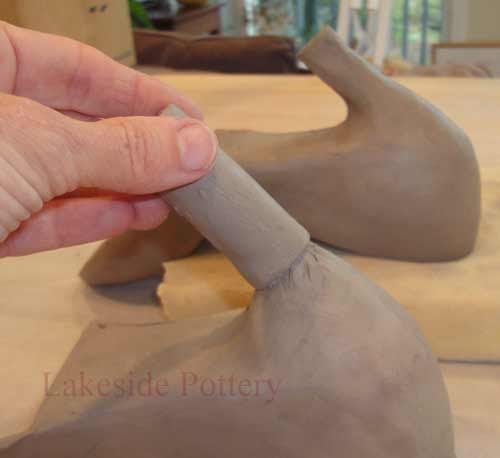
| After mitering opposite sides of rectangle, roll around a wooden spoon handle, slip and score and blend. Place finished tube on heel base and measure and mark for scoring. Once joined, use a small coil for reinforcement connection. Cut to desired height. |
Roll to shape
|
Attach roll to heel's base
|

Use coil for better connection |
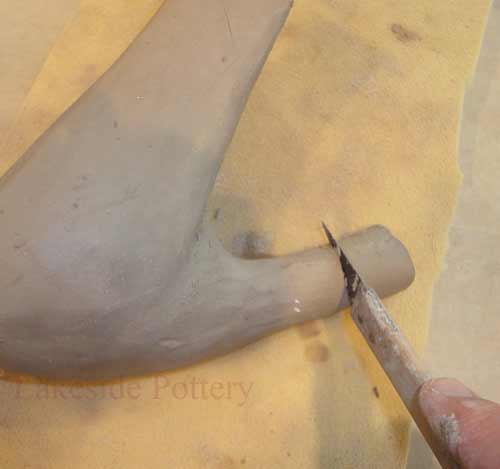
Cut to desired height See note!! |
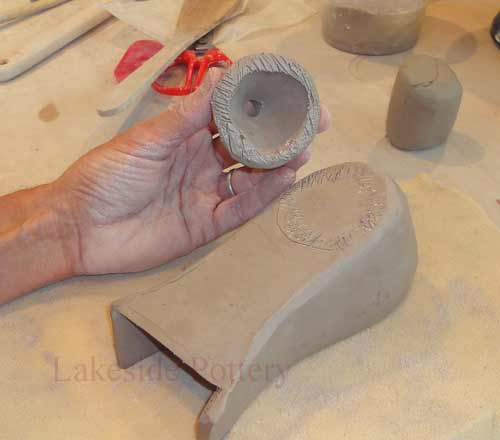
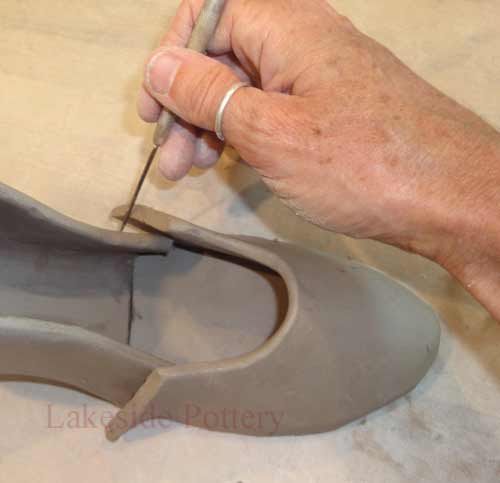
| Now connect (miter, score and slip and coil) the top of the toe slab with the toe of the sole. Align the pieces of the sole, allowing the sides of the shoe to over lap. Mark the overlaps and carefully remove excess remembering to leave enough to miter these edges. Miter the sole edges as well and join all points. Use coil to blend and give support to joints, paying careful attention to the joint of the sole (you may want to add extra coil here). ***NOTE: The heel is hollow, a hole MUST be pierced to allow air to escape. Because it is a long distance to pierce, you can take a paper clip, unbend it and it will reach from the bottom of the tube of the heel spike up through and into the heel base. |
Connect front toe slab pieces |
Mark excess clay |
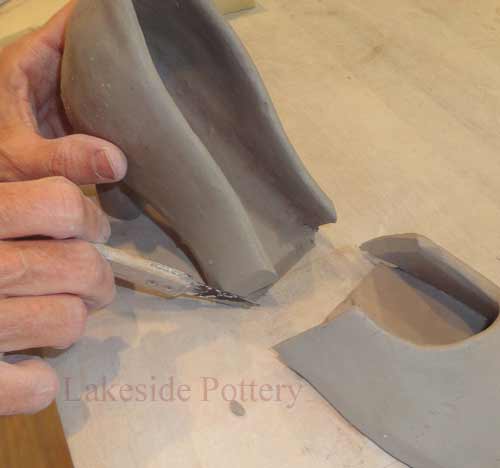
Cut of excess clay on the bevel |
Score / slip all edges |
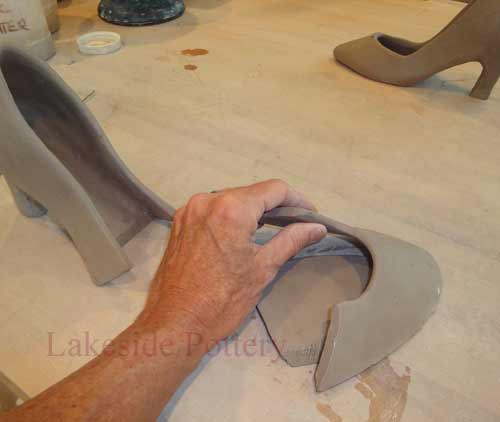
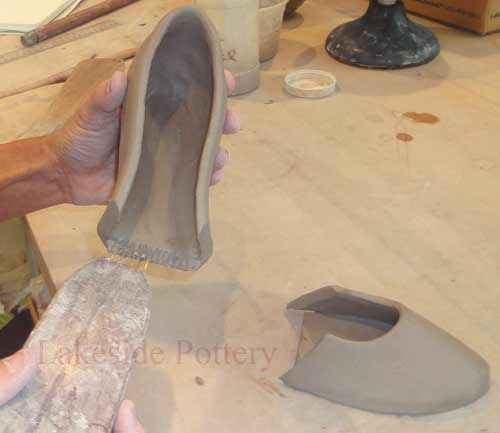
| Use coil and added clay to blend and smooth. Decorate as desired, usually when adding decorations the clay should be thinner than 1/4". |
Connect and smooth all parts |
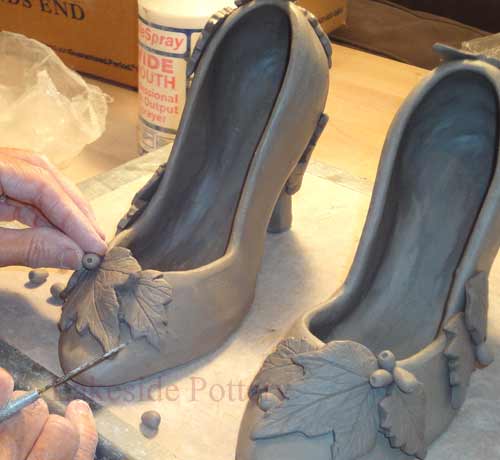
Decorate with thinner slab |
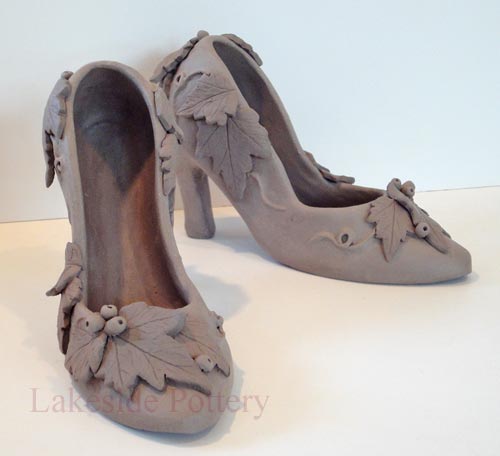
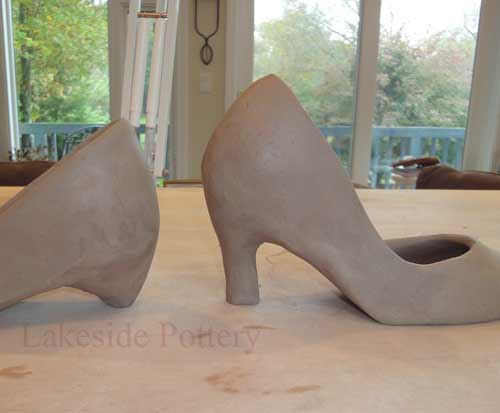
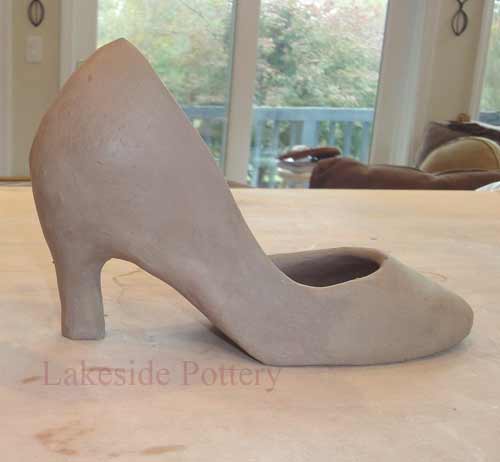
Finished pair of shoes |
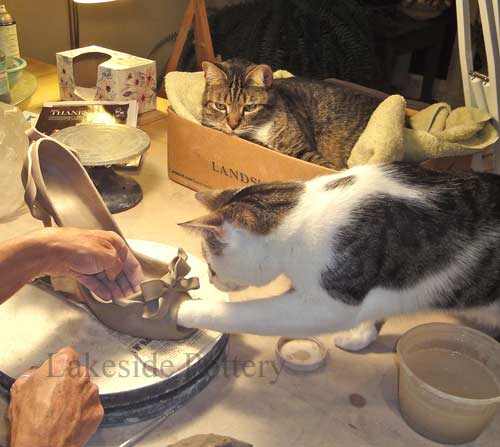
Cats lending a paw - very helpful! |
Clay shoes children project samples
|
|
|