|
|
|
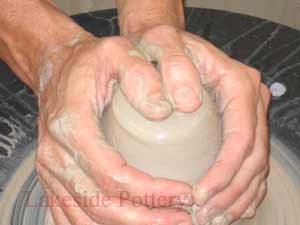
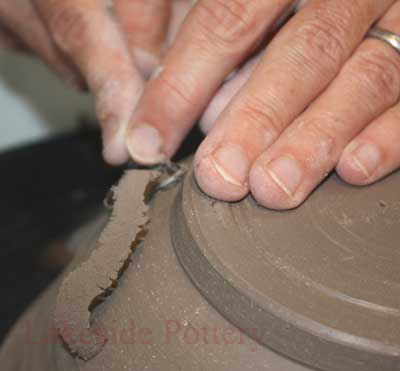
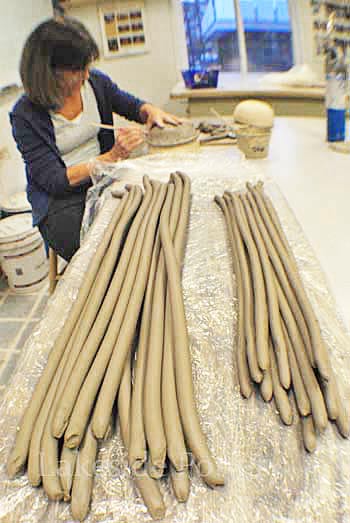
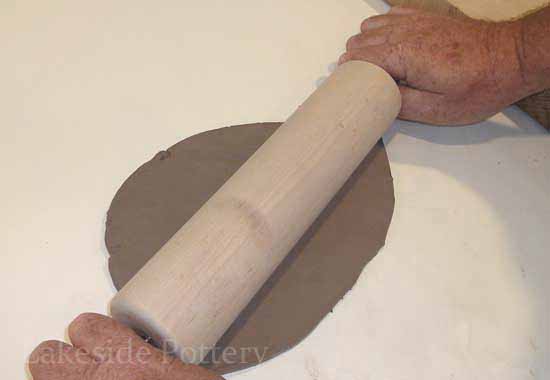
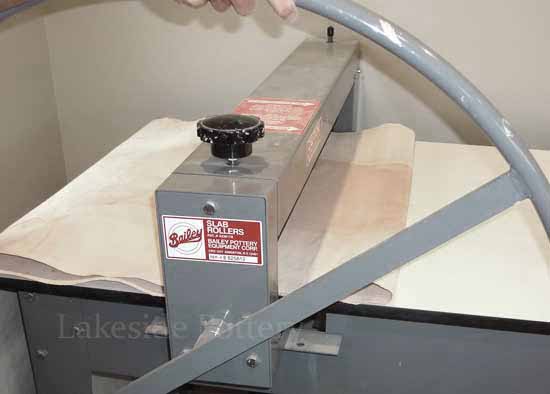
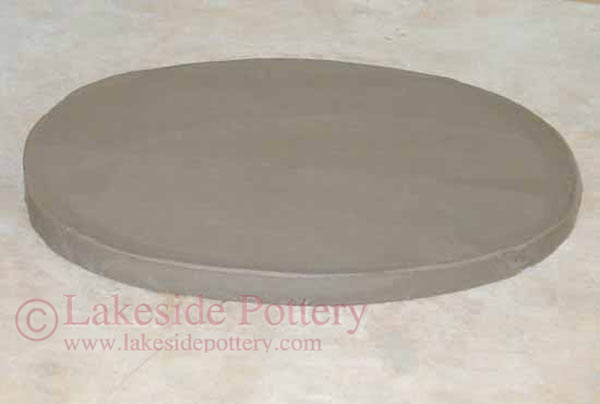
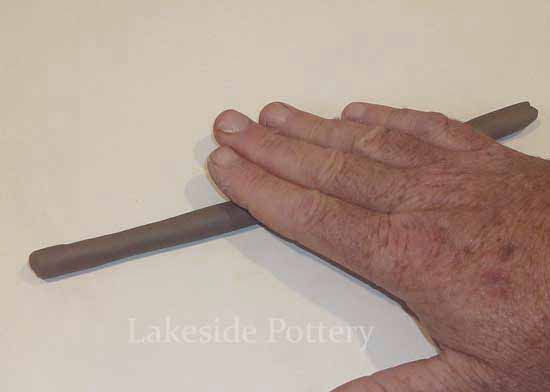
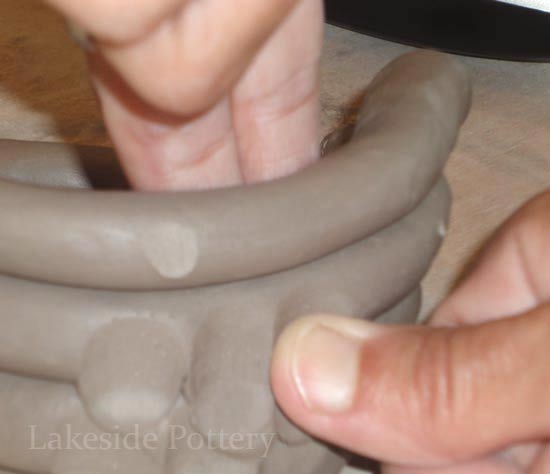
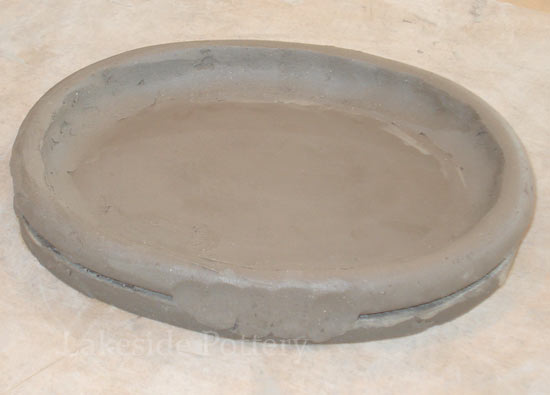
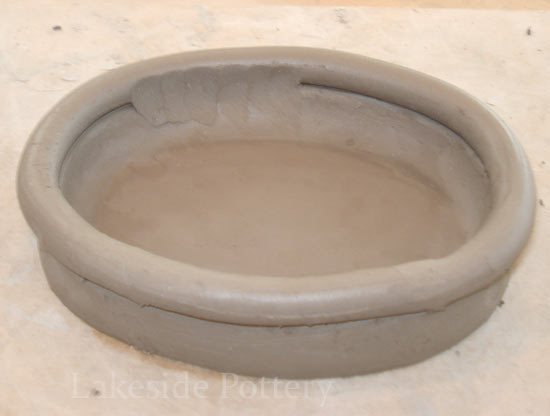
2. Score and slip slab and lay the first layer of coil. Push the coil firmly into the slab. Cut first layer of coil as illustrated below to ensure perfect fit around the parameters of the slab. Remove the unused coil pieces and blend the joint. Pinch / scrape the coil with one finger into the slab smooth using your finger, a rib, or a wooden tool.
Score and slip base and apply coil
 |
Cut coils as illustrated
 |
Pinch coil into slab on the inside
 |
Merging coils using both hands
 |
|
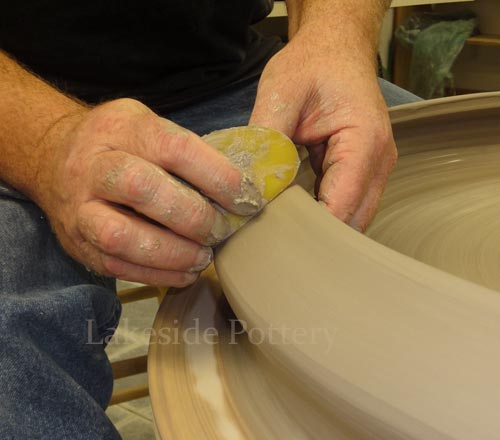
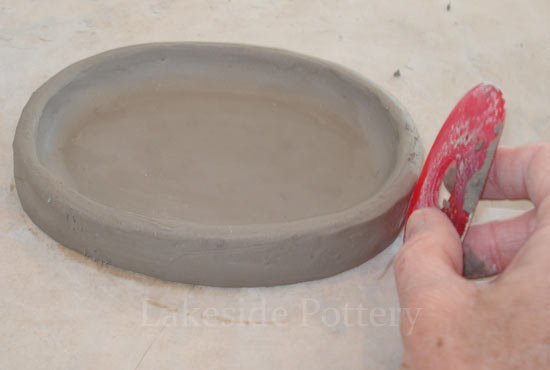
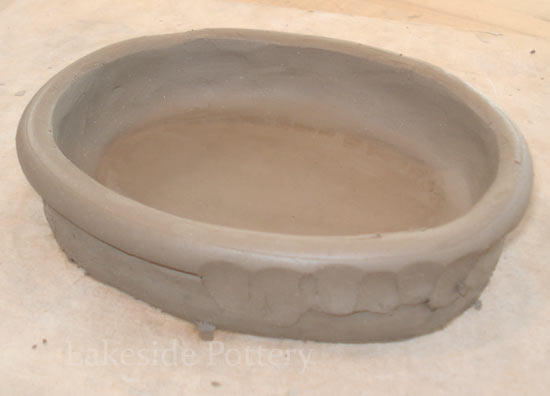
3. Smooth the outside using a rib. We use Sherryll's Mud Tools red rib. Place the next layer of coil, pinch and smooth as in previous layer. When merging two layers, make sure that one hand is supporting the clay on one side while the other is hand pushing / smudging the other side.
Do the same on outside
 |
Smooth pinched coil with a rib
 |
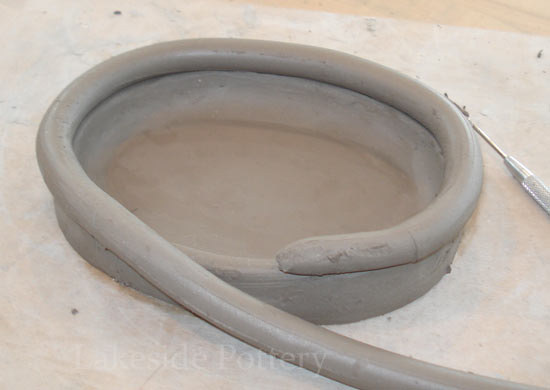
Place 2nd coil - no slip & scoring
 |
Smudge coil into lower coil
 |
|
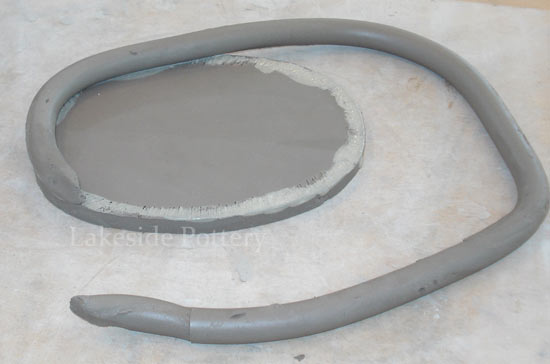
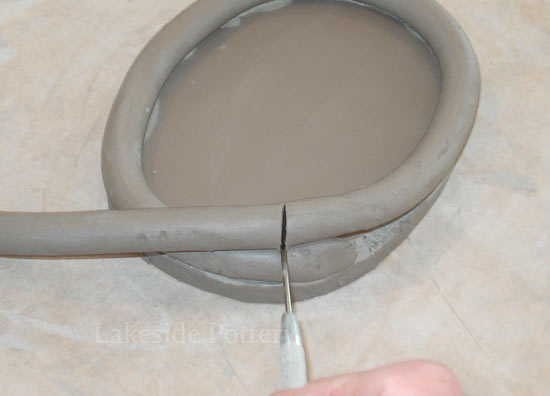
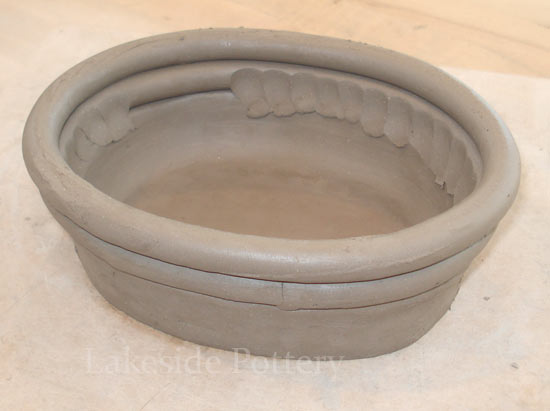
4. Keep adding layers. You can add up to three at a time before blending and smoothing. When cutting a coil to fit, make the cut in a different place to ensure that the two joints are not directly one above the other.
Pinch outside of coil
 |
Repeat with next layer
 |
And with next
 |
Join coils in a different place
 |
|
5. To widen the pot, use longer coils. If taking a break, cover your work and pre-made coils so that the clay will remain moist and soft
Use longer coils to widen pot
 |
Repeat the process
 |
Inside view
 |
Close-up view
 |
|
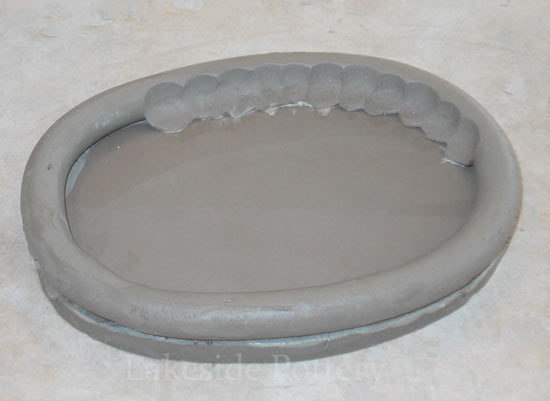
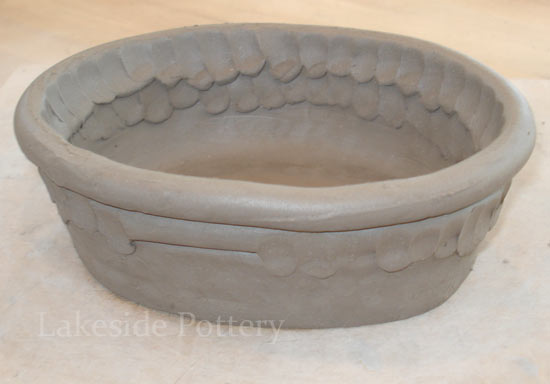
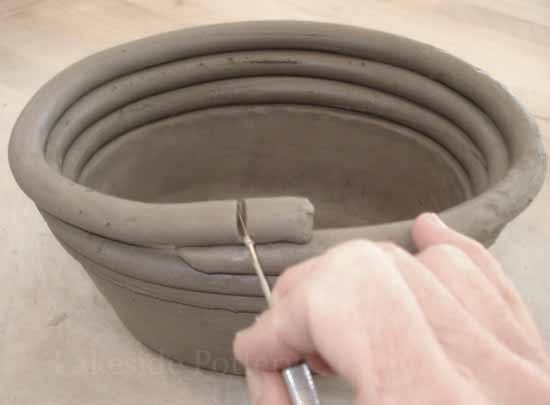
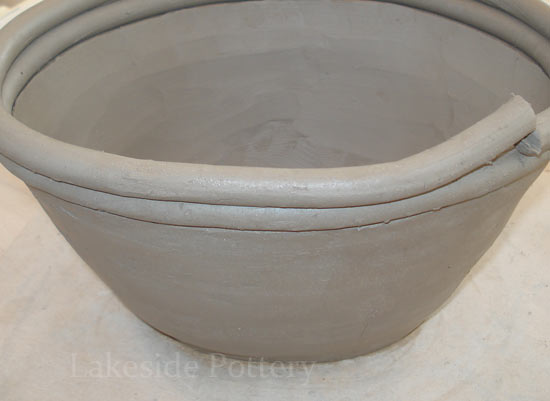
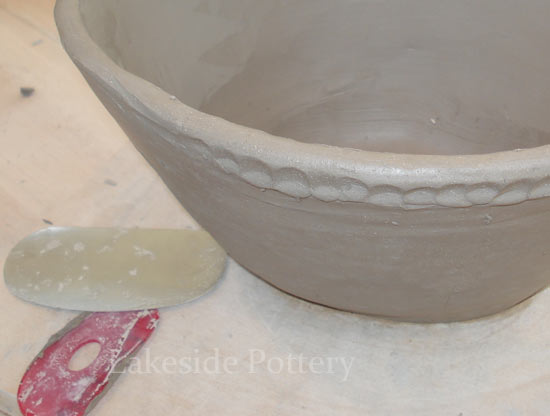
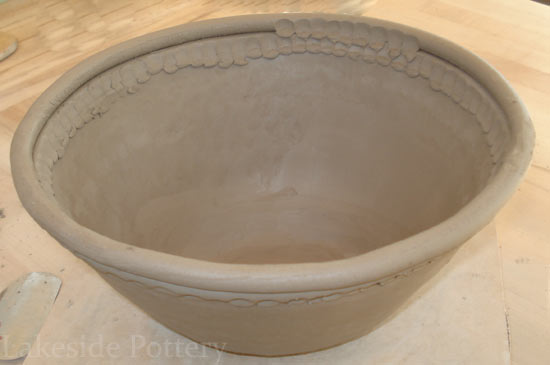
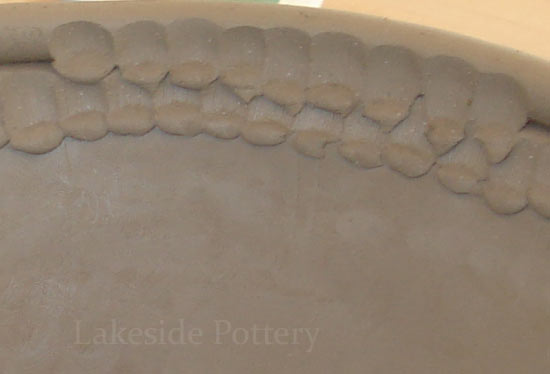
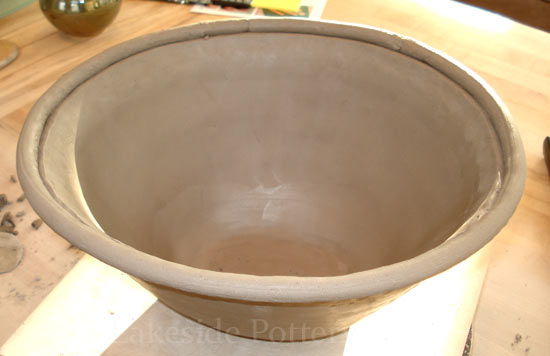
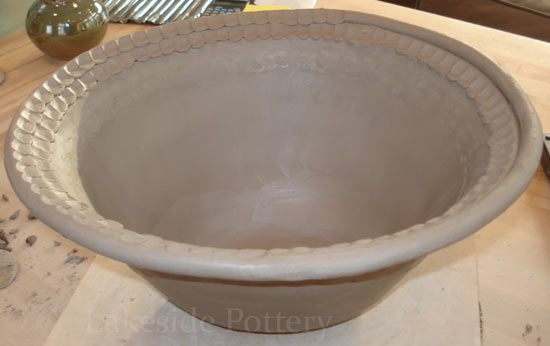
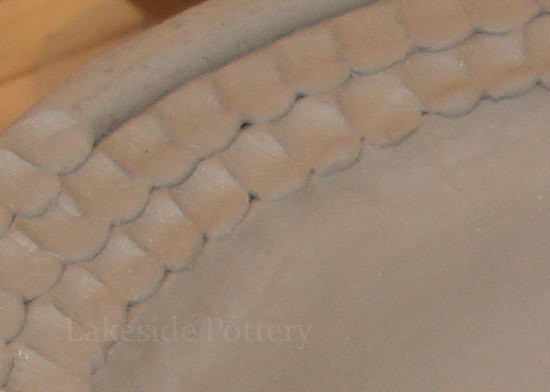
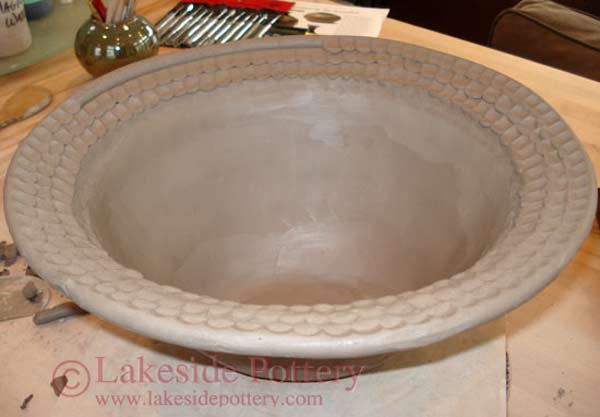
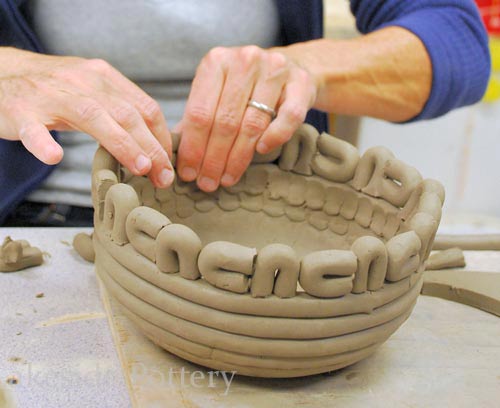
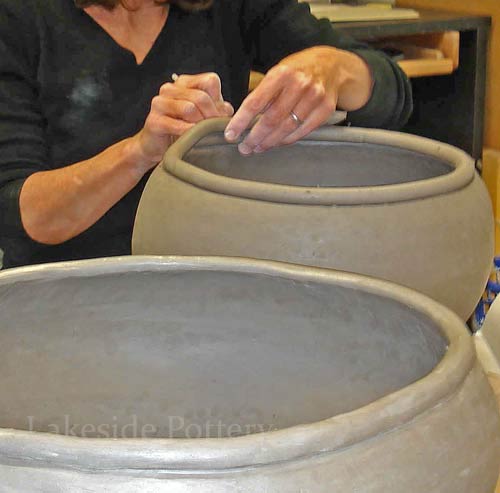
6. Use the same method as above to create the pot's rim. You may choose to leave the rim "un-smoothed" as illustrated below. If making a large pot, it might be too soft to hold it's full weight. Cover it and allow it to set for a while before proceeding. When starting again, the next coil added MUST be slip-and-scored to the existing pot.
Coiling the rim
 |
Pinching the rim
 |
Close up - rim with texture
 |
Finished pot
 |
|
7. Use a paddle to both shape the pot and strengthen the coiled wall. Dry slowly by covering the pot loosely with plastic before Bisquing.
Use a wooden paddle to shape pot
 |
Coiled pots with finger texture
 |
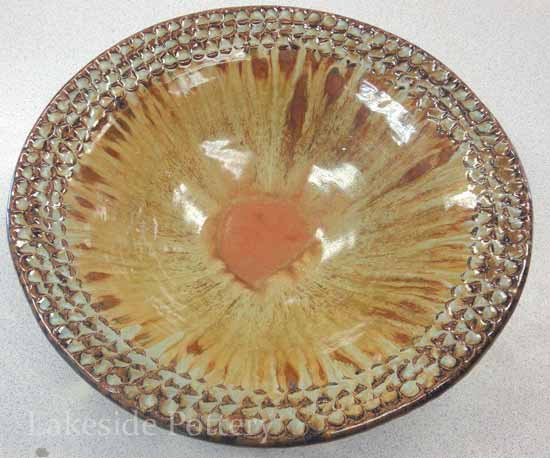
Glazed pot
 |
Other coiled pot
 |
|
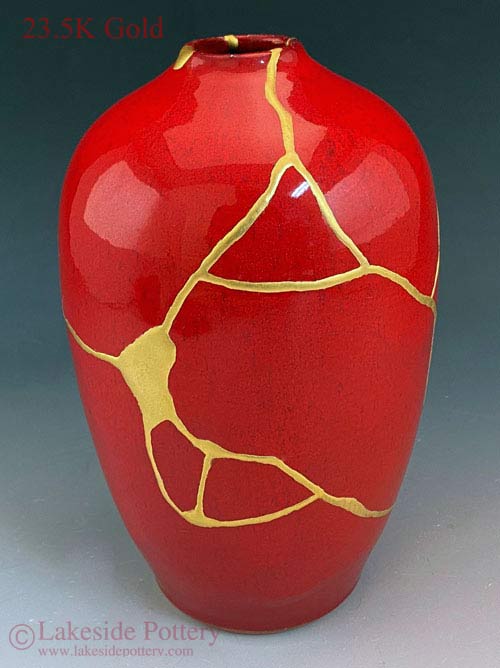
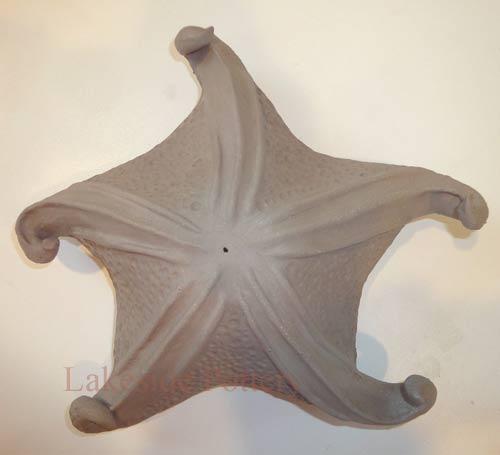
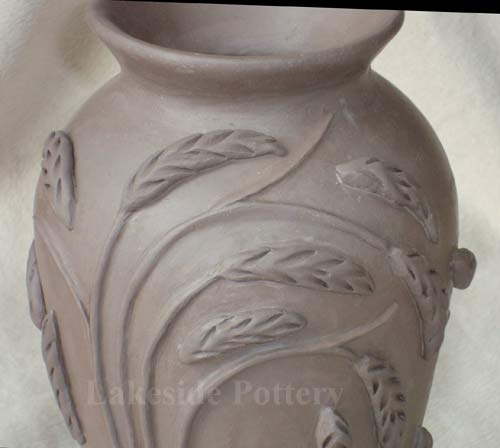
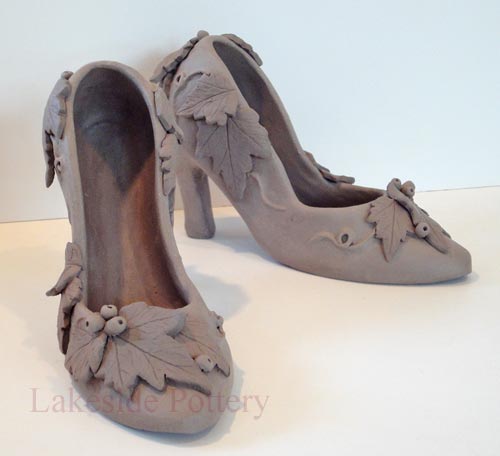
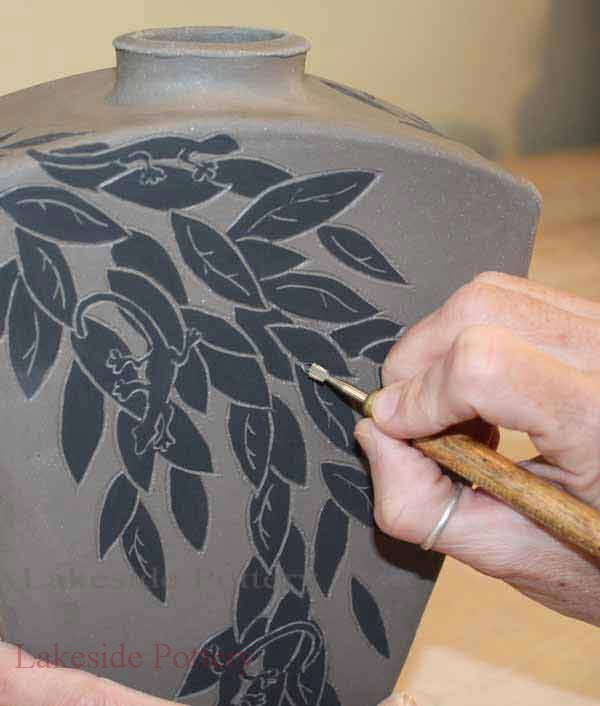
8. Other samples of coiled pots made at Lakeside Pottery. See Children hanbuilding Projects
Other coiled pot
 |
Other coiled pots
 |
|