|
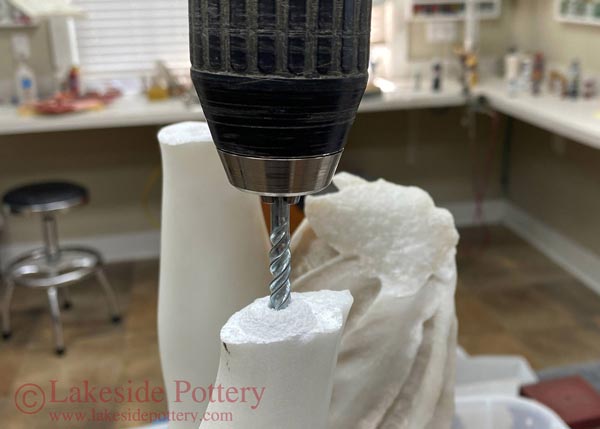
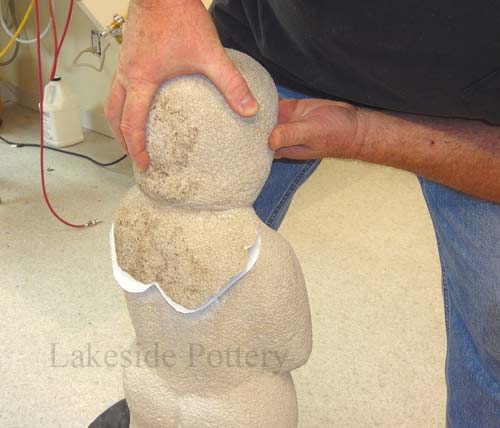
The selection of drilling location needs to be in the center of stone mass on both parts, the head and the body. The drilled stone dust is saved for later to be used to fill in the large gaps between the two parts once cemented.
|
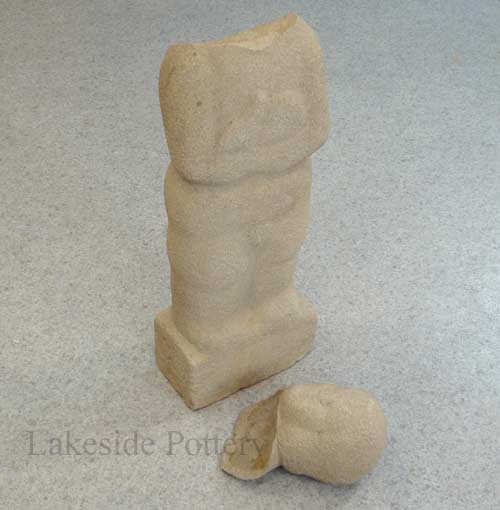
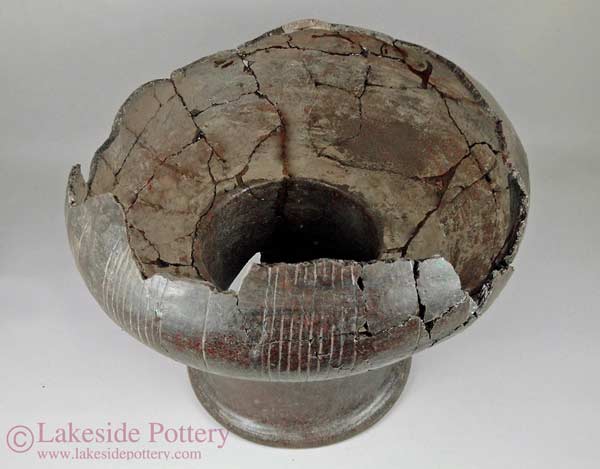
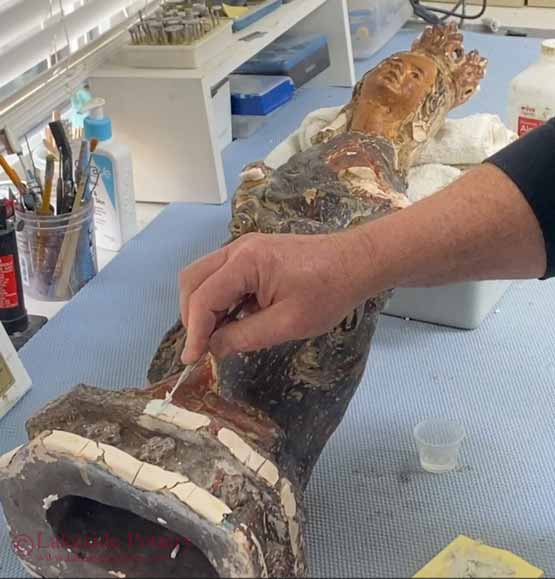
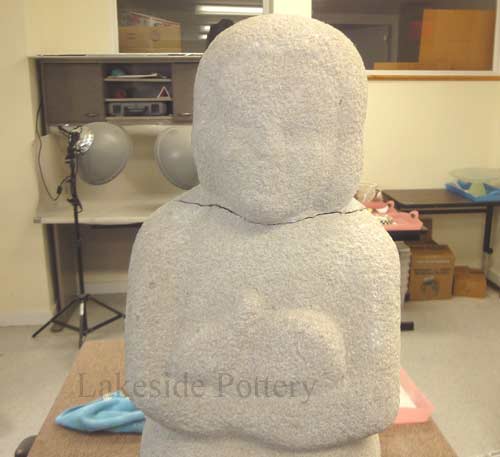
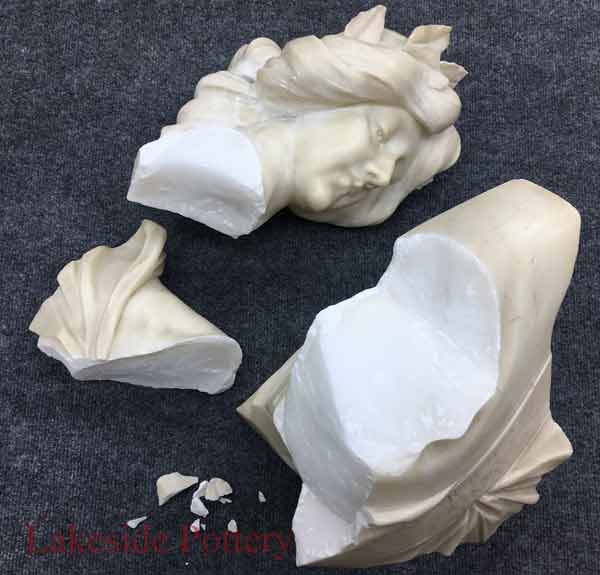
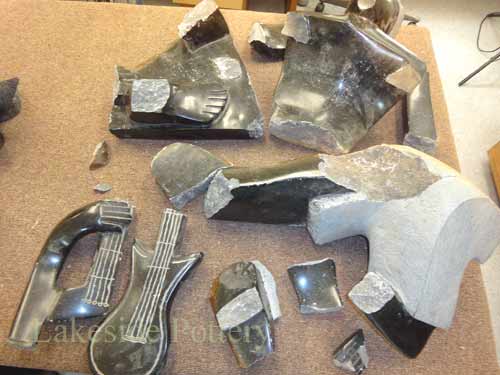
Broken stone sculpture - about 70 lbs
|
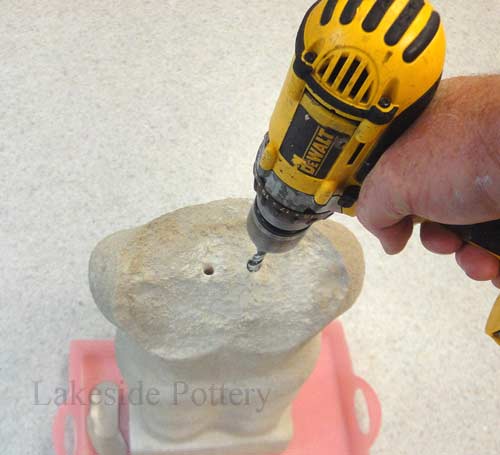 Drill holes using carbide tipped bit
|
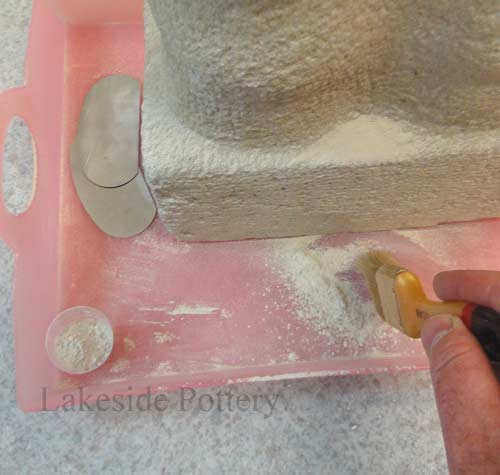
Collect the drilled dust for later use
|
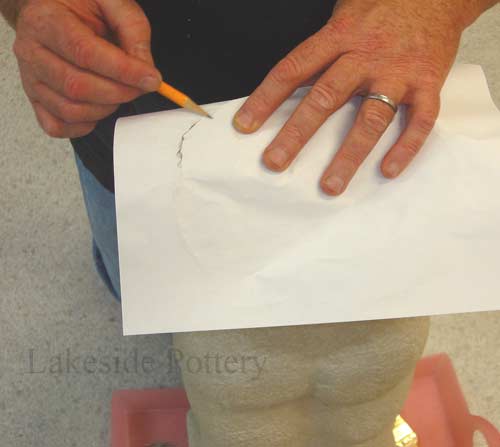
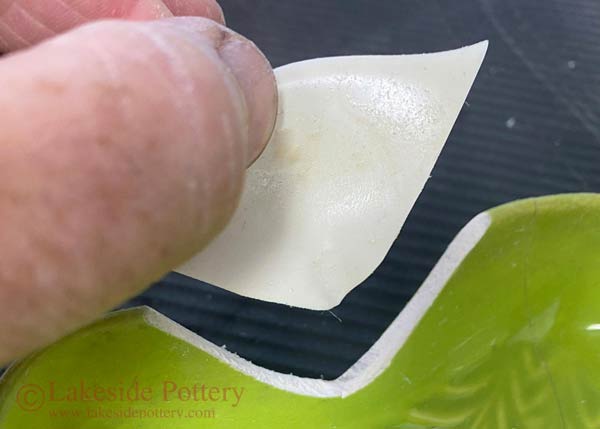
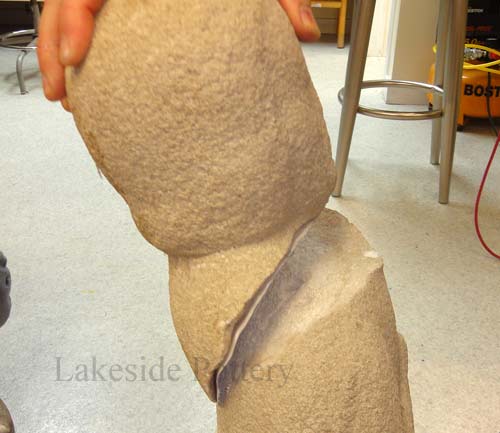
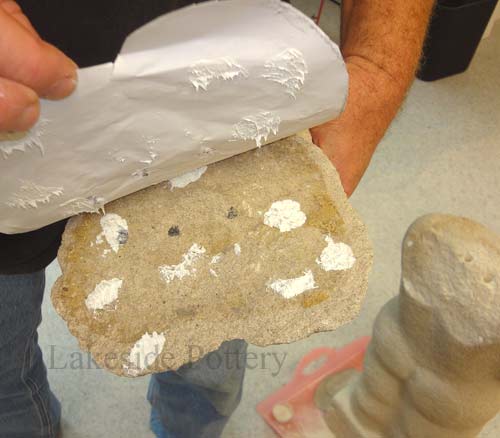
Mark outline of break area |
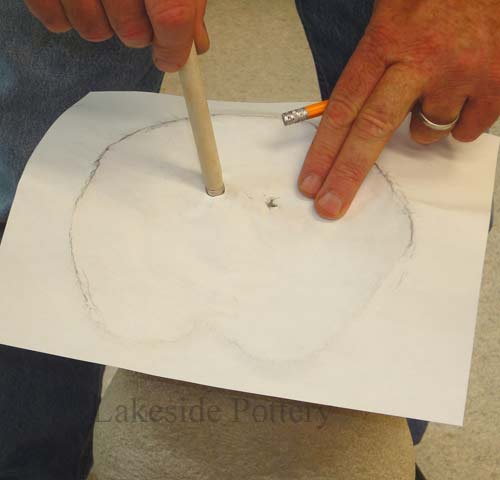
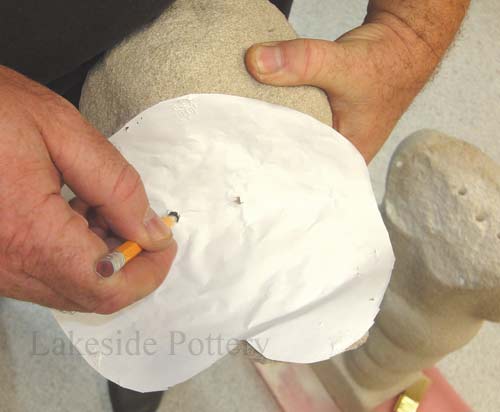
Mark the hole location on paper |

Cut paper |
|
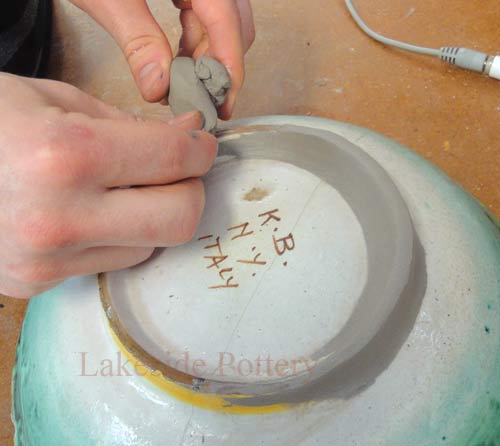
Once you have drilled the holes on one side of the work, how do you match the holes in the other side? Place a paper over the drilled surface, glue it down with water soluble glue (tape did not work in this example - it did not adhere to the soft stone surfaces) and outline the hole and the edges of the stone. Then, poke holes through the paper marking drilled holes. Follow the steps below and mark the exact hole location on the other portion of the sculpture (head) for accurate alignment location transfer.
|
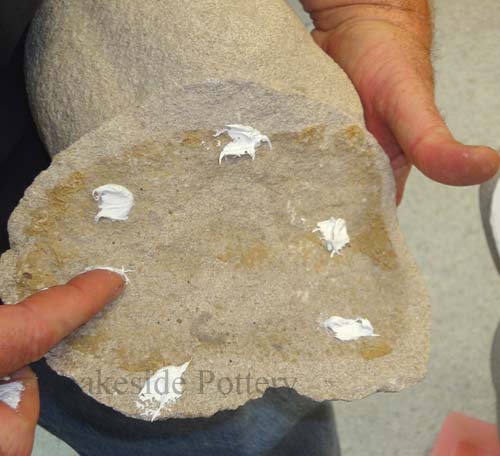
Place Elmers glue on the head side
|
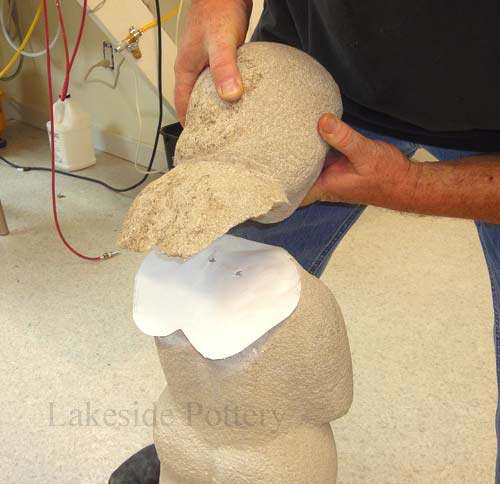
Place head on paper |
Make sure paper does not move
|
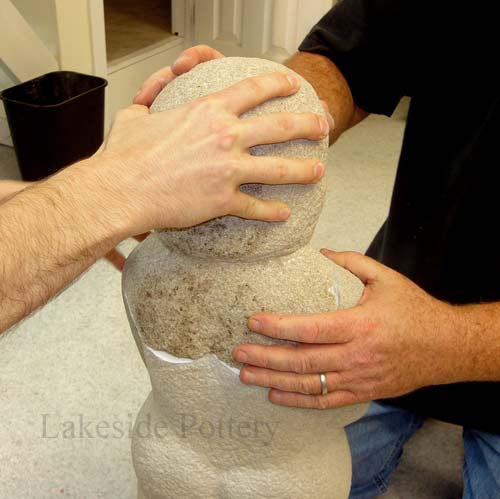
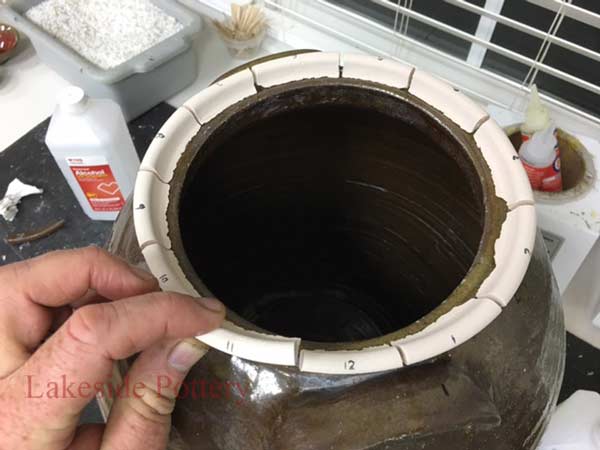
Align perfectly |
Paper glued to the un-drilled part |
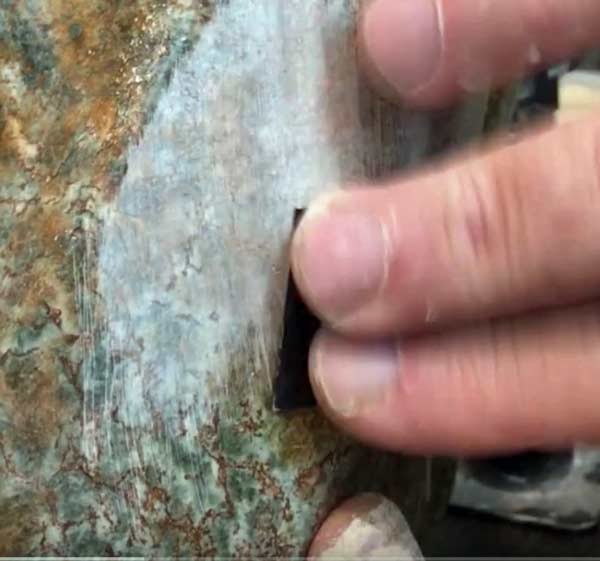
Mark location for the holes |
Note that the epoxy, once cured, is much harder than the stone in this case and therefore drilling the holes wider will not be a problem and will ease the fit requiring less accurate holes alignment. Remove dust from holes, remove old cement and clean surfaces well.
|
Verify marking and drill the holes
|
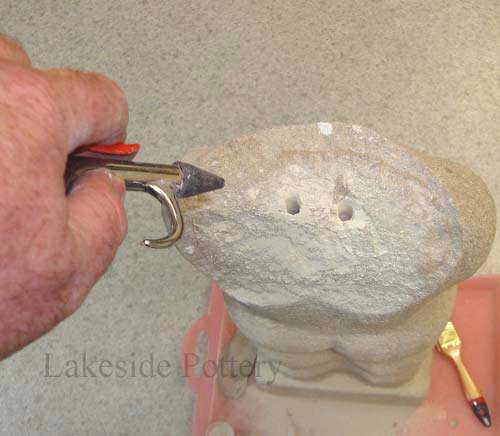
Clean dust with air pressure
|
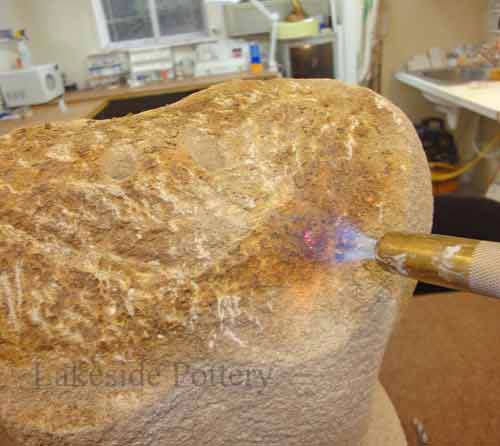
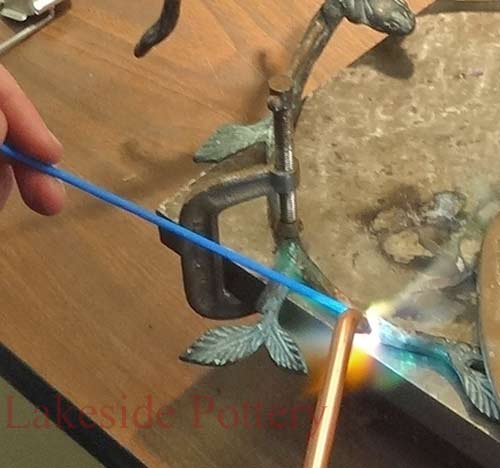
Clear old adhesive (in this case torch)
|
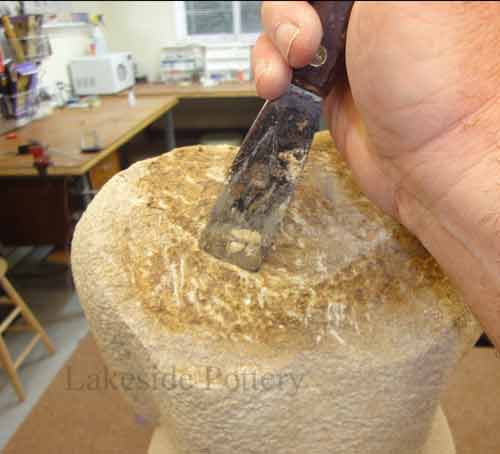
Scrape |

Brush |
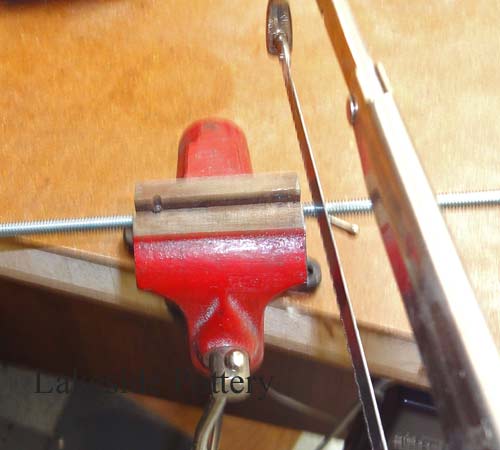
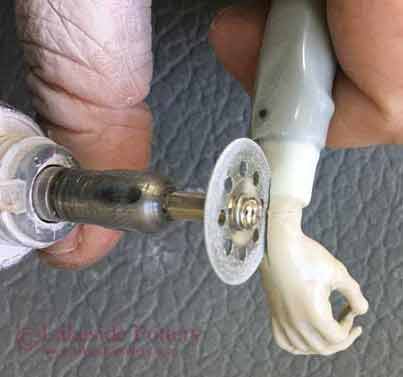
Cut metal threaded pins to size |
Cut rod to size (in this case about 4-1/2"). Place in holes and verify alignment
|
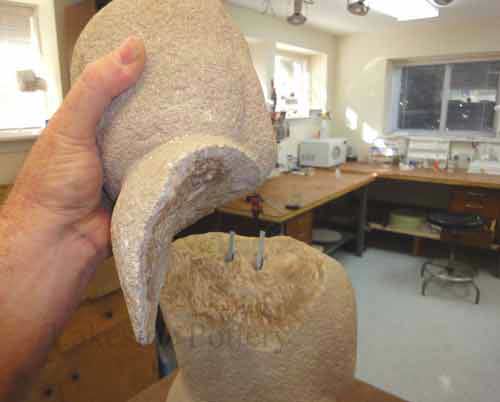
Place pins and verify fit |
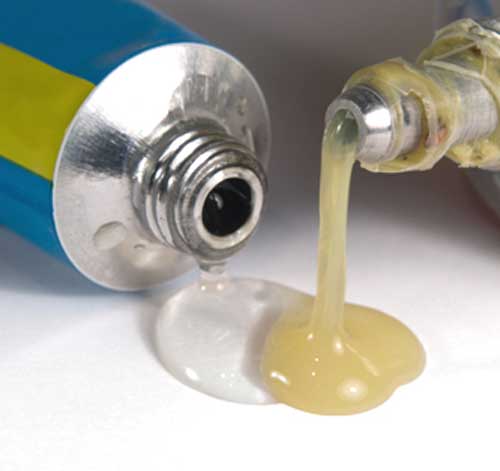
Mix Clear epoxy
|
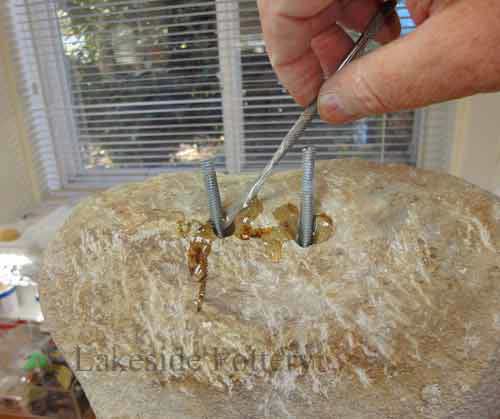
2-parts epoxy in holes and surface |
|
Mix enough epoxy to fill holes in bottom and top and cover the surface. If using 5-minutes epoxy, make sure you are all prepared and possibly have an assistant. The 5-minutes epoxy starts to set after 2-3 minutes.
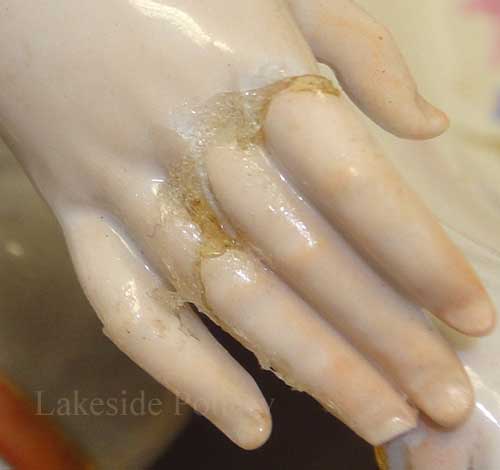
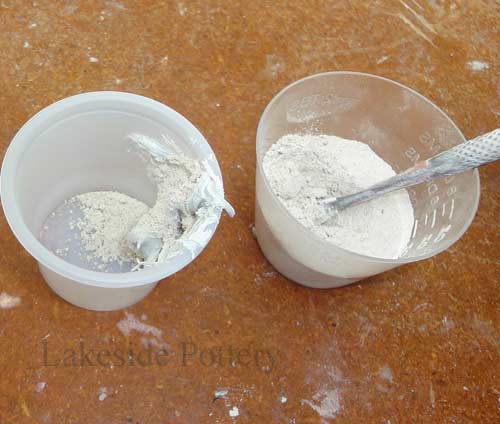
Once clear epoxy is cured, mix the filler epoxy with the stone dust you have saved (about 30% dust and 70% epoxy) and fill all the gaps. In this case, we used the PC-11 slow cure filler epoxy. Wait 24 hours before handling.
|
Wait 8 hrs or more for epoxy to cure |
Mix the drilled dust with white epoxy |
| Grind, drill, poke, and scratch surface to duplicate the rest of the sculpture surface texture
|
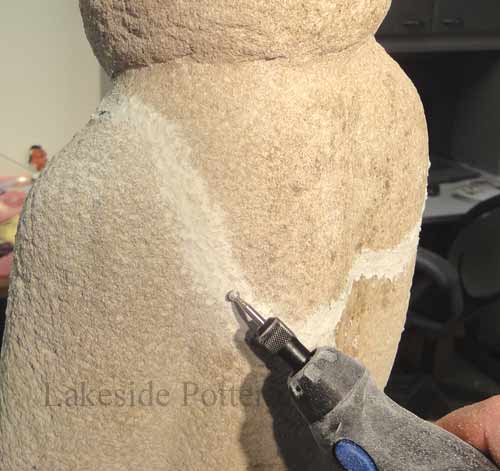
Using Dremel diamond bit for texture
|
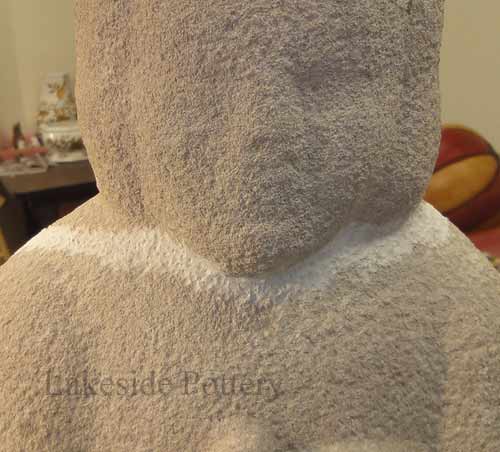
Texture phase 1
|
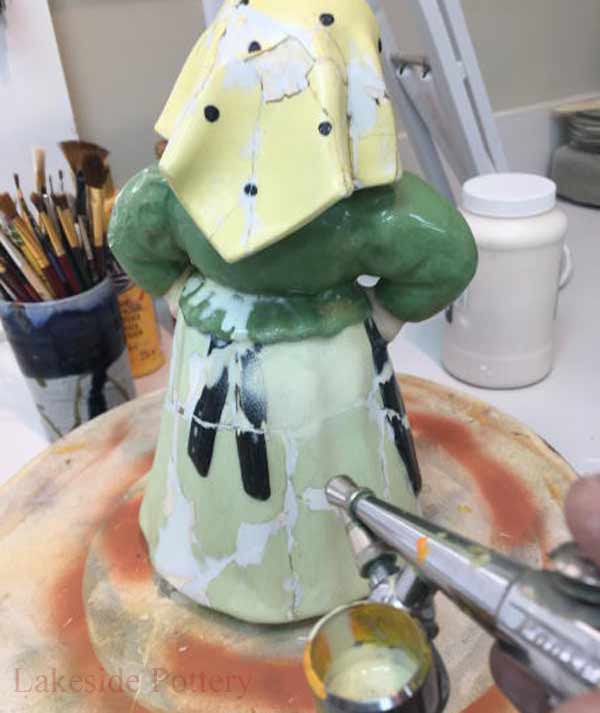
Texture accomplished - close up |
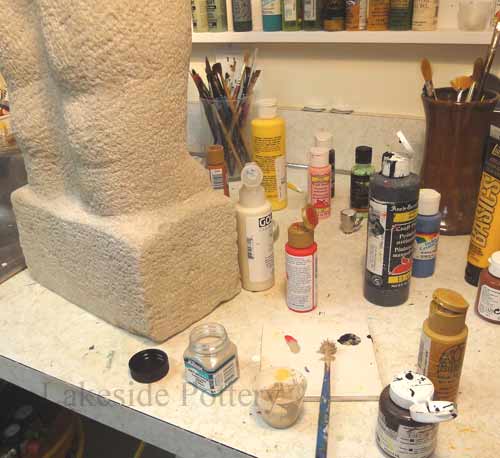
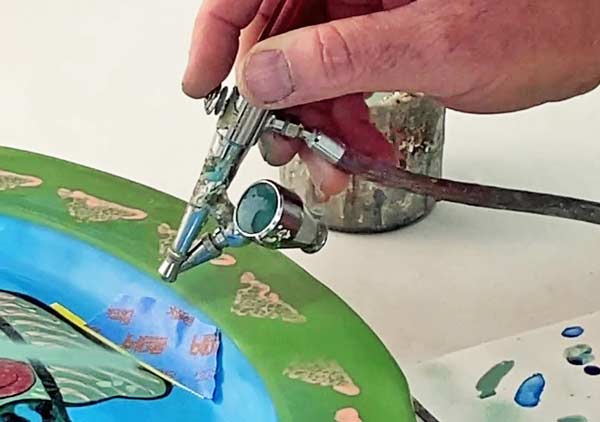
Match color and mix with sands More about painting repair lines
|
|
|
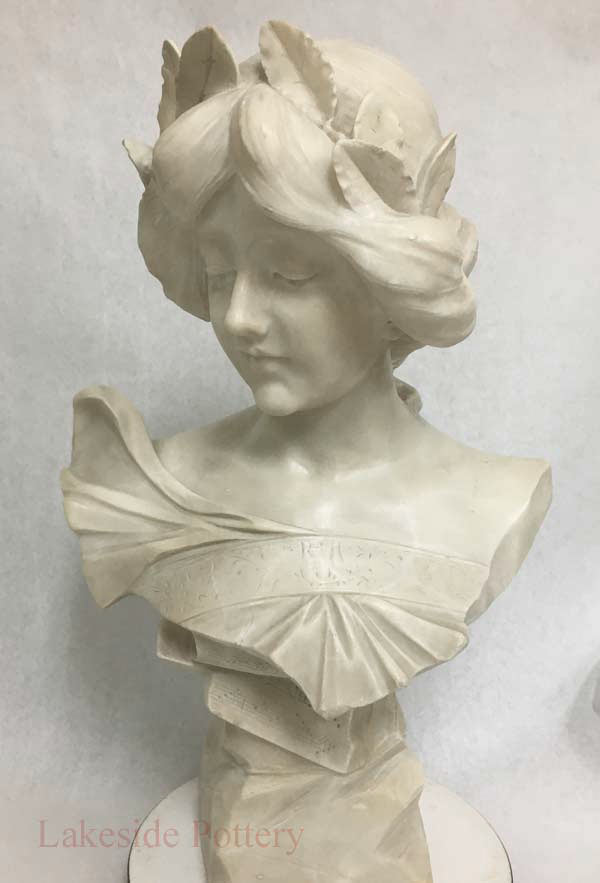
Pictured below are before and after results of a similar process.
|
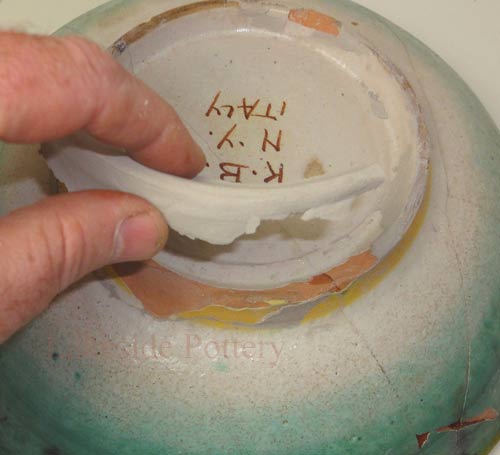
Antique Italian Marble sculpture
|
|
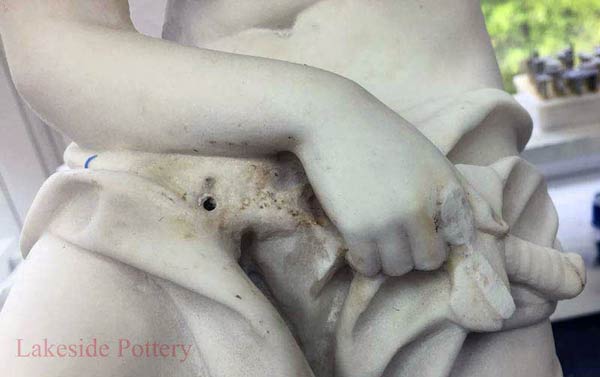
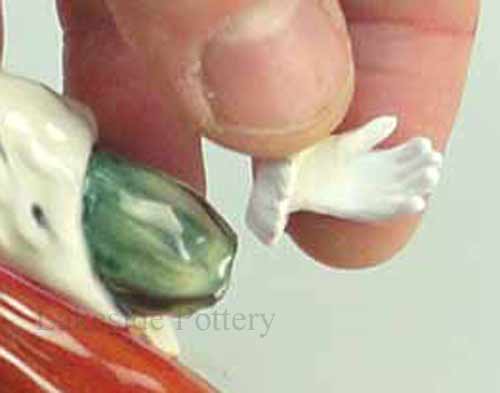
Antique Italian Marble sculpture with missing sward and finger
|
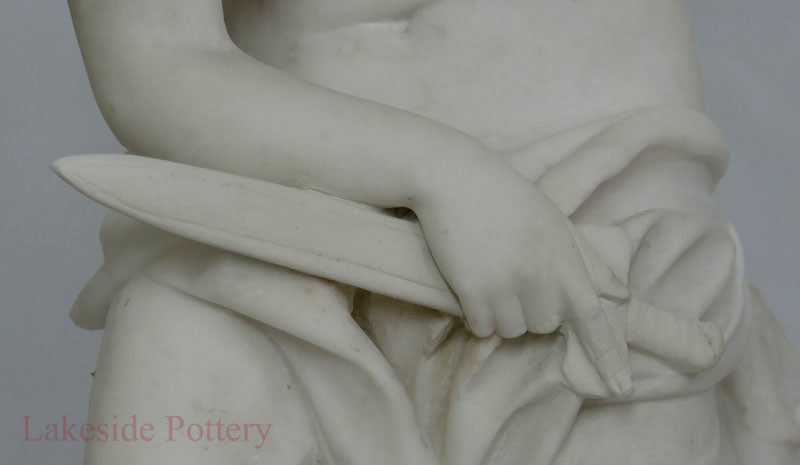
Sward and finger sculpted and matched to original marble
|
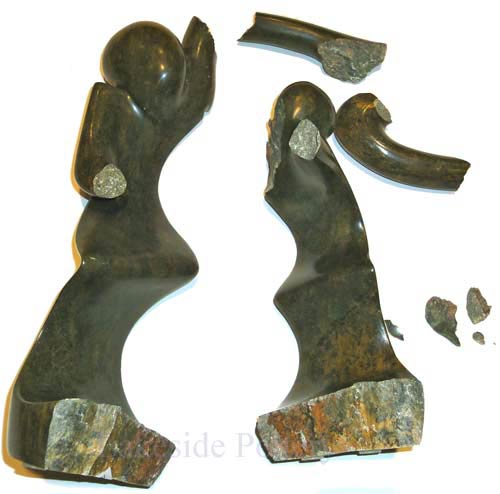
Broken Shona soap stone sculpture
|

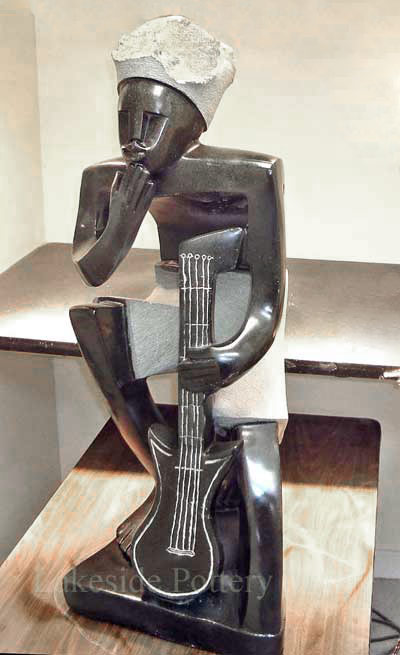
Zimbabwe sculpture repaired
|
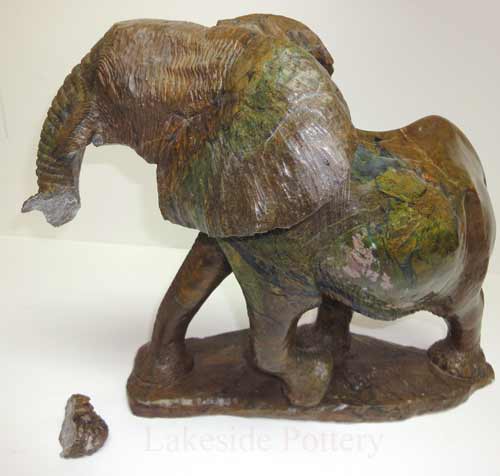
Verdite stone elephant broken
|

Verdite stone sculpture restored
|
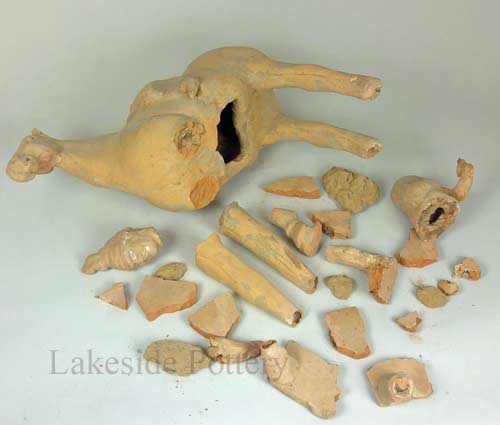
Broken Chinese horse sculpture
|
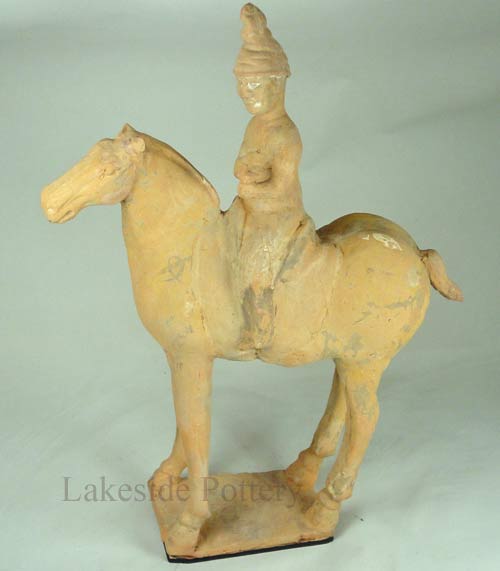
Chinese horse sculpture repaired
|
Large stone sculpture before repair
|
Large stone sculpture repaired
|