Clay can be recycled and reclaimed so that it can be used again. The most common questions and thier answers are in this tutorial
Can clay be reused?
How can I reclaim large blocks of clay?
How do you recycle clay?
Do I need a pugmill to recycle clay?
What stages of clay can be recycled?
Why dry out clay before you add water?
Does water type used to recycle clay matter?
Can I reclaim clay after it has been fired?
Does clay need to be dry when recycling?
How many time can clay be recycled?
Can different clays be mixed recycling?
What surfaces are used to dry wet clay?
The process we use to recycle and reclaim clay scraps or bone dry block of clay to a workable and usable clay
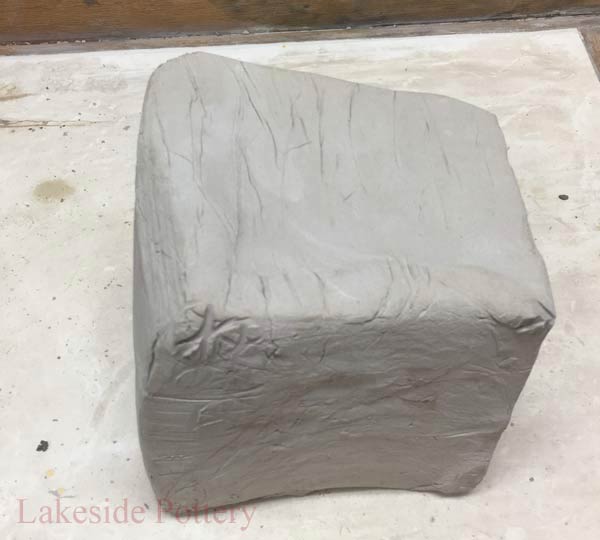
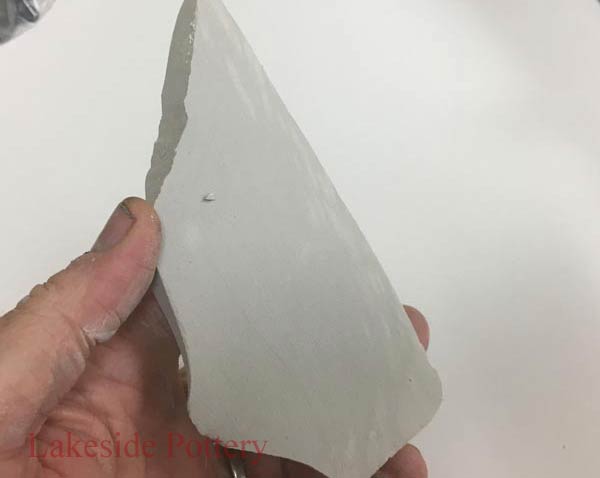
Allow the block of clay to be totally dry. The clay can be current or decades old
See this tutorial in a video - click below
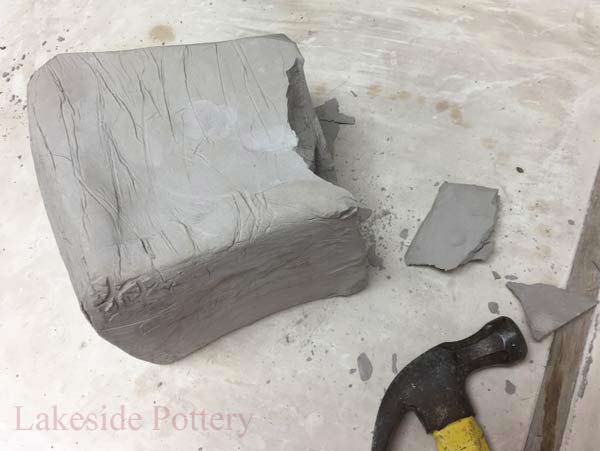
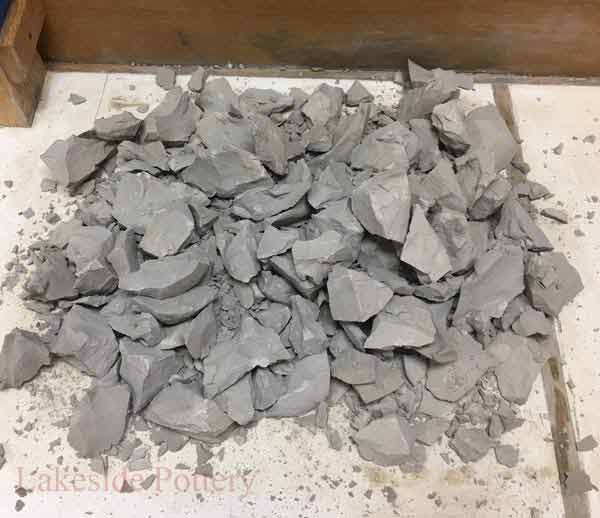
Using a hammer, start breaking the clay from the edge
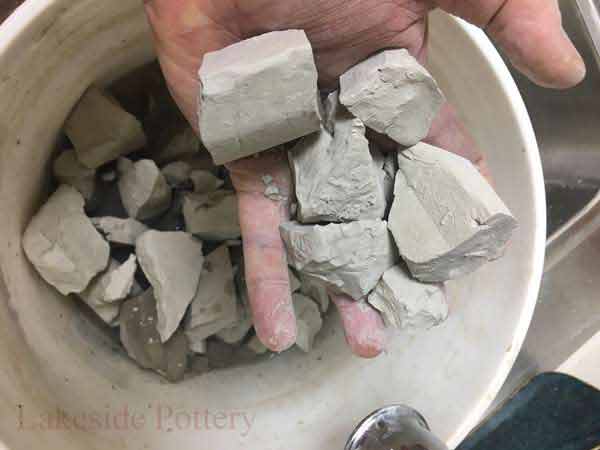
Break the dry clay to smaller pieces. Please wear goggles
Transfer broken chunks to a bucket
Bone dry clay should break off easily
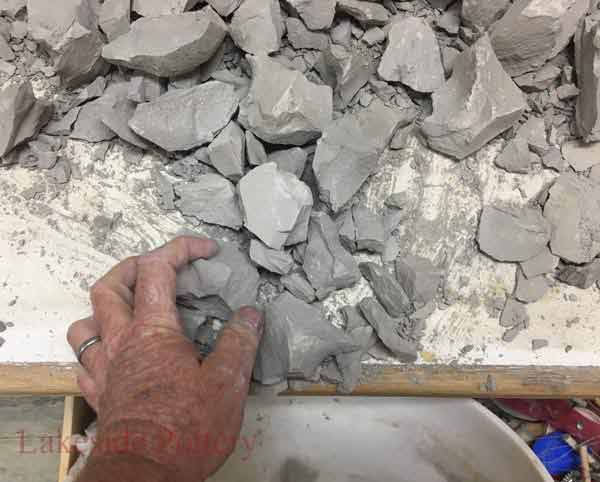
Make sure that any large pieces are broken into bits. Smaller pieces will absorb water faster and more thoroughly
Add to clay scrap bucket and let it get completely dry before adding water. Drying may take several days to over a week
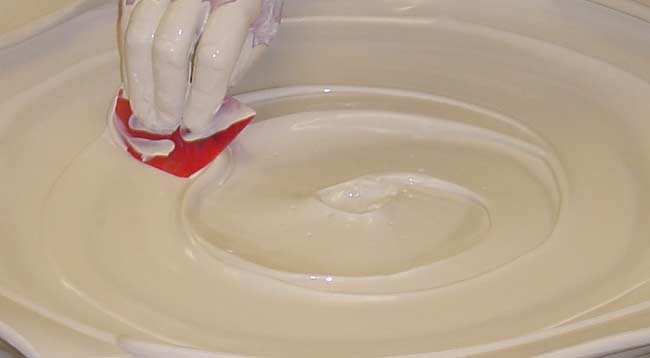
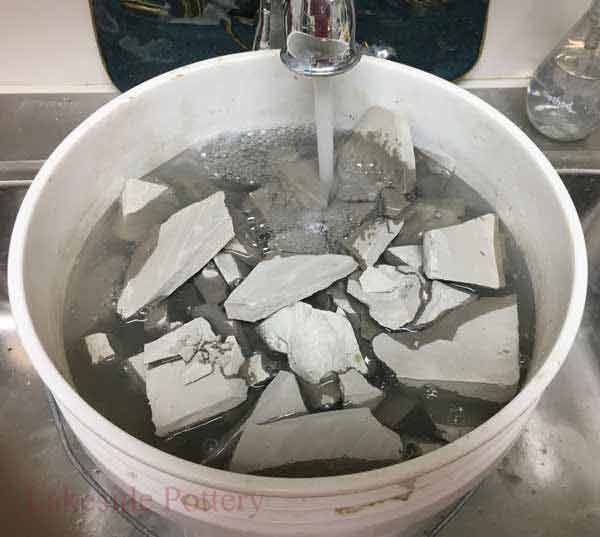
Once the clay scraps are dry *, fill with water covering the clay completely and additional 1" of water over the top
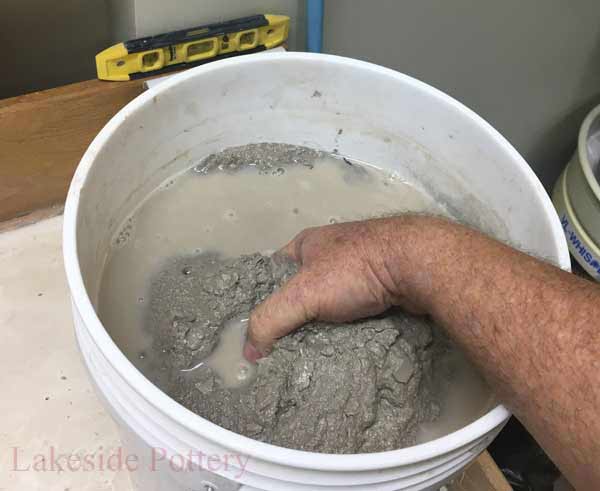
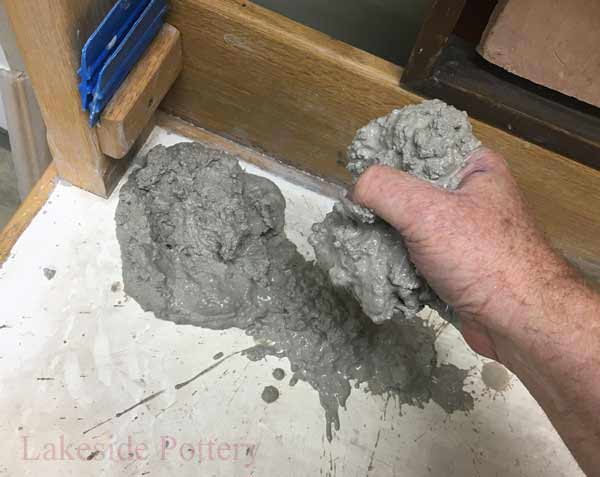
A couple of days later, once the slurry feels smooth, remove the clay slurry to a drying surface
* Water does not penetrate into wet or damp clay well. By allowing the clay to dry thoroughly, the water will absorb in the bone dry clay faster and more evenly. Sitting in water longer, will improve the clay's plasticity (See more below)
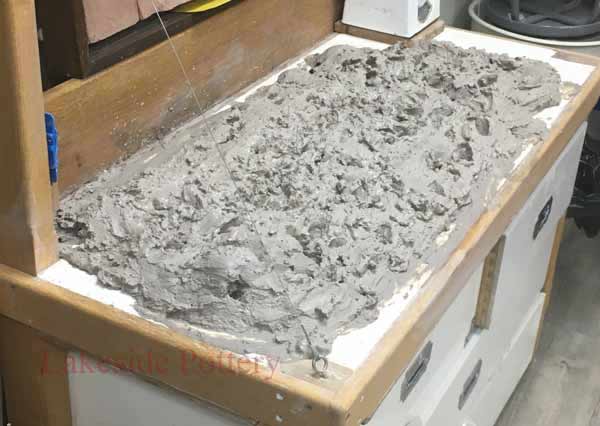
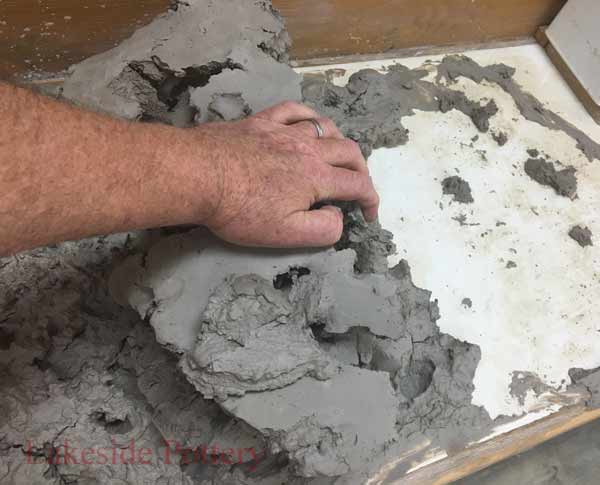
Transfer the clay to a porous surface for to drying (we use our plaster wedging table)
Spread the clay mix thinly and evenly to about 2 to 3 inches thick
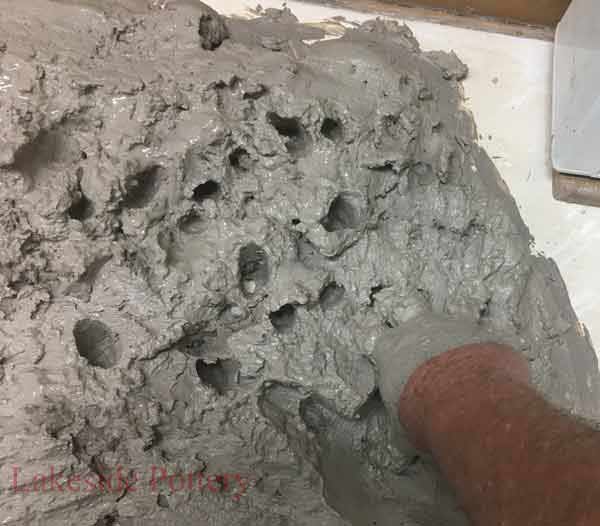
Smooth out edge to keep a consistent thickness. Edges not smoothed will over dry. Poke holes for faster and more even drying
Let the clay sit, checking on it periodically.** Let the clay to dry the right consistency depending on your needs (softer or firmer).
** The time it takes for the clay to dry depends on the amount of water that is in the clay slurry, room humidity, type of drying surface (plaster, wood, concrete) and room temperature. It could take hours or a few days. If you have to leave it unattended, you can place a plastic covering over the surface to slow drying.
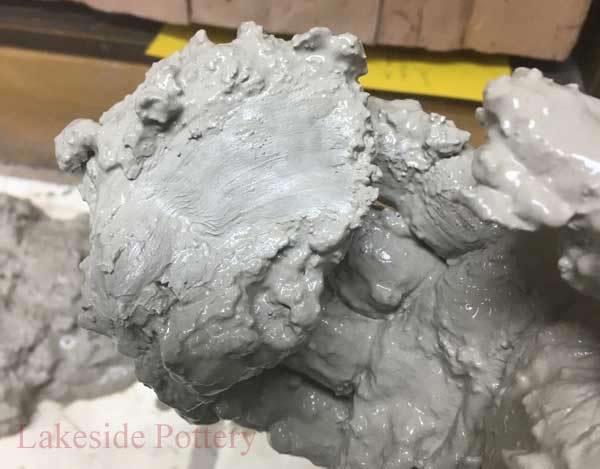
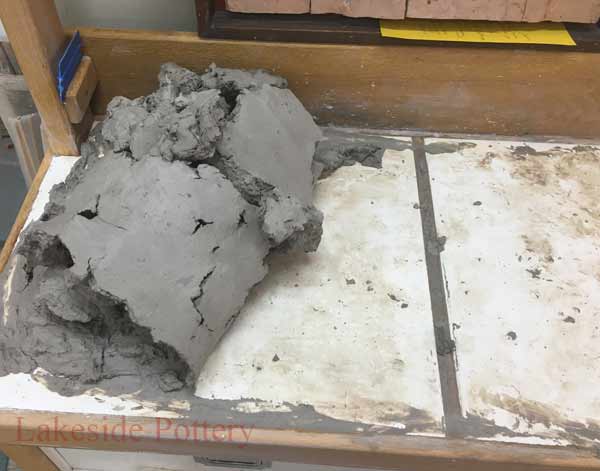
This leather-hard, not totally dry, piece of clay was mixed with the completely dried clay scraps in the bucket.
After sitting in water, the only clay that did not break down completely is the leather-hard clay chunk.
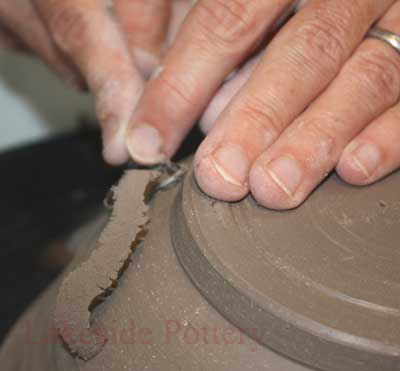
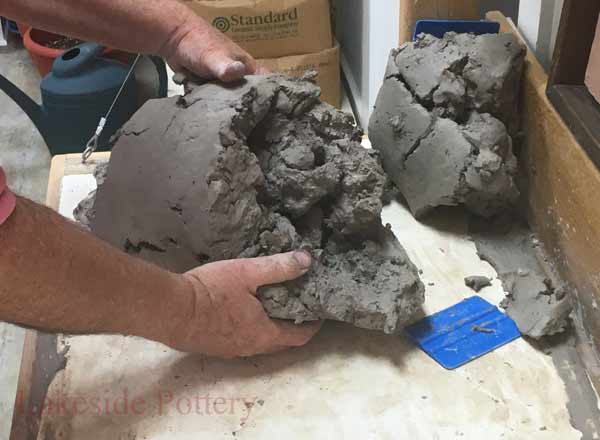
When the clay can be pulled off easily, remove it from the plaster board
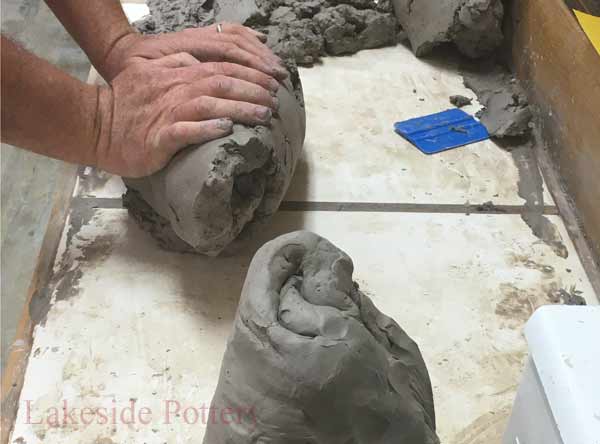
Roll the detached clay slab to the side leaving room for wedging
Divide the clay for wedging
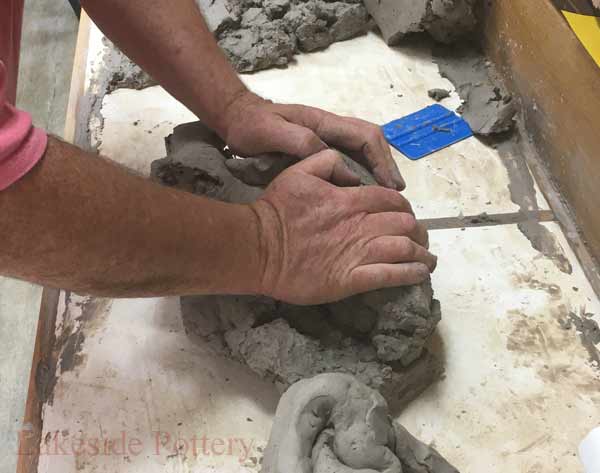
Use a clay size to match your strength
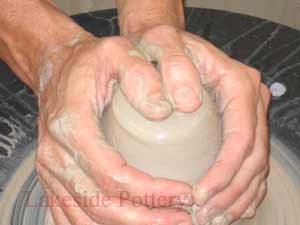
Wedge thoroughly
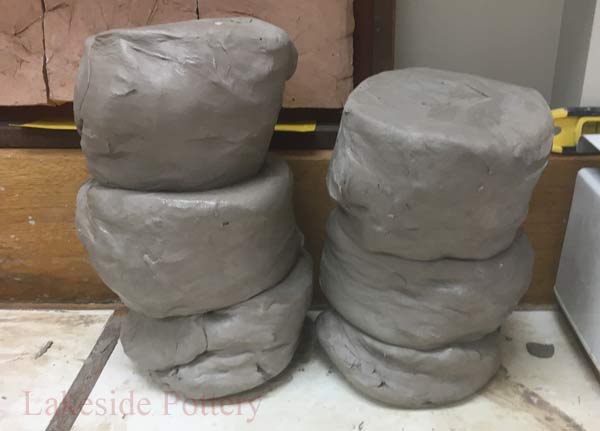
Clay ready for bagging
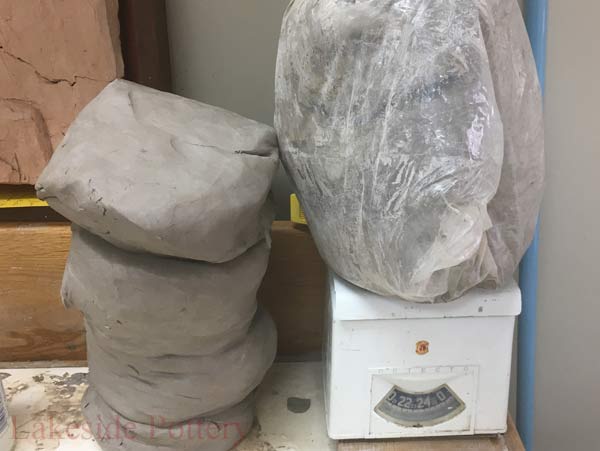
We place the wedged clay in heavy duty plastic bags and store about 25lbs in each bag. When you store clay in larger amounts it doesn't dry out as quickly giving longer shelf life.
Bag and seal clay
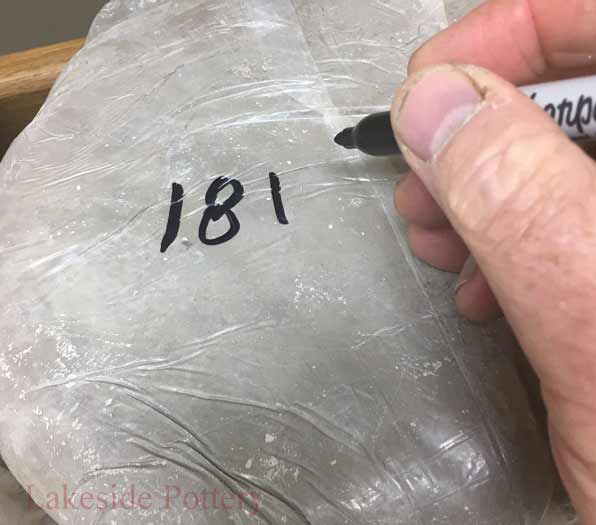
Mark the bag with the clay type / brand
Additional Clay Recycling Information:
There is no limit to how many times you can reclaim clay.
Letting the scraps of clay be wet for a longer time, several days or weeks, will improve the clay plasticity (The property of clay that allows it to change shape without rupturing). Sitting in water longer will increase the level microorganisms and bacteria which secrete polysaccharides bridging the clay particles and promote increased plasticity. Chlorine treated water kills bacteria and will reduce the above effect.
Once clay is fired, it is no longer clay and cannot be reclaimed
Different clays can be mixed together when recycling. However, it is important that the mixed clays rated to fire at a similar temperature and have similar shrinkage rates.
Surfaces types that can be used to dry clay need to be able to absorb water effectively and are (in order of effectiveness): Plaster board or plaster wedging table, plaster bats, concrete slab. A good option (if you have $70 to spend) is to purchase a recycling 18"x18" Hydrostone Gypsum plaster slab: See link
Sheetrock or drywall are not suitable for clay recycling. The paper surface will peel off, will build fungus and the board will weaken.
There are other clay recycling methods which work but are not what chose to use (hanging pillowcase, insertion to a zip lock bag with water, pugmill and other).
Small clay scraps such as trimmings or slurry wheel throwing waste do not have to be totally dried up before recycling process starts.
Once the wet clay is placed on the plaster board, drying can be slowed down by loosely.
Covering with dry cleaning plastic sheet.
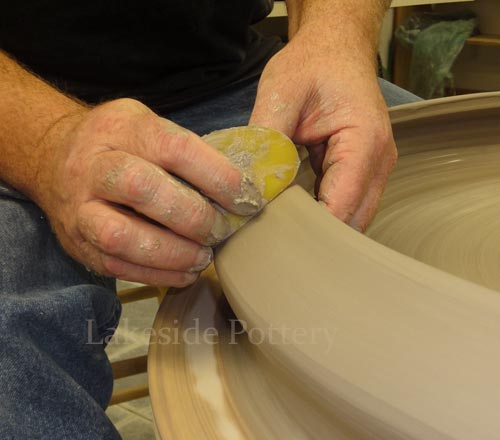
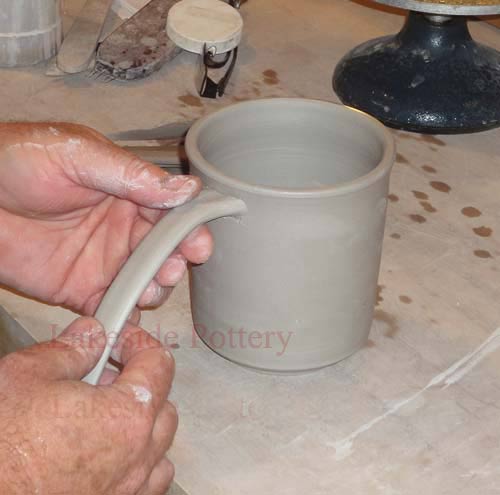
Failed thrown pots can be wedged and recycled right away.