Ceramic & Sculpture Repair Lessons
(click pictures)
|
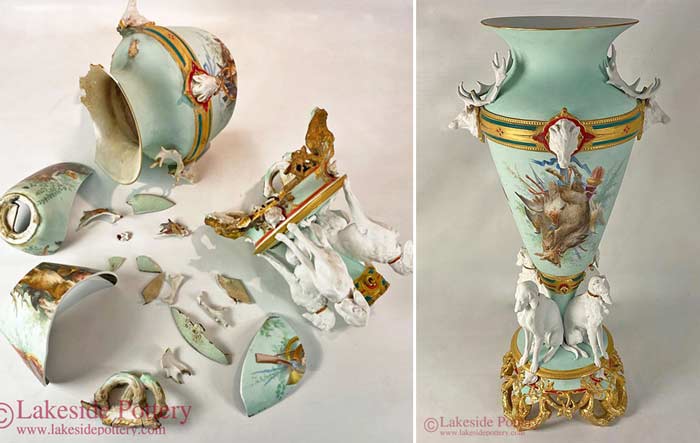
Process for Assembling and Mending Multi-Piece Ceramic and Pottery Breaks
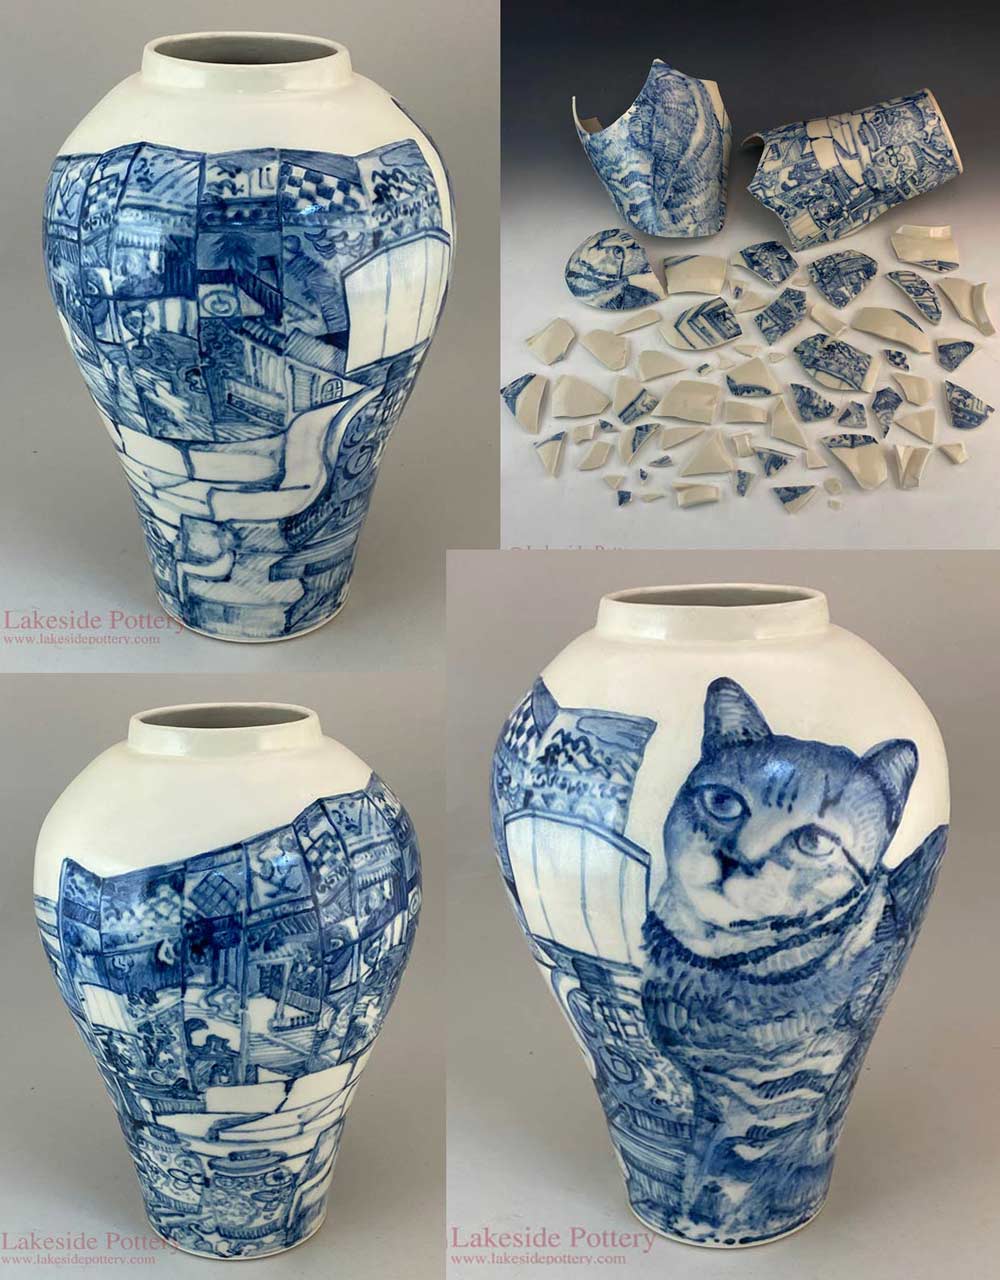
Reconstructing pottery made of many broken segments is more challenging than it appears at first glance. Each piece influences the next, so even a small mismatch in angle, height, or tilt can start a chain reaction that throws the entire form off. This is not a random process; it is a structured method that requires intention, planning, and adherence to proven techniques.
The objective is not simply to glue fragments together but to restore the original geometry as closely as possible. Clean seams, correct balance, and accurate projection all depend on thoughtful sequencing, careful preparation, and an understanding of how each segment interacts with the larger form. Working patiently and using physical forces like gravity to your advantage will greatly increase your chances of preventing cumulative errors. The guidelines below outline the most reliable methods for maintaining correct alignment during multi-piece assembly.
Table of Contents
|
1. Avoid Forcing Tight Angled Fits
Avoid creating conditions where a later segment must be inserted into a space tighter than ninety degrees. If a piece must be twisted, wedged, or threaded in, the risk of breakage or misalignment rises significantly.
|
|
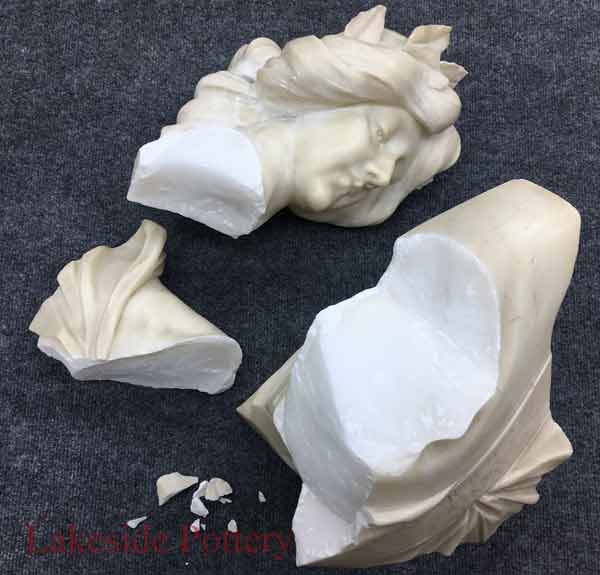
2. Work in Clear Sub-Sections
Treat each sub-section as a small, self-contained project. When two sub-sections meet, the shared edge must
be straight, clean, and uniform. Avoid boundaries that interlock like woven fingers. A flat, continuous edge
ensures the next segment seats properly.
|
|
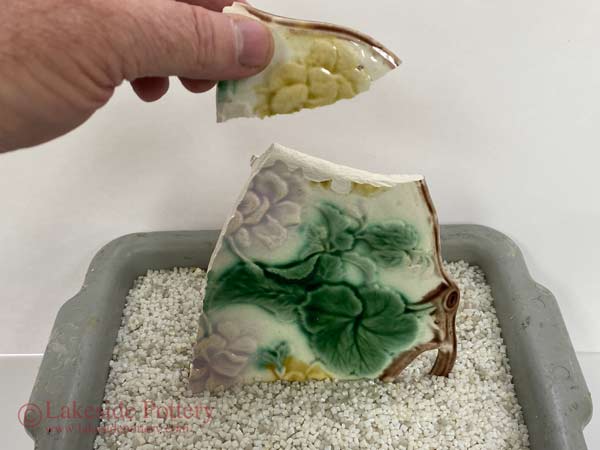
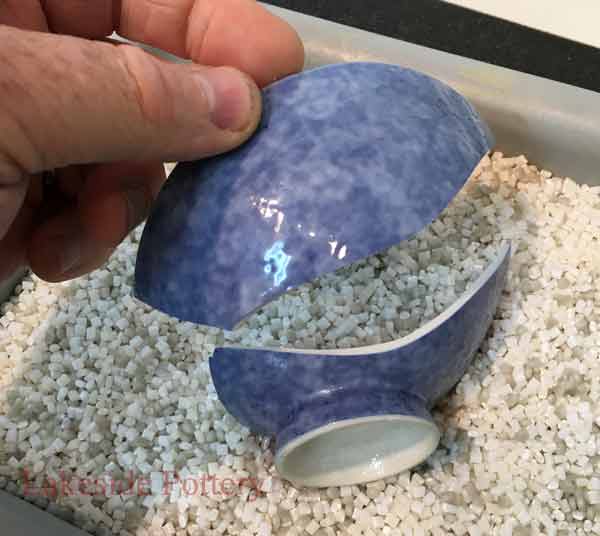
3. Use Gravity to Your Advantage
Always perform a dry run before applying adhesive. Position the lower segment so the one above it balances
naturally without support. When the geometry is stable and the projection aligns naturally, apply adhesive.
Gravity should help hold the assembly, not fight it.
|
 |
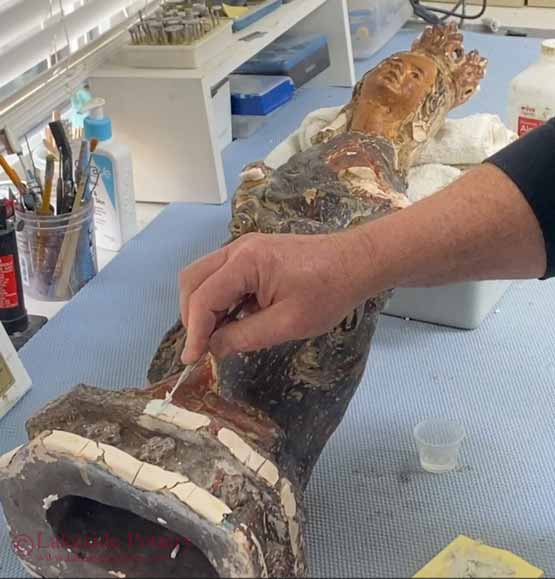
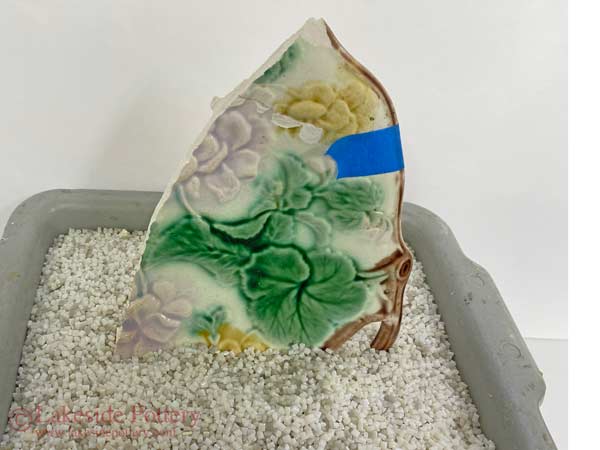
4. Use Temporary Supports as Needed
Certain angles will not hold on their own during curing. Use clay, painter’s tape, or removable low-temperature
hot glue to stabilize awkward positions. These temporary supports prevent shifting while the adhesive sets.
|
 |
5. Prevent Error Buildup
Apply adhesive in very thin layers. Excess epoxy between joints creates height differences or tilt that
accumulate as the assembly grows. Thin adhesive layers maintain clean alignment and prevent cumulative distortion.
|
 |
6. Assembly as One Continuous Process
Many epoxy systems remain adjustable for several hours during the early curing stage. Some formulations allow slight angle correction when warmed gently to 140-180°F (60-82°C) within the first few hours. This brief window permits small alignment adjustments without compromising long-term bond strength, provided the piece is handled carefully and corrections are made gently.
|
 |
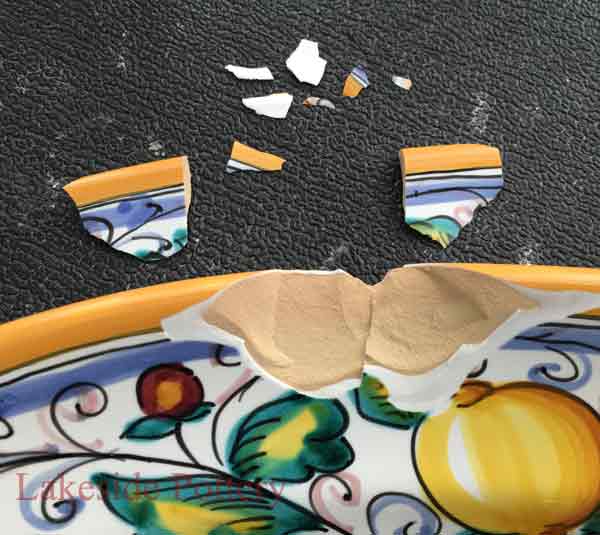
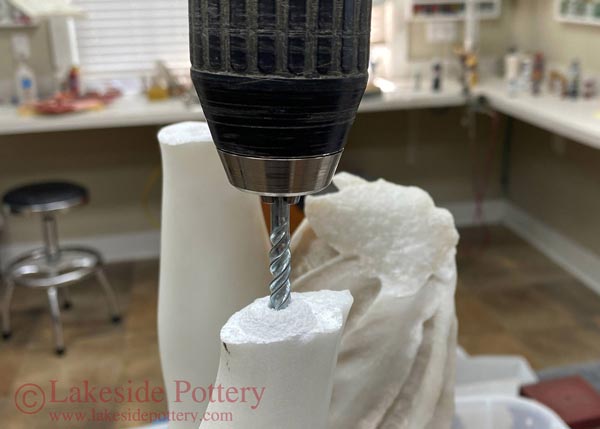
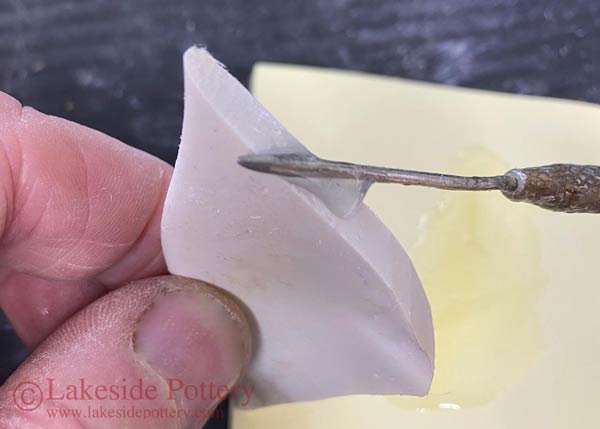
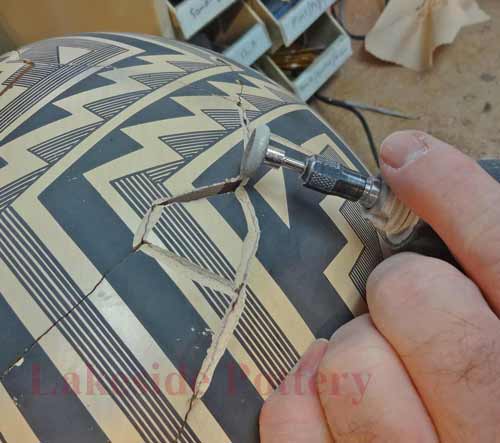
7. Final Pieces Fit Issues
The final pieces often feel slightly tight because of slight height built up or narraow angel was unevedable or alignment changes earlier in the process. Removing a small amount of material with a fine diamond bur may be necessary.
|
 |
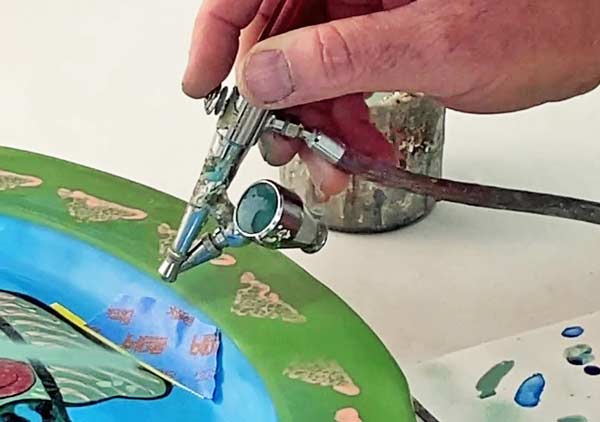
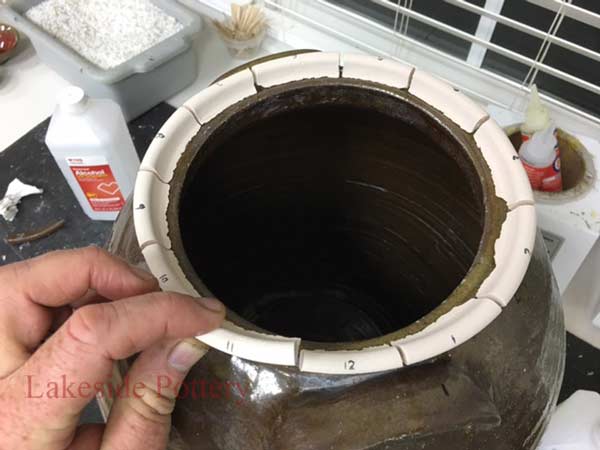
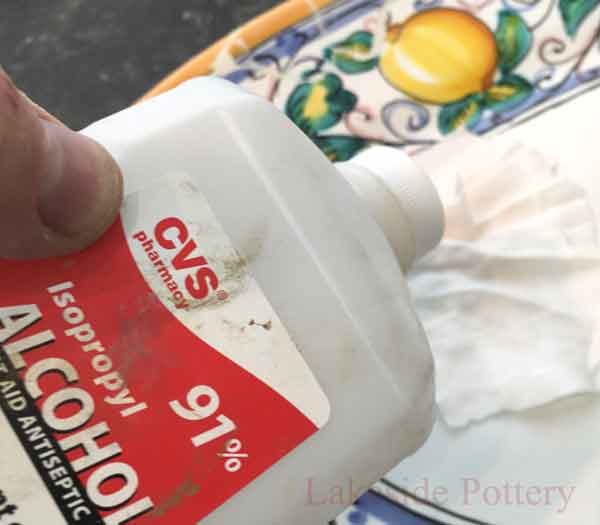
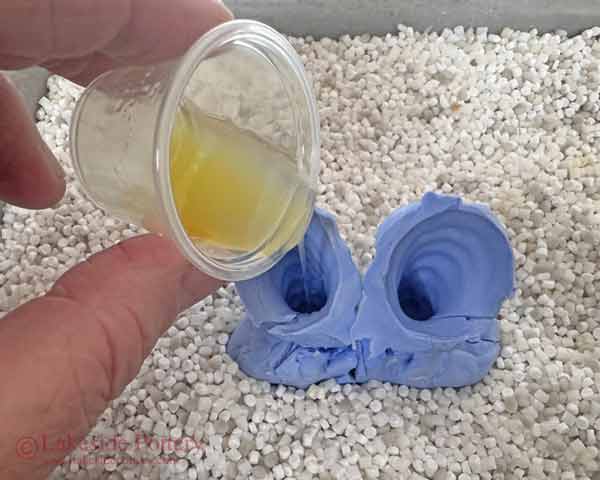
8. Recommended Tools and Materials
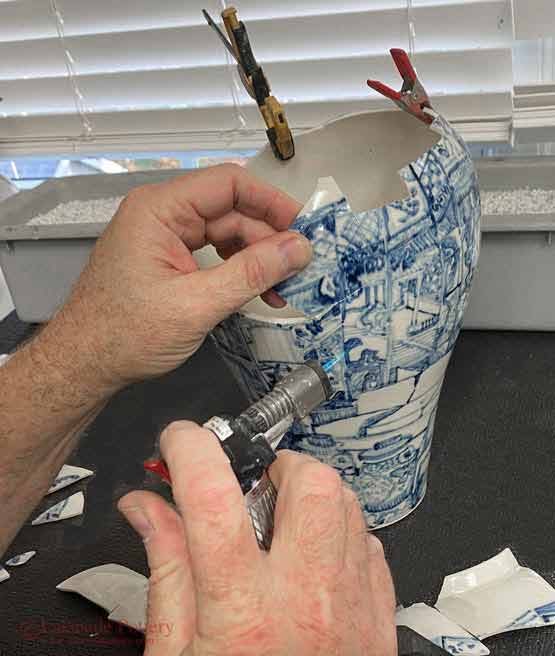
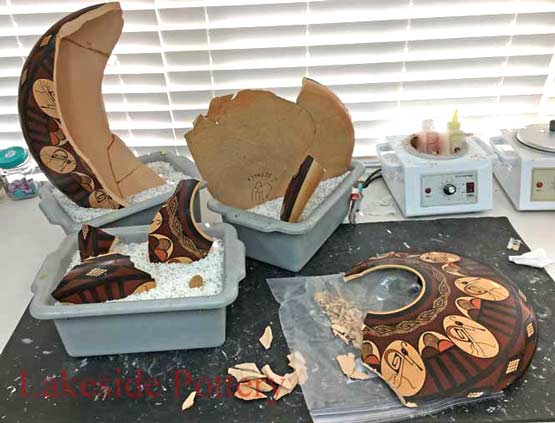
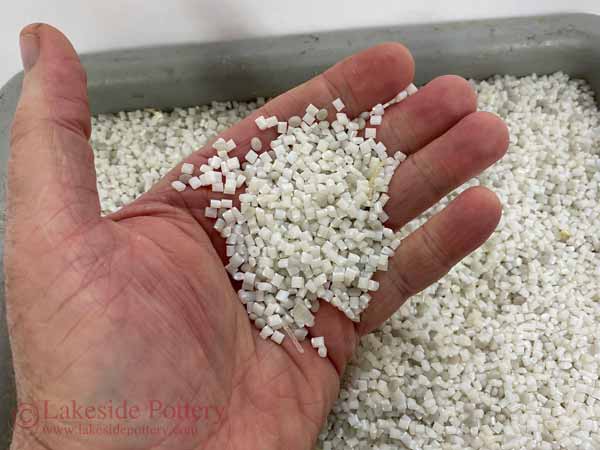
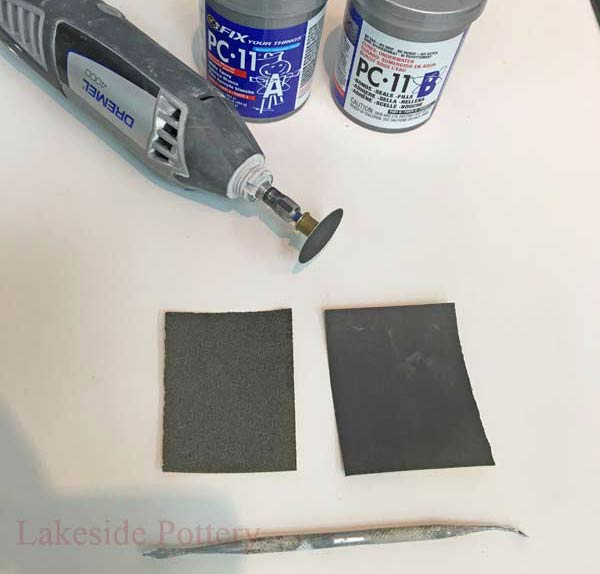
A reliable setup improves precision and reduces alignment errors. Useful tools include a high-quality two-part epoxy (we typically use a 5-minute set time), micro-spatulas, 91 percent alcohol for cleaning break edges, fine diamond burs, bright LED side lighting, painter's tape, clay for temporary supports, and a magnifier for inspecting seams. In most cases, we use containers filled with PVC or resin pellets to hold broken segments in place. This allows us to position pieces using gravity without needing temporary bonding (see image on right). Where to get supplies
|
 |
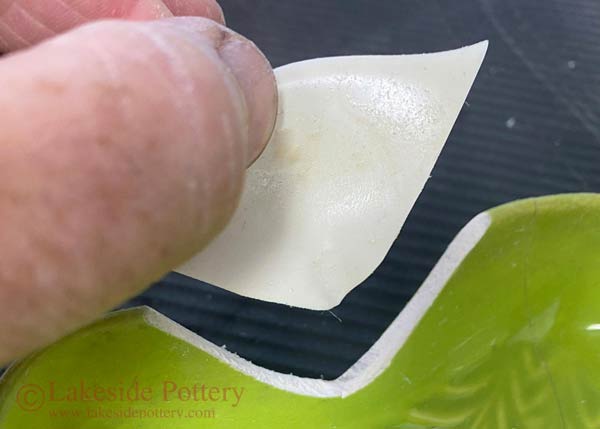
9. Surface Preparation Before Assembly
Clean break edges with alcohol to remove dust and skin oils. Do not use water for cleaning, since it takes a long time to dry and any remaining moisture can compromise the bond. Pre-segregate the broken pieces into logical sub-sections and perform a dry run for every segment. Inspect and remove any small ceramic fragments or debris that could cause spacing errors. Have all necessary tools and materials within reach before you begin. Proper preparation dramatically improves final accuracy and prevents unnecessary delays, especially when working with a quick-set epoxy where working time can run out quickly.
|
 |
10. Choosing the Correct Assembly Sequence
Begin with the largest, most stable structural area. Avoid starting with isolated fragments. Build outward
from a stable anchor so each new piece benefits from the support of the previous ones. Proper sequencing
prevents stress and distortion.
|
|
11. When a Piece No Longer Fits
Do not force a misfitting fragment. Recheck adhesive thickness, confirm no micro-chips are missing, verify that an adjoining segment has not rotated slightly, and only remove material with a diamond bur as a last resort.
|
|
12. Curing Time, Handling, and Safety
Handle the object carefully during set time. Avoid putting pressure on newly joined areas until the epoxy reaches full cure. Work in a ventilated area, and do not move the assembly prematurely, since even slight movement can cause subtle misalignment. Revisit the piece periodically during the early set period to check whether any alignment has shifted and make gentle adjustments if the epoxy still allows it.
Cure time can vary from the manufacturer’s specifications. The warmer the room, the faster the epoxy will set. A cold environment below 68°F (20°C) can drastically slow curing. We typically work at a room temperature of 70-72°F (21-22°C) to maintain predictable set and cure times. To stay consistent, we use a timer to remind us when the next segment can be added safely.
|
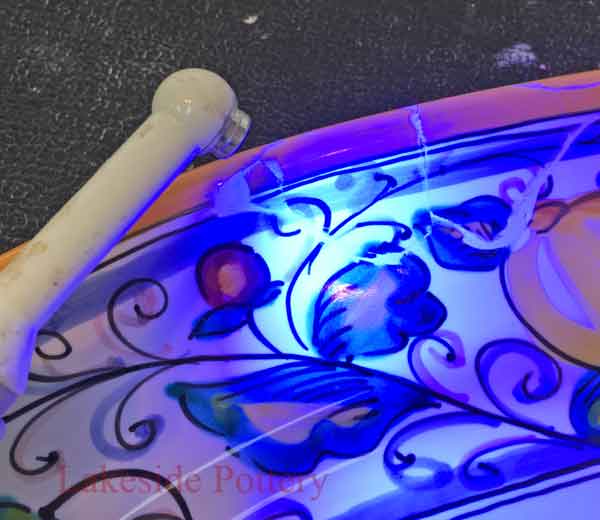 |
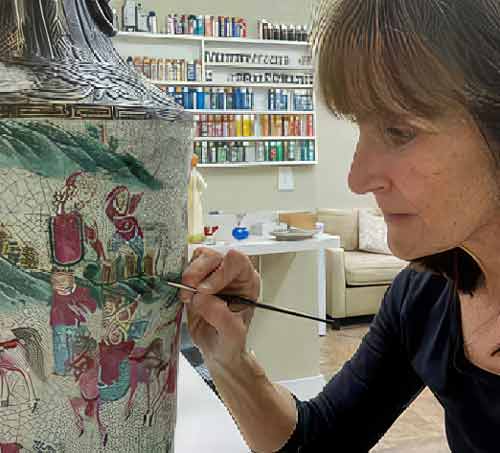
13. Alignment Tips
Use a bright side light or a UV light to catch seam shadows that reveal misalignment or areas lacking surface continuity. After removing excess epoxy with a cotton rag dampened with 91 percent alcohol, feel the transitions with your fingertip to detect even the slightest steps or unevenness. This combination of visual and tactile inspection helps ensure clean, accurate alignment.
|
|
14. Common Mistakes to Avoid
Rushing the process, using too much epoxy, skipping dry fitting, allowing joints to set before checking alignment, and ignoring cumulative error are the most common causes of poor outcomes.
|
|
Additional Resource
For a visual demonstration, see Lesson #3 - click here. It shows how to keep cemented pieces stable while curing.
|
|
|
Appendix A:
Why Small Alignment Errors Grow in Multi-Piece Repairs
Even a small misalignment early in the process can become a visible problem by the final join. Each new fragment inherits the angle and height of the previous ones. If one joint is tilted outward by a fraction of a millimeter, the next piece is forced to follow that tilt. As this repeats around a rim or along a curved wall, the distortion gradually multiplies.
This is why a one millimeter error at the third or fourth piece can turn into three millimeters at the last piece. The vessel no longer closes cleanly, and the final fragment feels too long, too tall, or twisted even though it has not changed. The geometry has shifted around it.
A simple way to picture this is to imagine twelve pieces forming a ring:
- Pieces 1 and 2 are joined perfectly.
- At Piece 3, the rim leans outward only 0.5 mm.
- Pieces 4– follow that new angle without you noticing.
- By Pieces 9–, the outer edge has drifted several millimeters from the original circle.
The error at each joint is small, but it is all in the same direction. By the time you reach the last fragment, the accumulated shift shows larger gap or a visible “step” where the two ends are supposed to meet.
Angles matter more than gaps. A small gap can sometimes be filled without changing the overall shape, but a small rotation changes the direction of the entire wall. A tiny twist at the third joint becomes a visible step at the last joint because every piece after it is slightly redirected.
In practical terms, this means that a micro-twist you do not notice in the early stages can be the true cause of a final piece that appears too large or refuses to seat. The mismatch is not in the last piece but in the accumulated rotation of the structure leading up to it.
|
Appendix B:
How Professionals Control Cumulative Error
Professionals begin by choosing a reference area that is treated as the anchor for the entire repair. This datum surface is usually the most intact and clearly defined part of the form. All sub-assemblies are built so they agree with this reference, not just with the nearest neighbors. If a sub-assembly begins to drift, it is corrected or reassembled before being joined to the main structure.
During assembly, frequent dry fitting and visual checks from multiple angles help catch rotation and height problems while they are still small. Supports, pellets, and jigs hold geometry while the adhesive cures so that gravity works in favor of alignment. Instead of trying to fix large errors at the end, small corrections are made throughout the process, which keeps the final join clean and predictable.
One method is to work in short chains of four to six pieces and then reset the geometry. The restorer brings the growing sub-assembly back to the datum surface, checks that the overall curve, height, and projection still match the original, and only then continues. These deliberate pauses act as geometry resets and prevent a small drift from running unchecked around the entire object.
Predictive gluing is another key difference between professional and amateur work. Rather than reacting to misfits at the end, professionals anticipate where drift is most likely to occur such as long curves, high rims, or transitions in thickness. They reinforce those areas with extra checks, temporary bracing, and more frequent dry fitting so that no single joint quietly pulls the form out of alignment.
Micro trimming is used sparingly and with intention. Material is removed only from non-critical areas such as the inner edge of a break rather than the outer profile that defines the shape. When too much is ground away or the angle of a break is changed, the piece may fit closer in one spot but distort the overall projection of the vessel. The goal is to relieve pressure without changing the original geometry.
In practice, this means that a professional will stop and reconsider the structure as soon as resistance is felt. If a piece needs to be forced into place, the cause is studied and corrected early instead of being hidden under more adhesive or aggressive grinding. That discipline is what keeps the final outline faithful to the original form.
|
Appendix C:
Epoxy Pot Life, Viscosity, and Gravity
Epoxy moves through several stages during its pot life. At first it is thin and wants to flow, which makes it easier to wet the break surfaces but also easier for pieces to drift out of position. As it thickens, it offers more resistance and helps hold segments where they are placed. Near the end of its working time it becomes too stiff to adjust cleanly and may trap internal stress.
Skilled restorers plan their sequence so that the most alignment-sensitive joins are made when the epoxy has begun to thicken but can still be nudged slightly. Gravity is used to keep pieces seated during this window. For large projects, several small batches of epoxy are mixed rather than one large batch, which prevents working with adhesive that is either too runny or too stiff to maintain accurate geometry.
In the earliest minutes, when the epoxy is at its thinnest, the main risk is creep. The weight of the shard, combined with gravity and a slick adhesive film, can cause a piece to slowly slide or sag after you walk away. Later in the pot life, the opposite problem appears. If the adhesive has already thickened too much, the shard may sit on top of a semi-rigid layer and refuse to fully seat, locking in a small but permanent misalignment.
Professionals try to work in the middle of this curve. They learn how their preferred epoxy behaves at two, five, or ten minutes after mixing, and they schedule critical joins for the moment when the adhesive is thick enough to resist drifting but still soft enough to allow gentle correction. When that window passes, they stop adding new pieces and mix a fresh batch rather than trying to force more work out of exhausted material.
This timing strategy, combined with careful use of gravity supports, means the adhesive is always helping the geometry rather than fighting it. The epoxy is no longer just a glue but a controlled medium that, when used at the right moment in its pot life, actively supports accurate alignment instead of undermining it.
|
Appendix D:
Case Study of Error Accumulation
In one complex restoration involving many segments around a rim, the first half of the circle assembled perfectly. A later sub-section, however, had been built with a very small outward tilt that was not obvious when it stood alone. When that sub-section was finally brought to meet the main structure, the last two pieces would not close without force and a visible step appeared at the seam.
Rather than grinding away large amounts of material, the sub-section was separated, corrected against the original datum area, and then reassembled. Once its angle matched the main structure, the final pieces dropped into place with only minor refinement. This case shows that when a last piece does not fit, the problem usually began many steps earlier and can often be solved by revisiting geometry rather than removing excessive material.
What made this repair successful was not a special adhesive but the decision to treat the misfit as a symptom of accumulated angle error rather than a flaw in the final fragments. By tracking the distortion back to the tilted sub-assembly and resetting it to the datum surface, the original curve of the rim was restored and the apparent size problem disappeared.
This type of case highlights why predictive planning, geometry resets, and controlled use of epoxy pot life matter more than any single trick or product. The earlier the restorer understands how and where error is building, the easier it is to correct with minimal loss of material and maximum respect for the original form.
|
|