|
Ceramic & Sculpture Repair Lessons
(click pictures)
|
Securing Broken Pieces in Ceramic and Sculpture Repair | Techniques for Proper Alignment
Achieving strong adhesion and perfect alignment is essential when using epoxy cement for ceramic, pottery, or sculpture repairs. Holding pieces by hand during curing is often impractical and imprecise. This guide explores effective methods to stabilize broken parts until the epoxy cures completely.
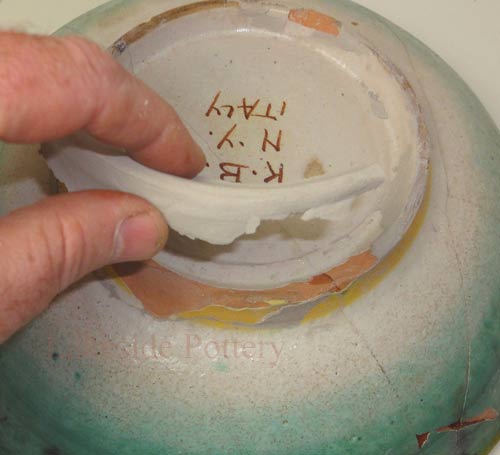
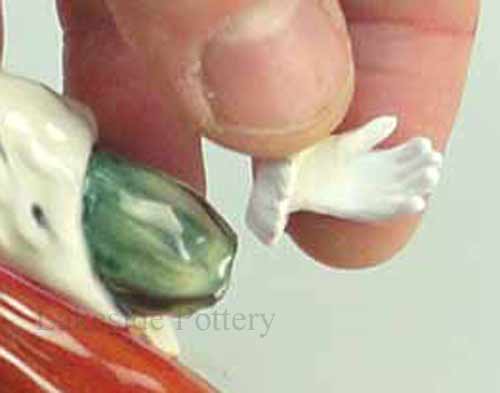
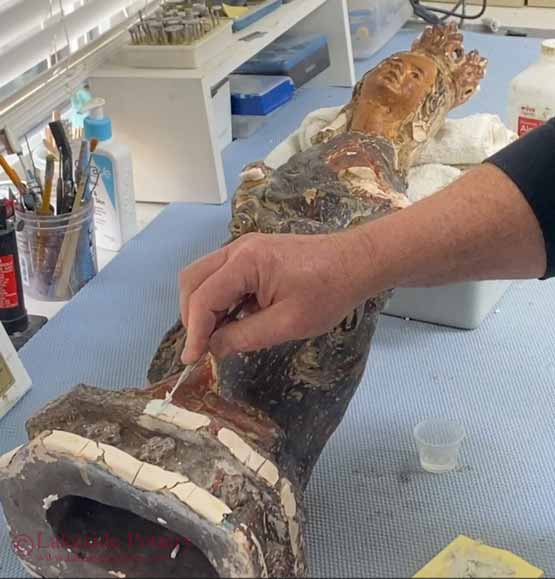
At Lakeside Pottery Studio, we use a variety of effective methods, from adjustable jigs to PVC pellets and more, to secure broken parts during the curing process. These techniques, illustrated below, help maintain perfect alignment and maximize bonding strength.
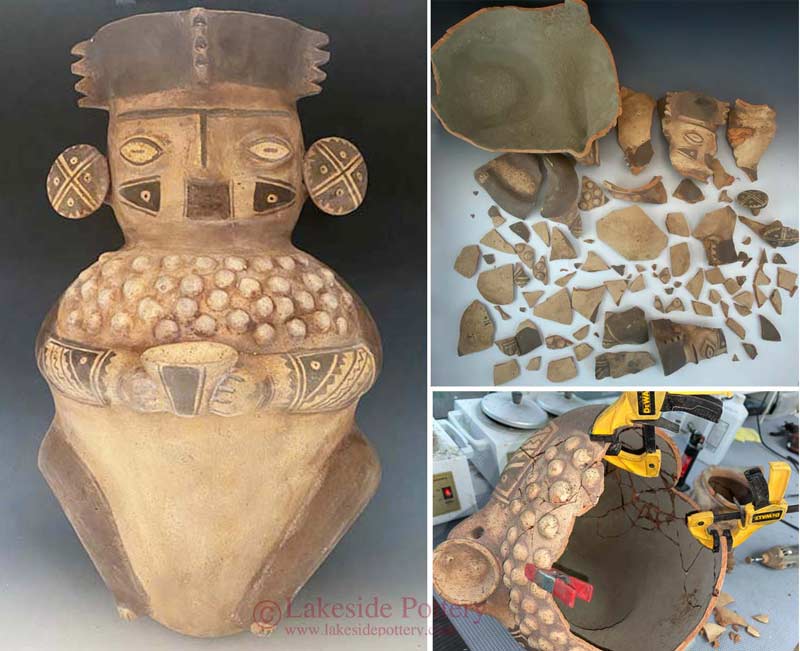
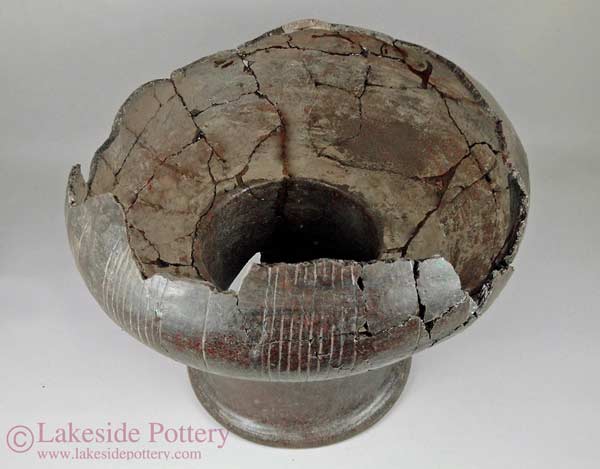
Shattered ~1,000-year-old Chancay pre-Columbian
effigy jar - see video
Before You Start
Before mixing epoxy, dry-fit all broken pieces, decide the repair order, and confirm that each part can be held securely without hand pressure. Once epoxy is applied, there is limited working time, and holding parts by hand often introduces movement, misalignment, or uneven pressure. Alignment is not only visual. A poorly aligned joint can reduce bonding strength, create gaps that require more filler, and make the final repair line more visible.
Common Mistakes to Avoid
Avoid cleaning epoxy too early, using excessive clamp pressure, skipping the dry run, cementing pieces in the wrong order, using tape that pulls the joint out of alignment, or moving the piece before the epoxy has developed enough strength.
|
| Gravity is your best friend
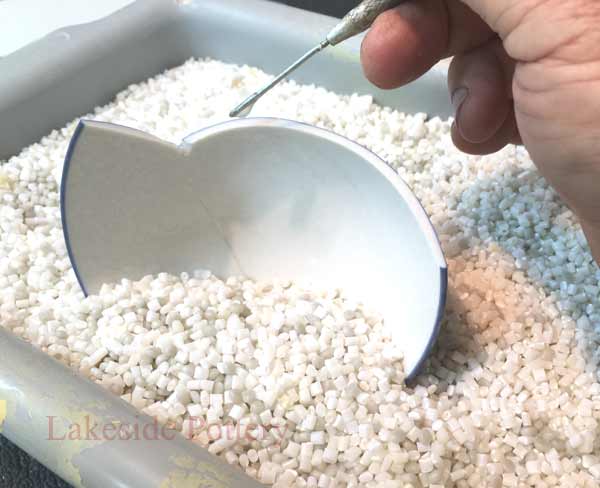
In most cases, we use a container with PVC / Resin pellets to hold broken segments in place to position the pieces using gravity where no temporary bonding is required
|
|
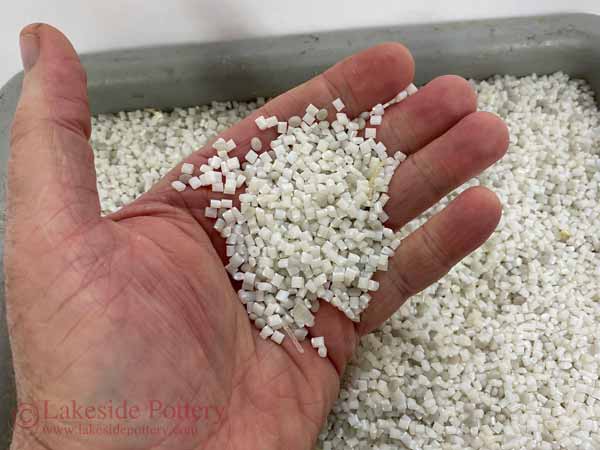
Resin or PVC pellets are most effective for us. Alternatives like rice or sand can also be used; however, rice may absorb moisture, which can be problematic with Urushi, and sand can be messy, sticking to surfaces and being harder to clean.
|
|
|
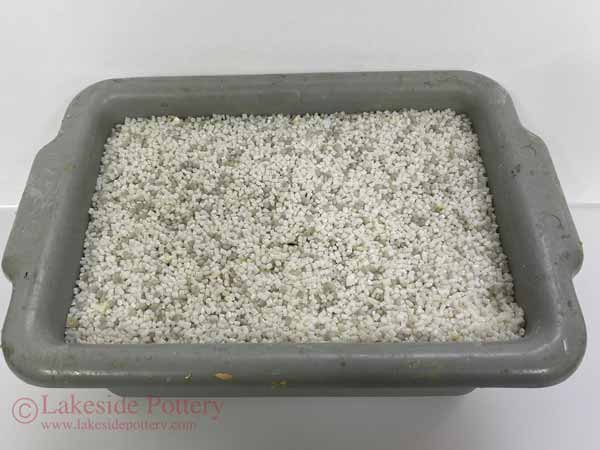
We place the pellets in containers of various sizes with rigid walls. We avoid filling them to the top to prevent spilling when pressing objects in for better stability.
|
|
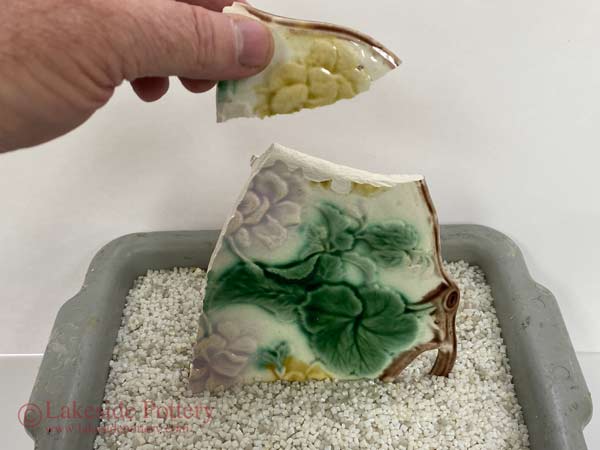
|
Dry run proper placement of the two parts needing cementing
|
|
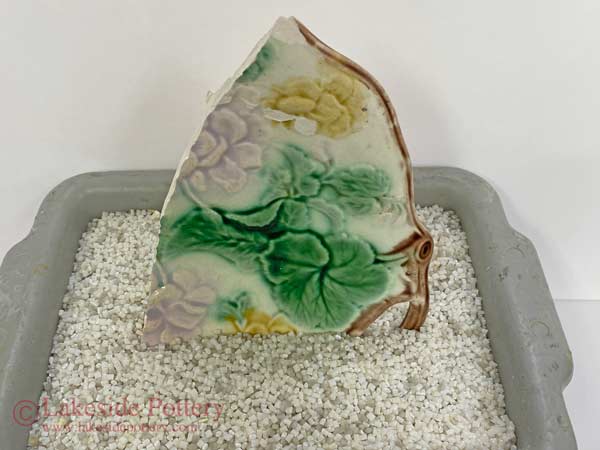
|
When it stands on its own, place the epoxy on
|
|
| Where to get the resin pellets: Search web under "Resin pellets" and purchase from Ebay or Etsy. The sharp edges type (as shown above) work better than the totally round pellets |
|
|
Other methods
At times, using gravity alone to secure broken segments in place may not work. A few temporary bonding techniques are shown below (tape, clay, glue gun)
|
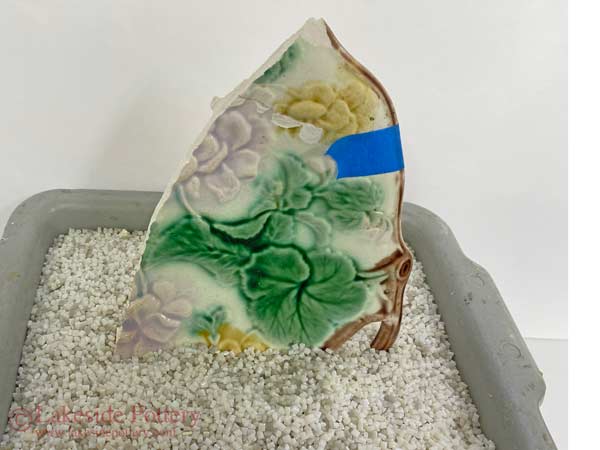
If you are unsure it will stay, you always add tape
|
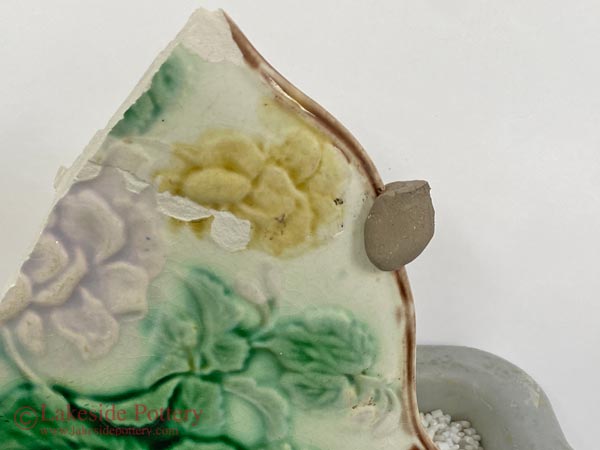
Often we use clay as shown here or below
|
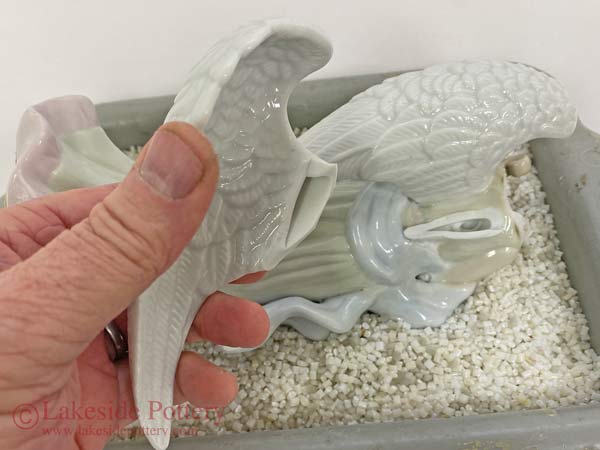
There are cases that it is difficult or impossible to place balanced using gravity.
|
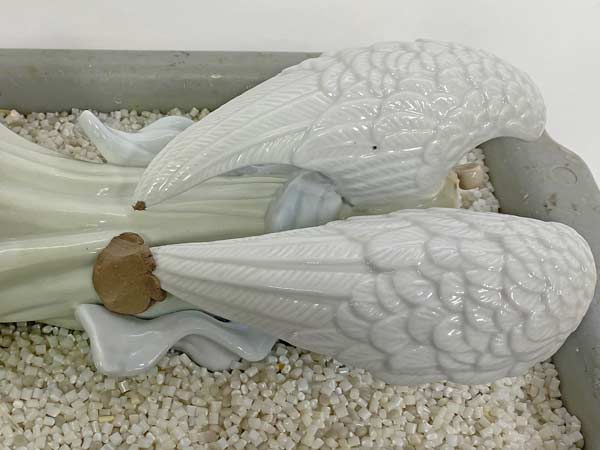
|
In such cases, we use clay to keep the parts matched until the epoxy cures
|
|
|
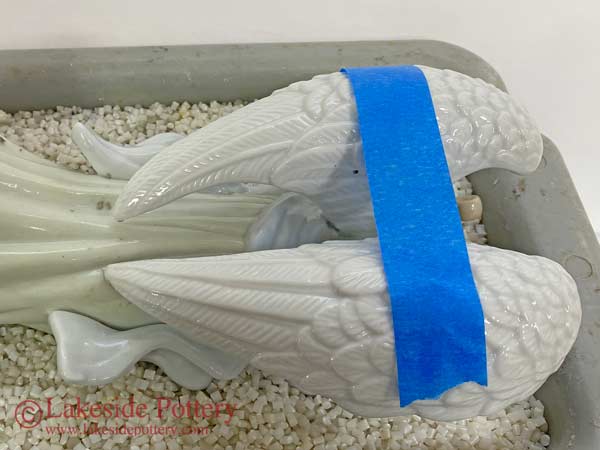
If clay is not available, tape can be used
|
|
|
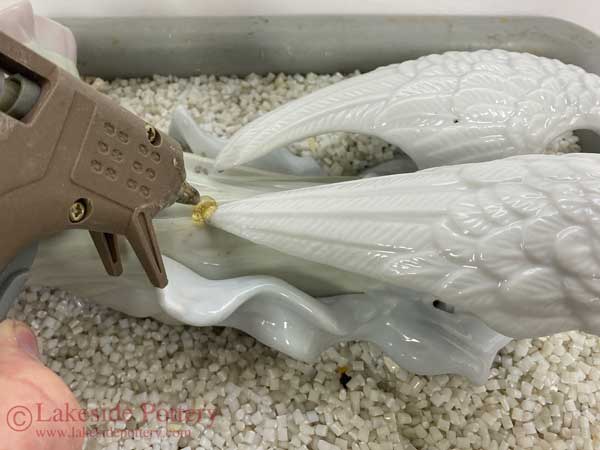
Glue gun is also an option although it is a bit harder to remove once the epoxy cures
|
|
Using clay where other methods do not work
|
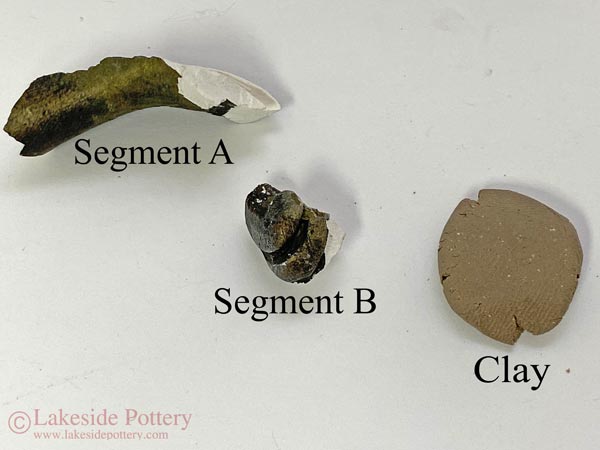
|
Small pieces do not hold well on the resin pellets. This example shows how we use clay to position the segments on clay
|
|
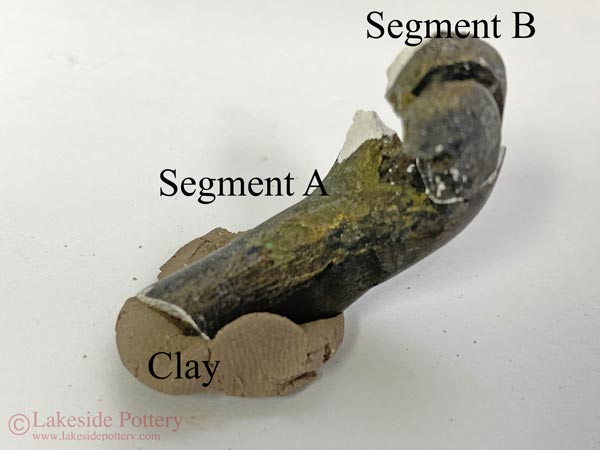
|
Segment A is oriented and anchored on the clay until segment B can stand on its own in the correct location
|
|
|
|
Some more examples of keeping pieces in place |
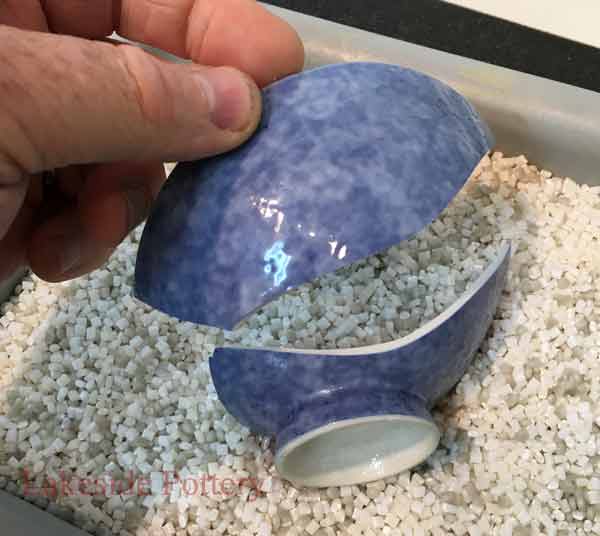
|
Dry-fitting a broken pottery section before epoxy is applied
|
|
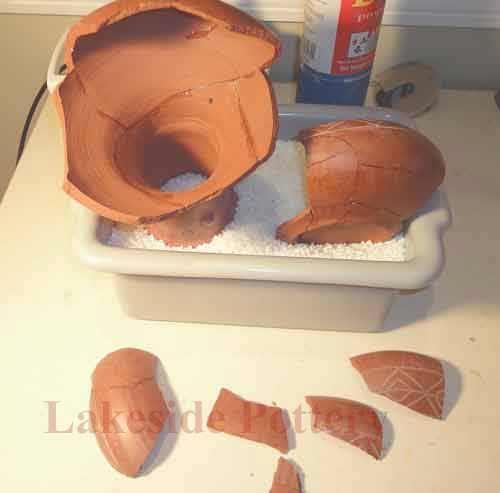
|
Broken antique vase positioned for careful repair alignment
|
|
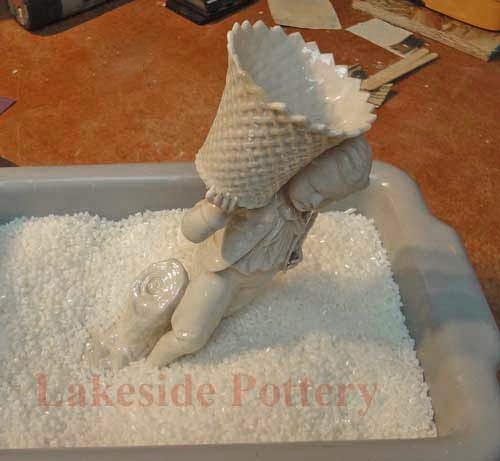
Using gravity to support a ceramic repair while epoxy cures
|
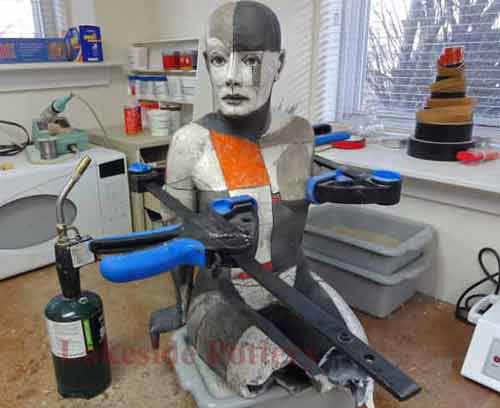
In this example, we use both, clamps and pellets
|
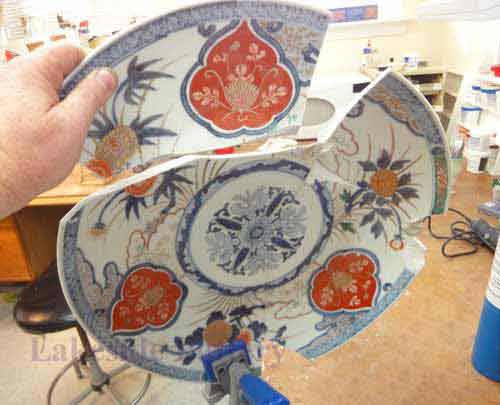
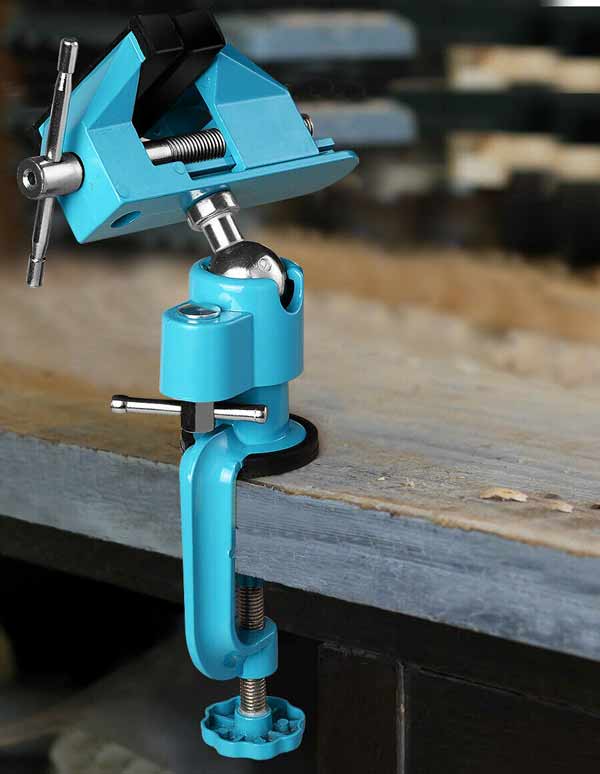
In this example, we are using double-jointed vise to place the plate in the proper orientation - see vise on left
|
|
|
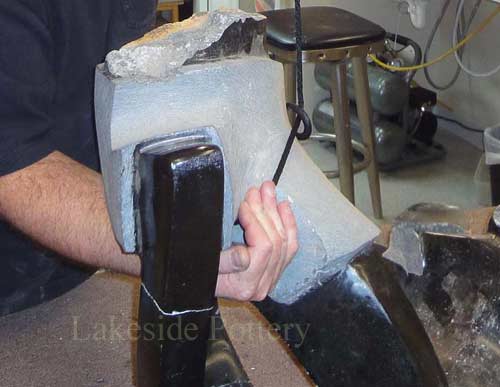
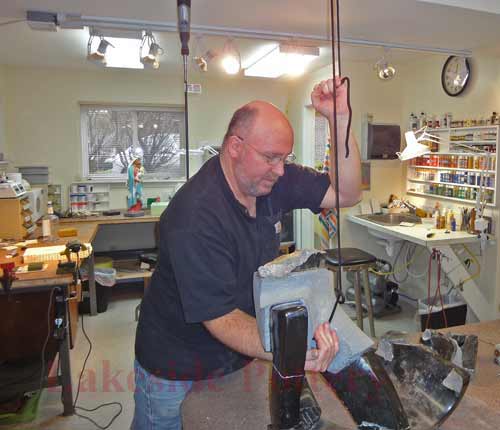
With heavy and large items, we use ropes and winches
|
|
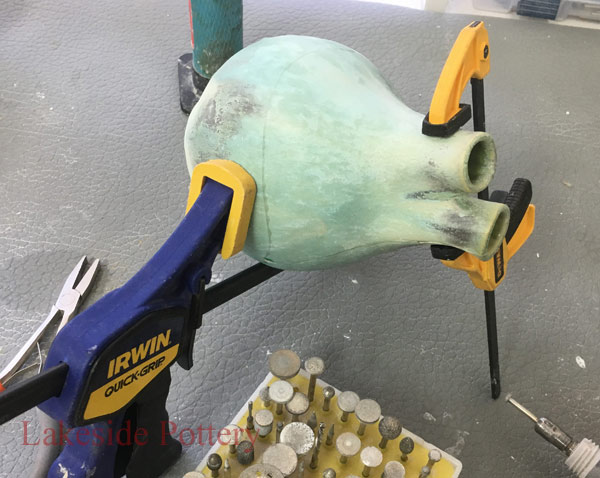 Another example using clamping Another example using clamping
|
|
Detailed Ceramic and Pottery Mending Lesson
By employing the above methods, you can ensure proper alignment and adhesion during the curing process, leading to successful repairs. For more detailed guidance, refer to our step-by-step repair lessons, starting with this fundamental tutorial covering mending, filling, and sanding (click below)
|
|
When Is It Safe to Handle Mended Pieces? Understanding the Behavior of PC Clear 5-Minute Epoxy at Room Temperature and in a Heated Chamber
The following video demonstrates the behavior of PC Clear 5-minute epoxy at 75 degree F room temperature. Curing times increase at lower temperatures. To expedite the process, we place the epoxy cartridge in a 140 degree F wax warmer and the cemented object in a heated box set to the same temperature, significantly reducing cure time.
|
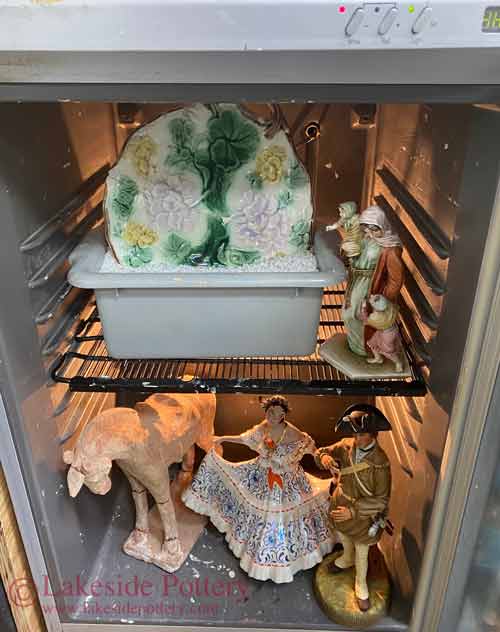
140 degree oven for reducing cure time
|
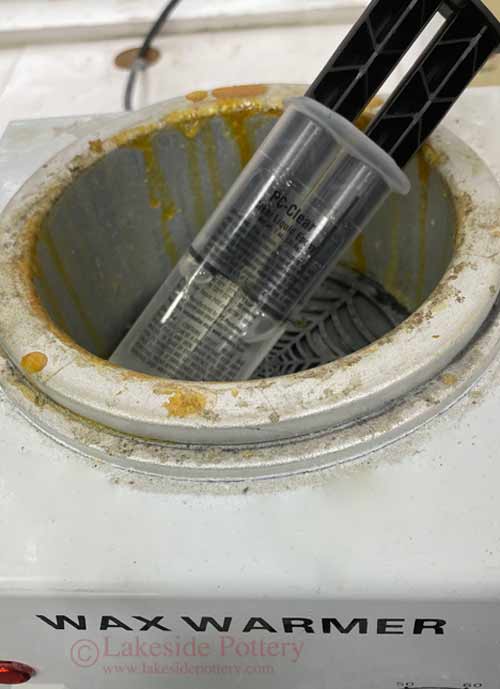
140 degree wax warmer for reducing cure time
|
|
|
Frequently Asked Questions About Holding Ceramic Pieces While Epoxy Cures
How do you hold broken ceramic pieces in place while epoxy cures?
Use gravity first whenever possible. If gravity is not enough, support the ceramic pieces with resin pellets, clay, tape, clamps, a swivel vise, or temporary hot glue until the epoxy cures.
Why is alignment important in ceramic repair?
Proper alignment keeps the original shape, surface continuity, and strength of the repaired ceramic or sculpture. Poor alignment can create steps, gaps, weak joints, and more visible repair lines.
What should be done before applying epoxy?
Always do a dry run first. Confirm that the broken pieces fit correctly, decide the repair order, and make sure the object can be held securely before applying epoxy.
Can tape, clay, or hot glue be used during ceramic repair?
Yes. Tape can restrain light parts, clay can support small or awkward fragments, and hot glue can serve as a temporary brace when it can be removed safely after curing.
When is it safe to handle a repaired ceramic piece?
It is safest to handle the repaired piece only after the epoxy has reached enough strength to resist movement. Cure time depends on epoxy type, temperature, object weight, and joint stress.
|
|