A-Z Step-by-Step Ceramic Repair Lesson: Glue Removal, Mending, Filling, Painting, and Glazing Broken Pottery and China
This complete A-to-Z video lesson shows the entire process from start to finish. By popular request, we’ve created a full-length demonstration covering every essential step:
Removing old glue and failed repairs
Mending and securing broken pieces
Filling gaps and missing sections
Sanding for a smooth, even finish
Painting to match the original surface
Applying a cold glaze for lasting protection
This comprehensive example uses readily available materials and is perfect for DIY ceramic and china restoration, including plates, bowls, vases, figurines, pitchers, urns, and other glazed pottery.
How to Repair Pottery Complete Video Guide
Complete Video Guide - Abbreviated
IMPORTANT: Ceramic restoration materials are not food safe, liquid or heat proof (over 190 degree F) and repaired items should not be used on cooking or food serving ware more...
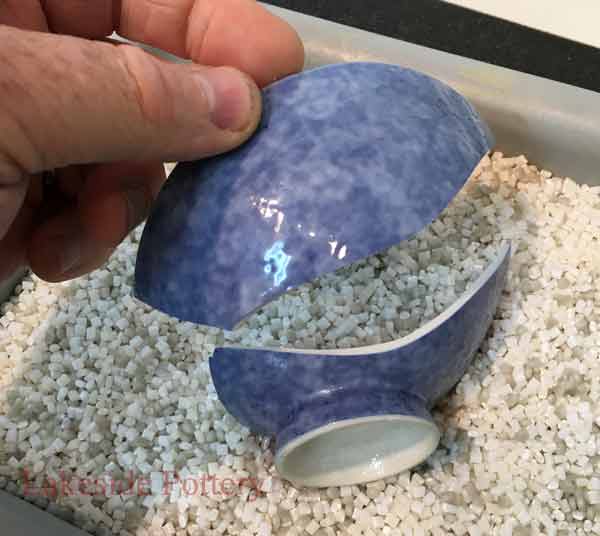
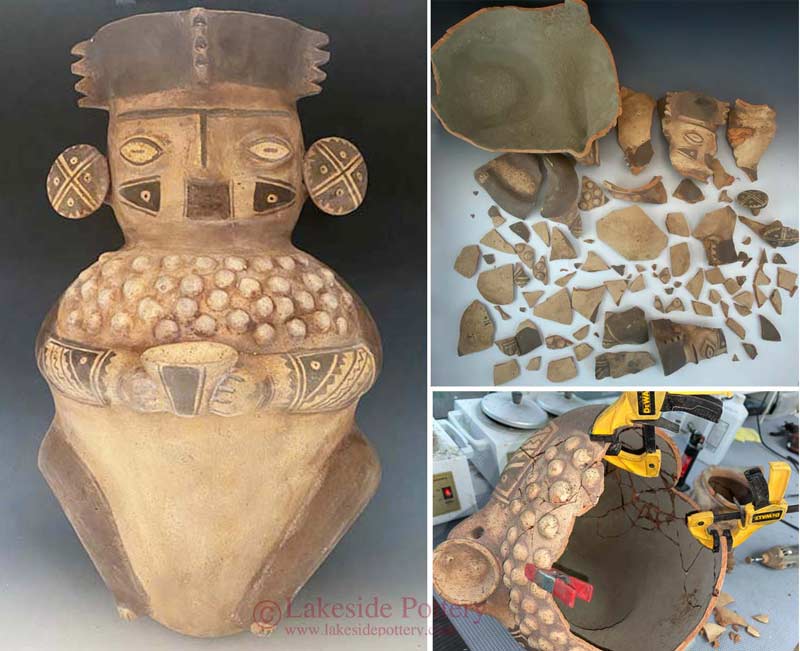
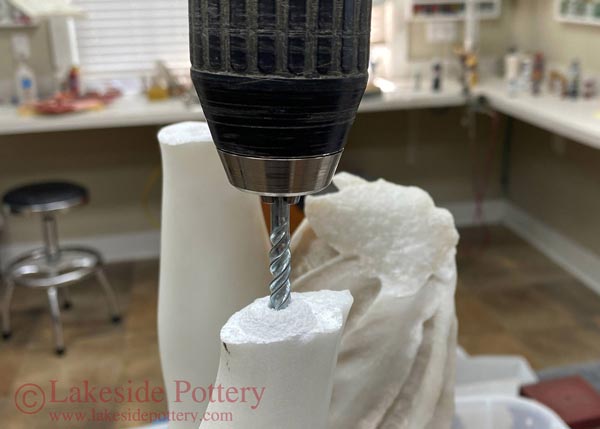
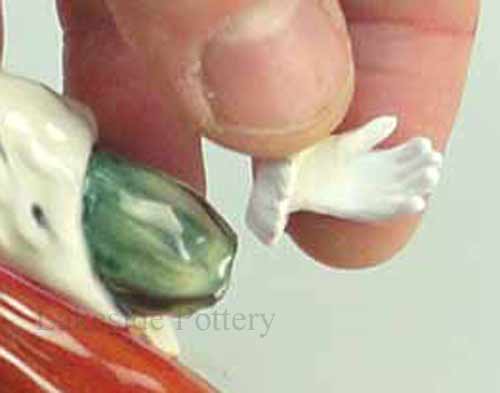
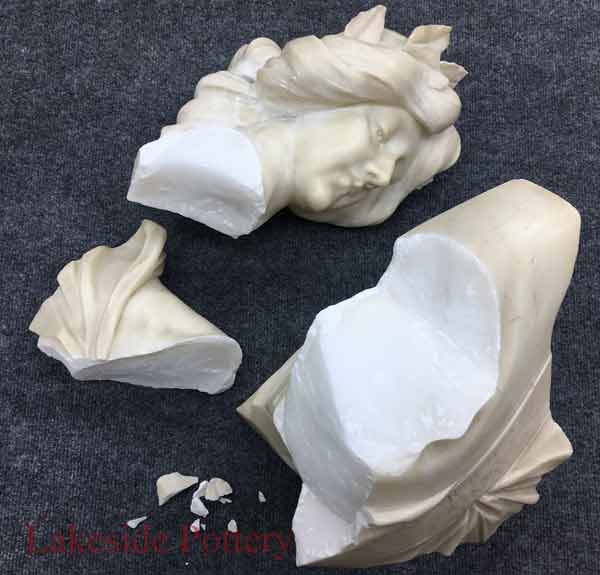
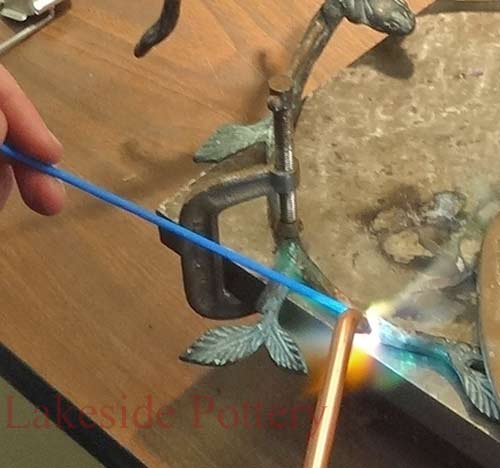
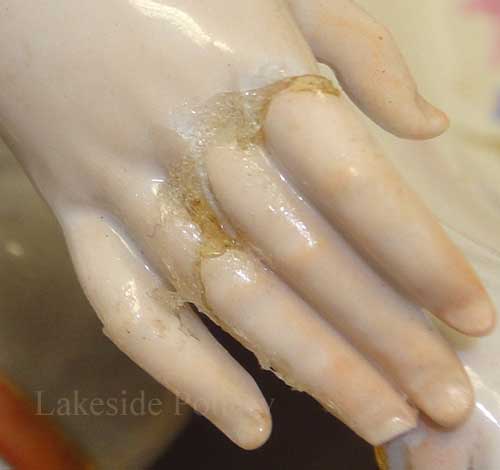
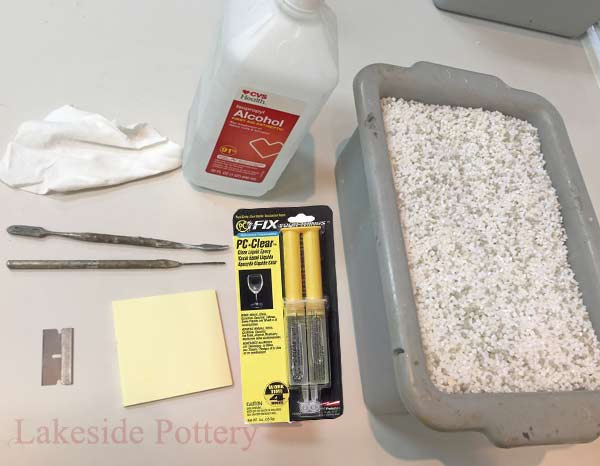
MENDING
What is needed for mending: 1. Two-part clear 5 min. PC Clear epoxy 2. Wooden stick, paper clip or a pin-tool
3. PVC pebbles, resin pellets, or rice
4. Clay
5. Razor blade
6. Denatured or 91% Alcohol 7. Rag
8. Paper pad to mix Epoxy on
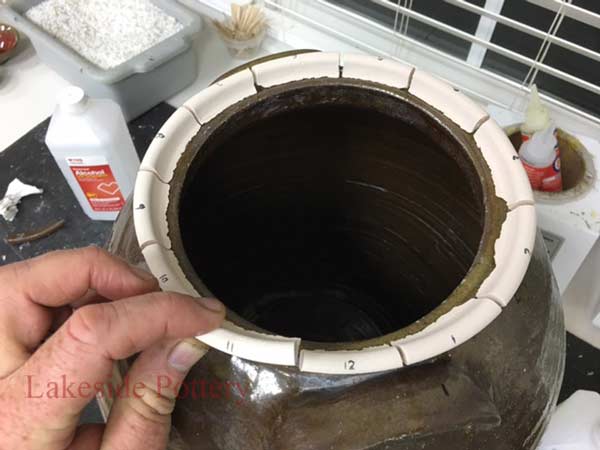
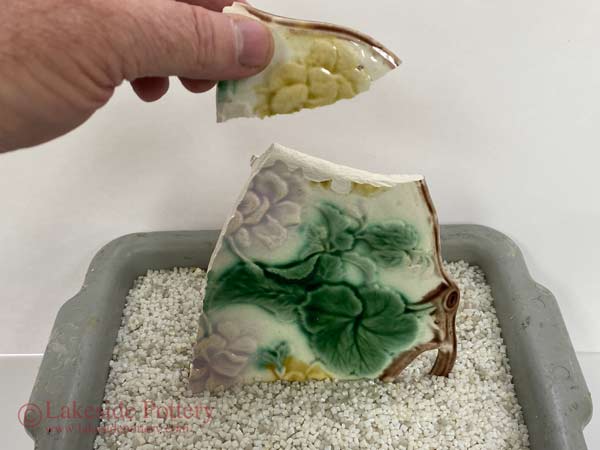
To match placement of broken pieces so that gravity alone can keep proper alignment, fill a container, that is slightly larger than the piece you want to prepare with plastic pebbles, rice, or sand. This will cradle and hold the repaired piece still and in place while it cures. We use ABS Plastic Pellets made for injection Molding.
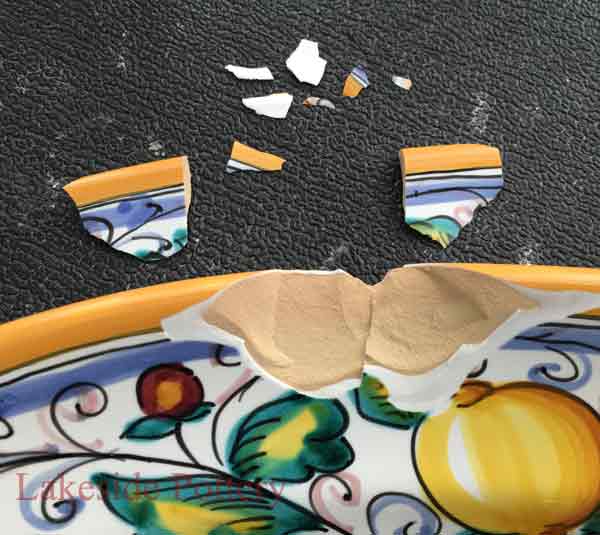
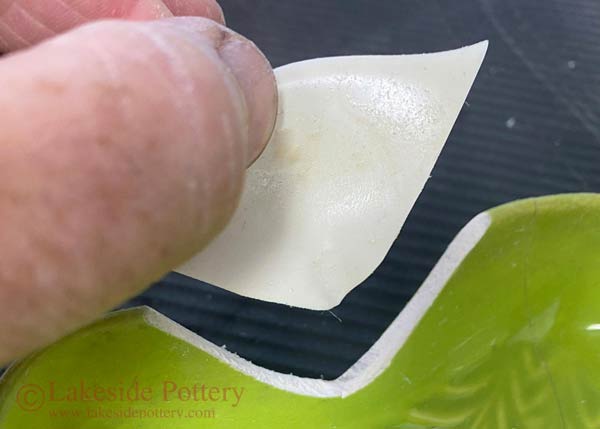
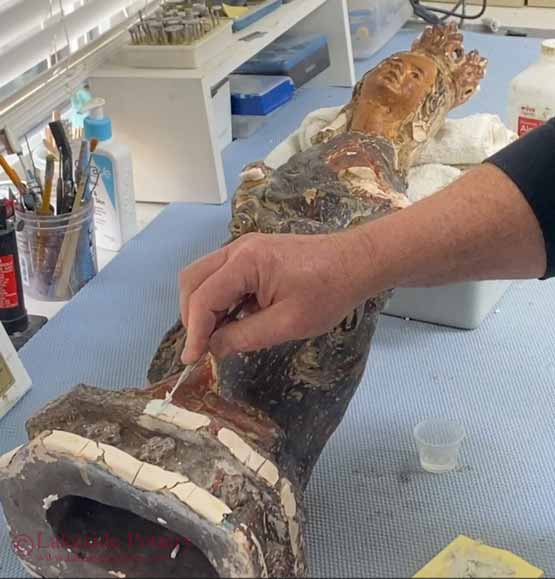
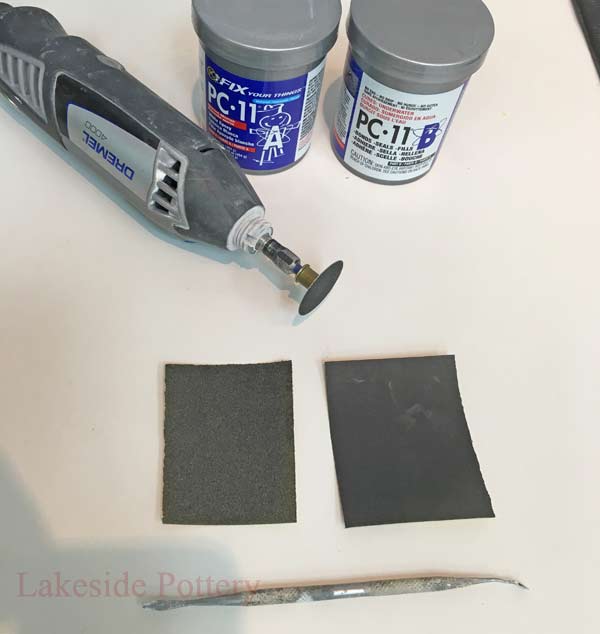
FILLING
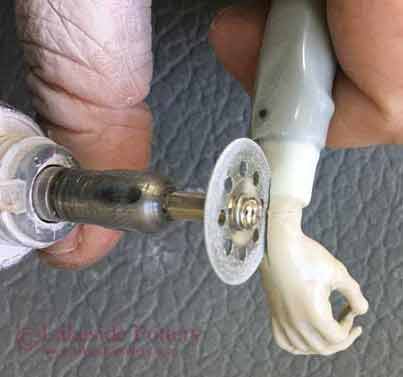
What is needed: 1. Two parts Epoxy filler PC-11
2. Dremel with EZ lock sanding disc 120 grit
3. 220 grit sand paper
3. 400 grit sand paper 4. Rag
5. Mini Spatula
6. Paper pad to mix Epoxy on
7. Denatured or 91% Alcohol
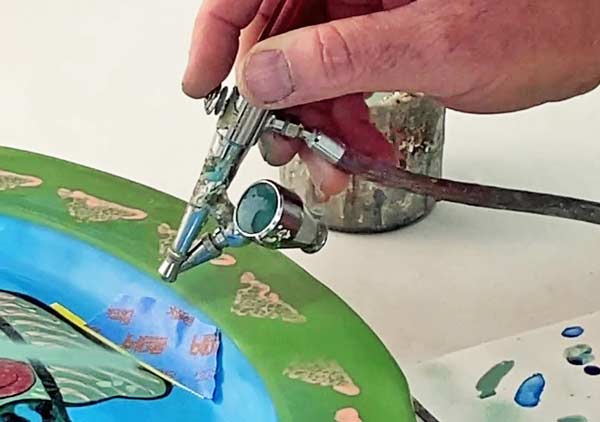
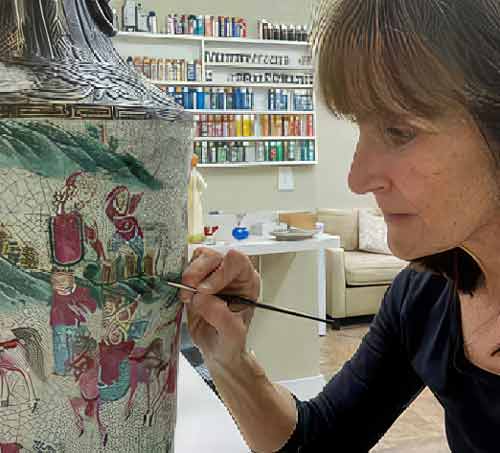
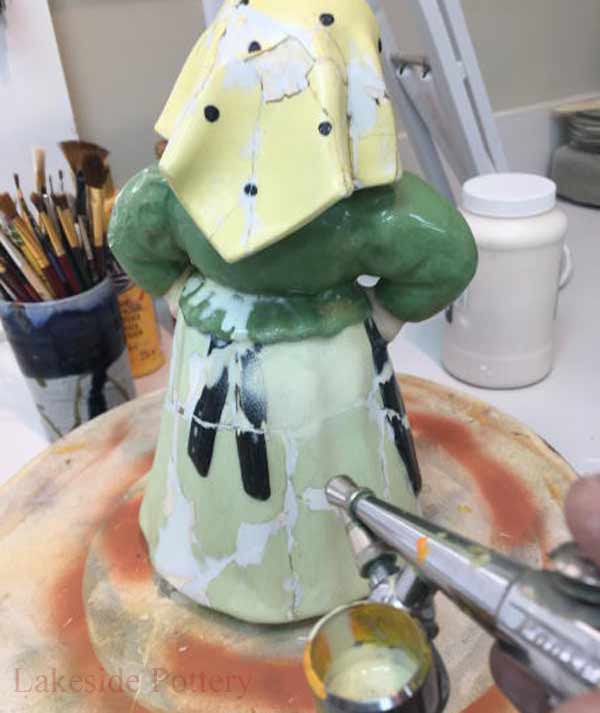
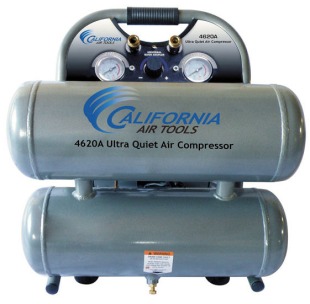
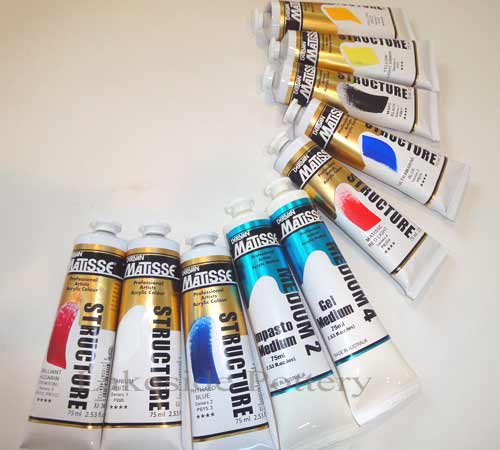
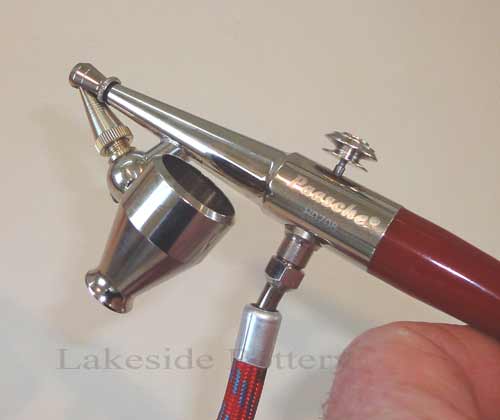
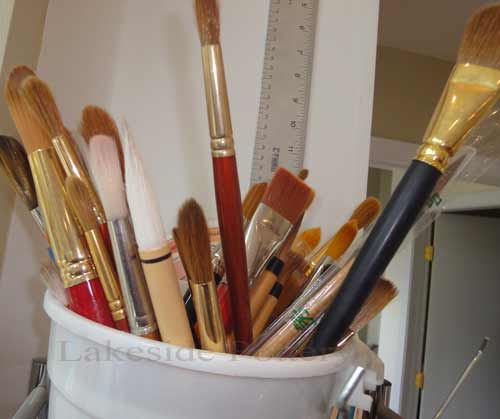
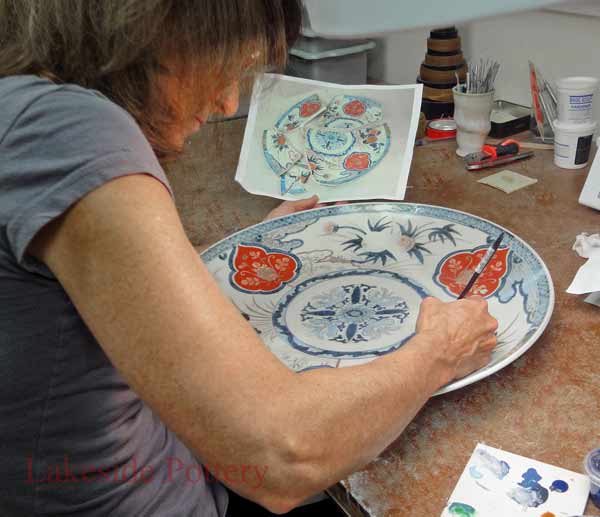
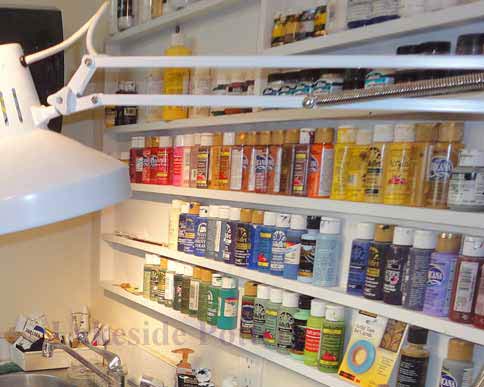
What is needed: 1. Acrylic paints
2. Compressor and airbrush system. We use Paasche’s single action HS model
3. Brushes
4. Amaco rubber latex
5. Painters tape
6. Clear glaze
Visit this lesson to see more details of maintaining cemented pieces in position
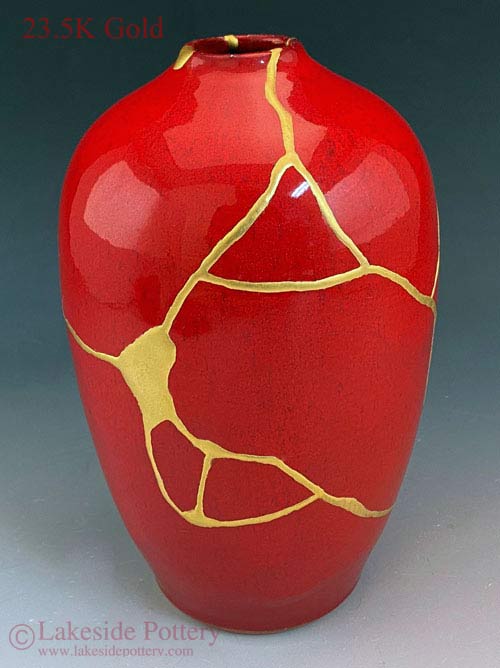
To hide the repair lines for a seamless repair, painting and application of 'Cold Glaze' are required and more details can be seen in our Painting Lesson