Pottery made to order | repair and restoration studio in Southern Delaware

fixing broken resin or stone sculpture

How to Repair Stone Sculpture Requiring Metal Support

Marble srone statue

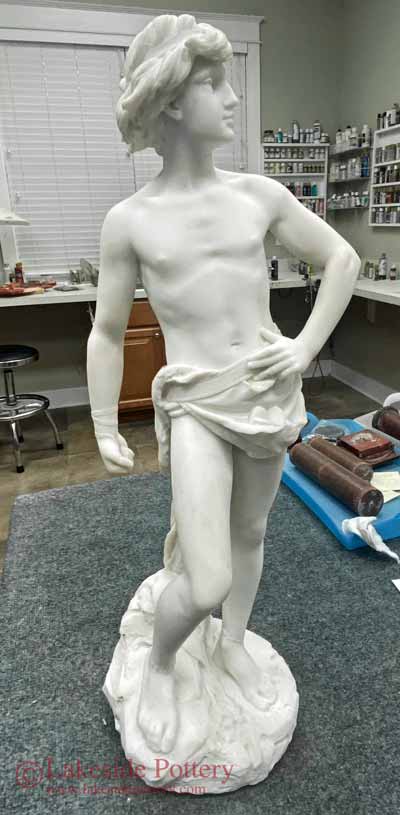
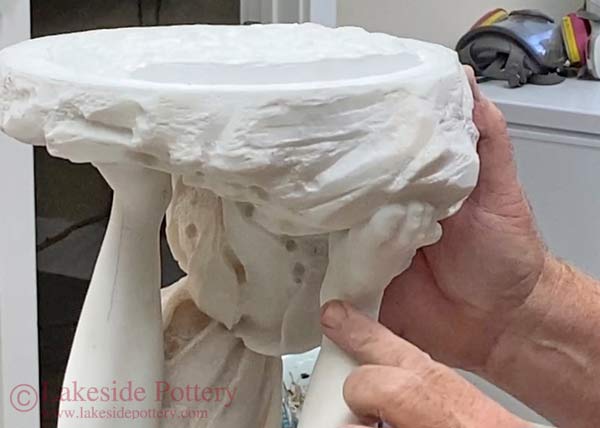
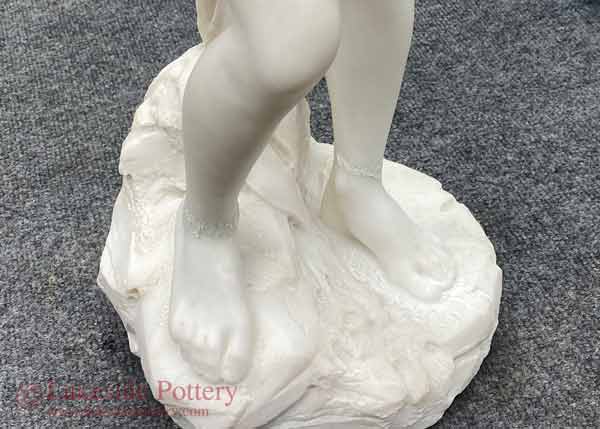
This tutorial is an example of how Lakeside Pottery Studio repairs and restores indoor stone / marble sculptures with heavy load bearing and narrow cross-section breakage needing greater reinforcement.


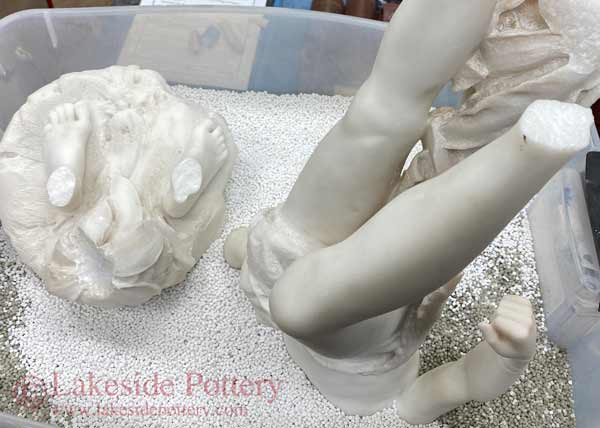
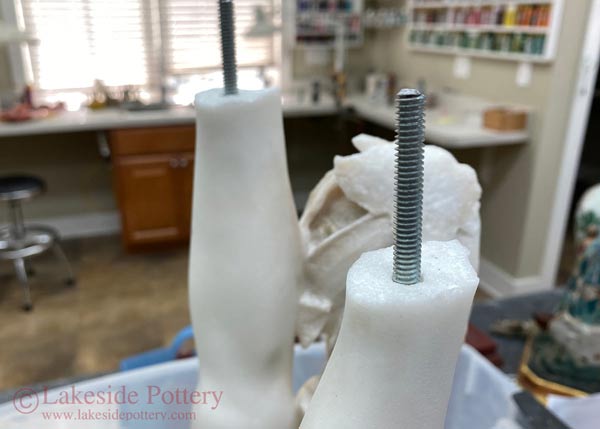
In this example, the marble sculpture broke by the very narrow ankles with about 60 lbs of load-bearing. Cementing-only would not have been sufficient and insertion of metal rods was required to ensure proper mechanical integrity.


See This Lesson in a Video Format


Step by Step Lesson

broken stone sculpture
Marble statue with broken ankles

Materials and tools needed
Materials used

Where to get materials

Drilling a hole in the marble statue
Use masonry drill bit to drill a hole in the center of one side (A) of each leg

Drill sizes
Dimensions of rod and drill bits - Side B is wider

Clean stone dust with hair gun
Clean the drilled holes with air gun

Cutting the metal rod to size
Cut rod to size - 5" in this case

Grind off sharp edges
Grid off sharp edges

Verify fit before cementing rod
Verify fit before cementing rod to side A

Use two-part epoxy (PC-Clear). In this example we use 4-5 minutes epoxy with about 2 minute workable time
Use two-part epoxy (PC-Clear). In this example we use 4-5 minutes epoxy with about 2 minute workable time. Mix well

Where to get materials

Fill 2/3 of drilled cavity with the mixed epoxy

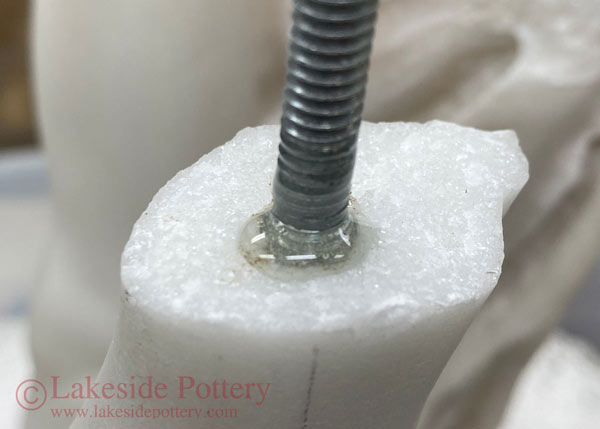
Insert rod and turn a few times to ensure that epoxy touches all surfaces

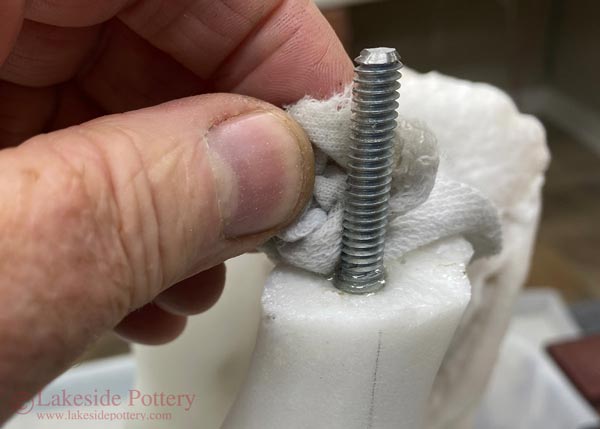
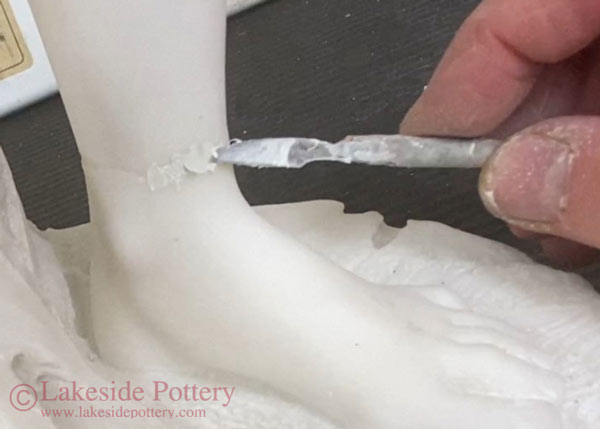
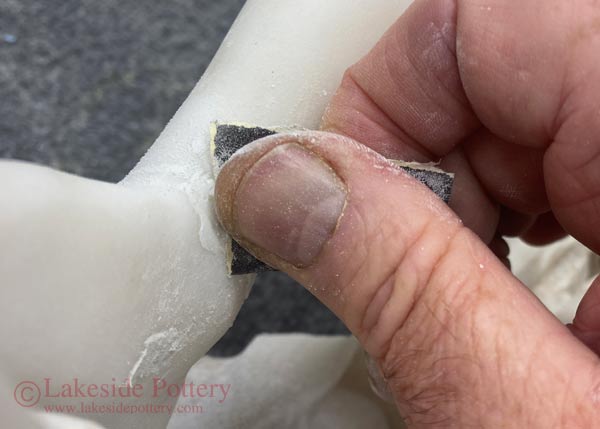
Quickly wipe off excess epoxy with a rag and 91% alcohol

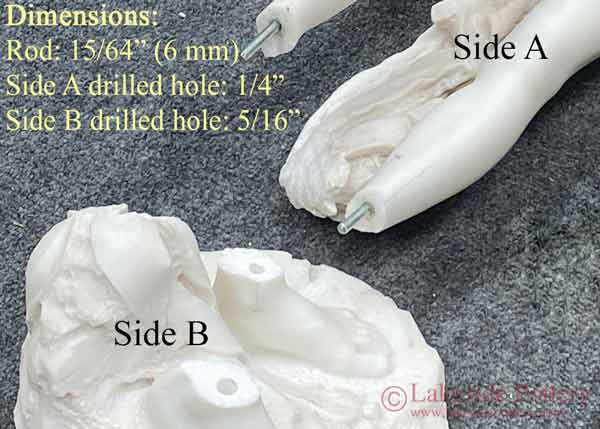
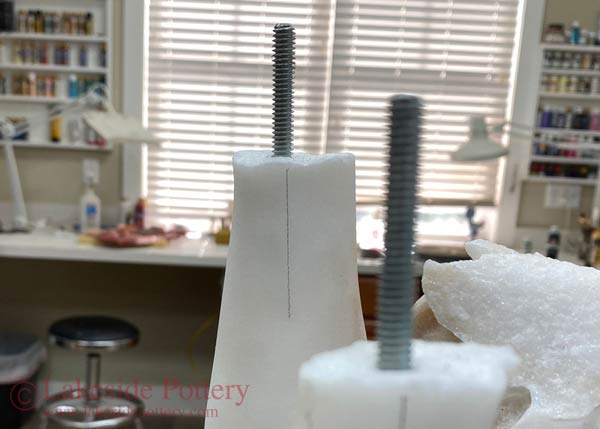
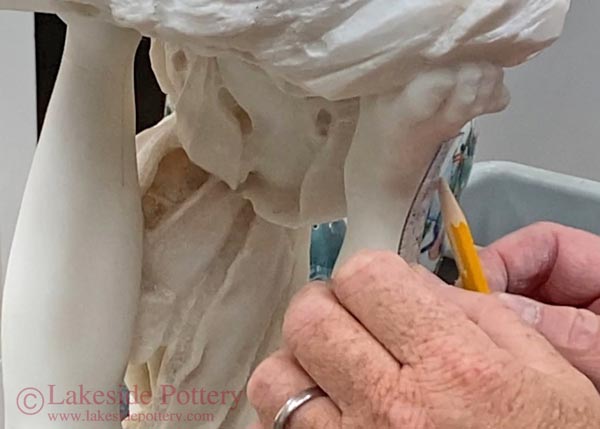
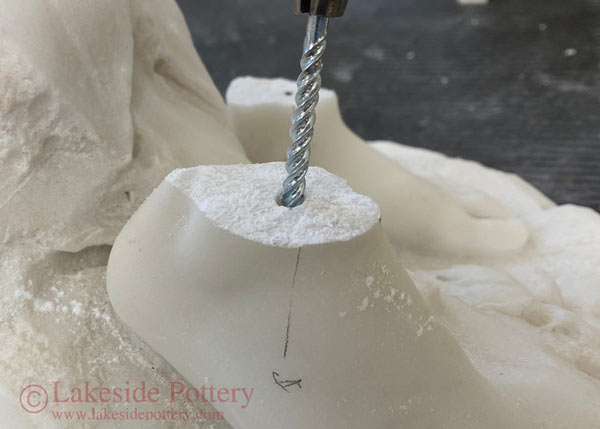
Mirror the rod orientation on the stone exterior wall to be used as a guide to drill side B correctly

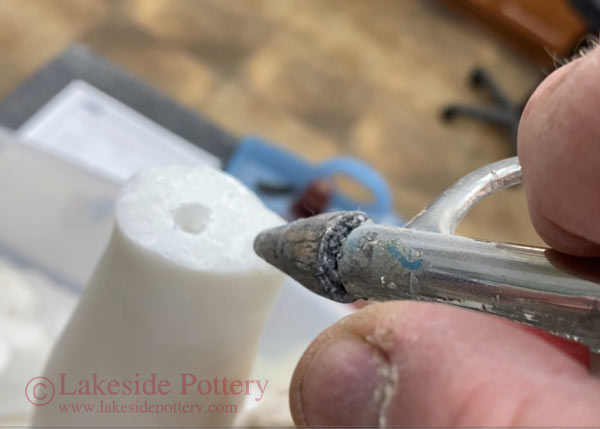
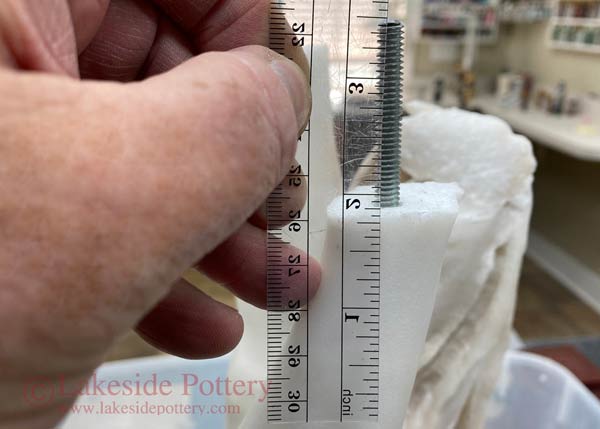
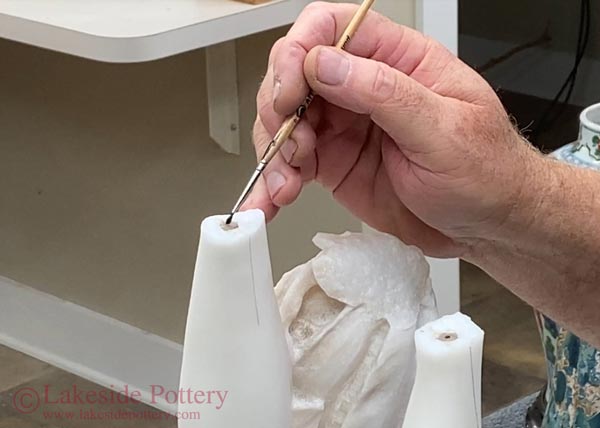
Use pencil to mark the rods location

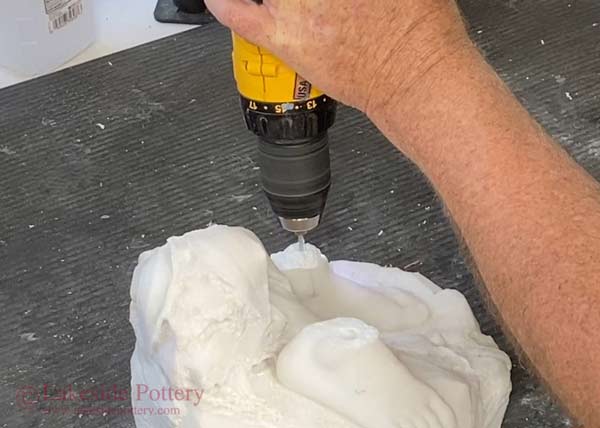
Drilling accurately on both sides of the broken pieces for proper alignment is tricky. There are more than one way to achieve accuracy and below is the option we chose for this project.
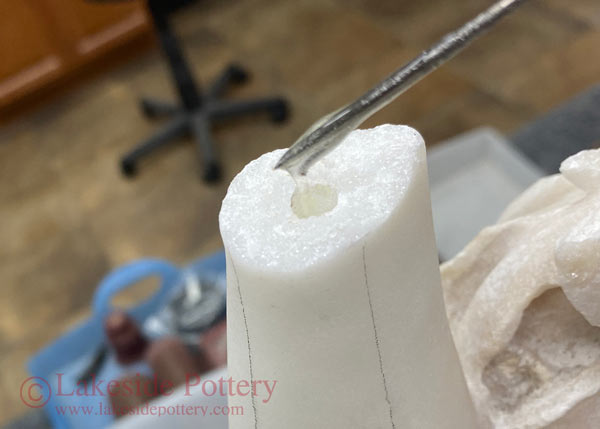
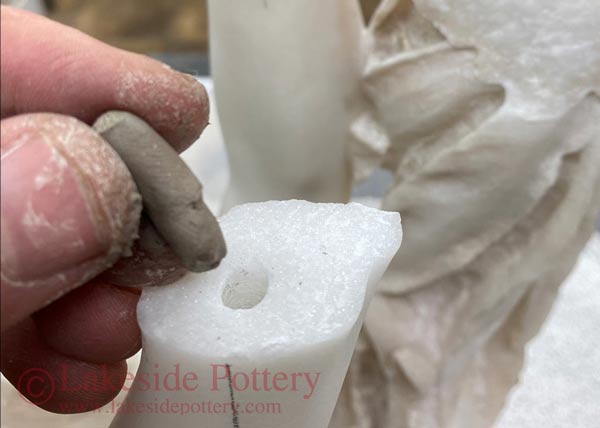
Insert soft clay in side A drilled hole


Flatten the clay as shown

Use acrylic paint to generously mark the clays center

Carefully place side B in place

Verify that the acrylic paint transferred from side A to side B

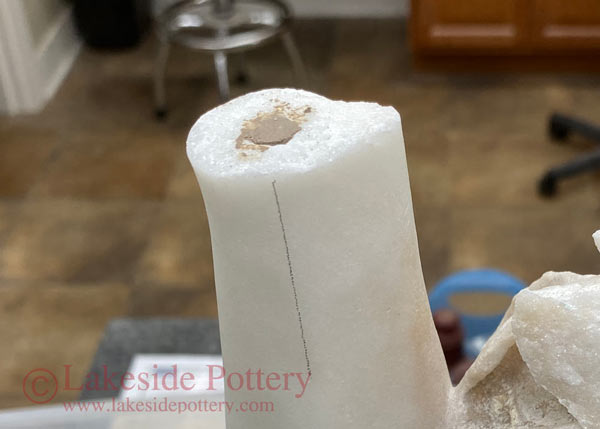
Before removing, continue the previously marked line to side B in the same projection


Side B hole should be wider than side A for easier fit
Drill a hole using the marked line as a guide

Start with a narrower masonry drill bit (3/16") for better control and accuracy

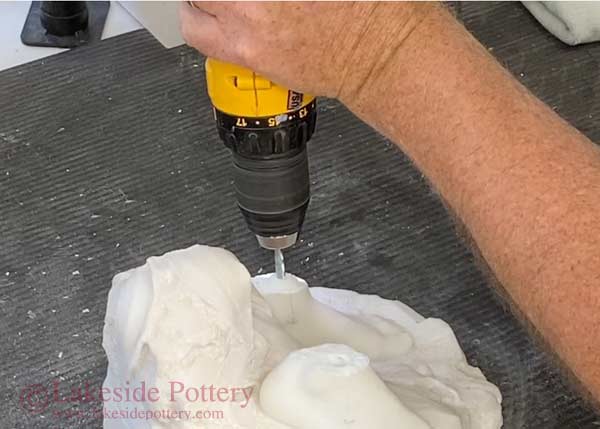
Drill with the next size (1/4")

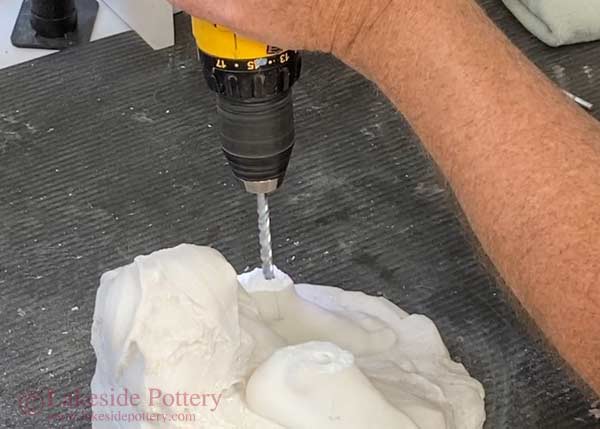
Finish with a size larger than side A drilled hole (5/16")

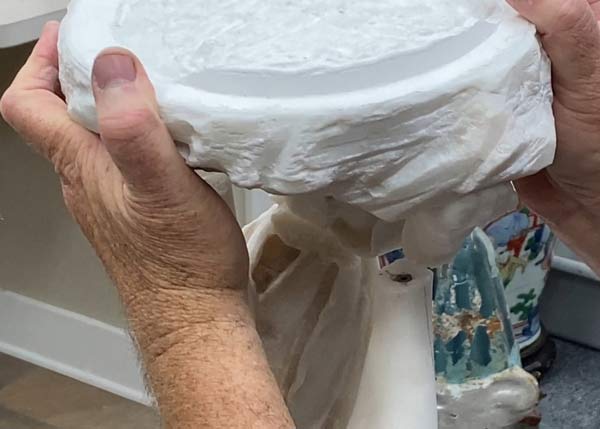
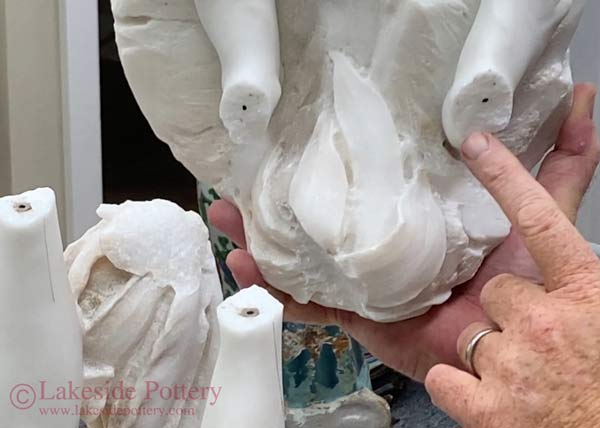
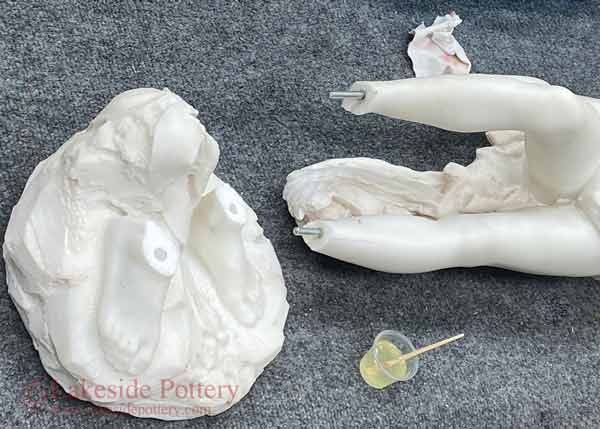
After cleaning the drilled holes, verify fitting accuracy

Use touch to sense continuity at the points of contact


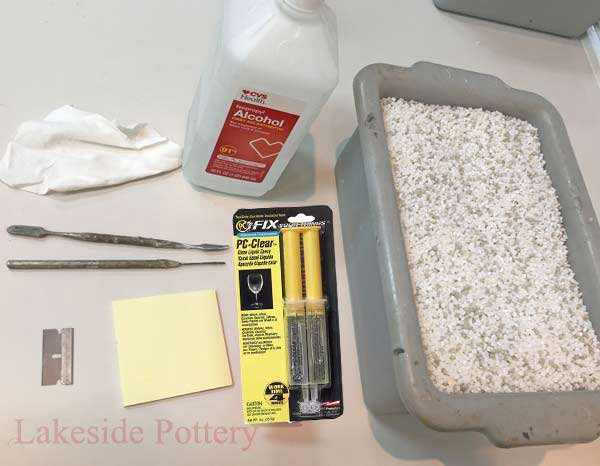
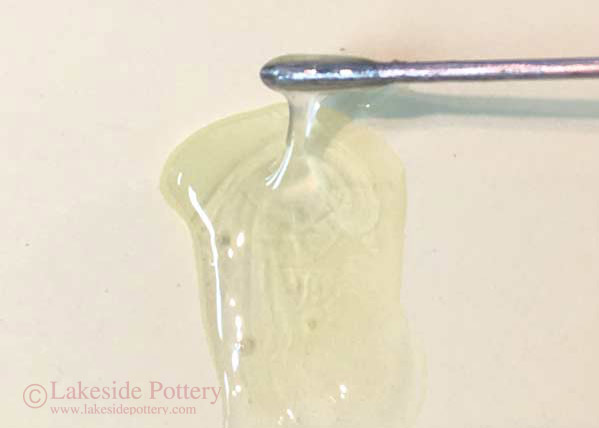
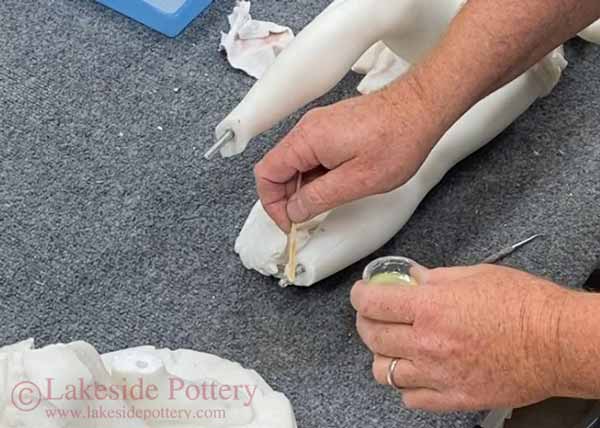
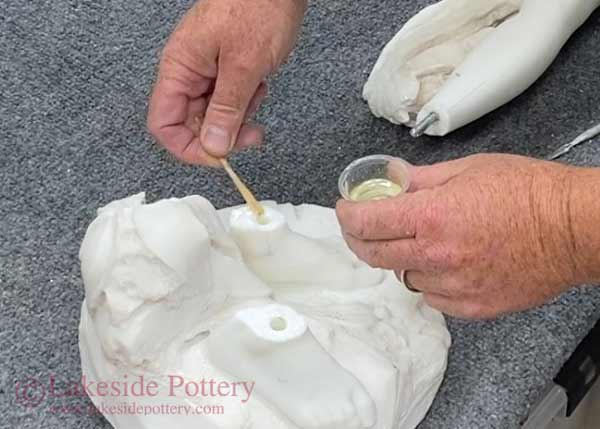
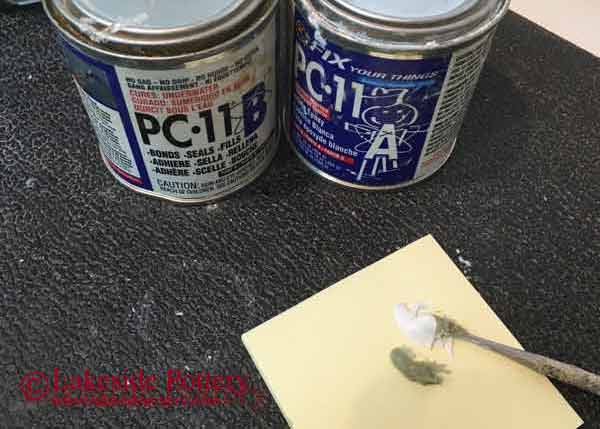
The shown epoxy has about two minutes workable time.
Use slow cure epoxy if uncomfortable with 2 minutes
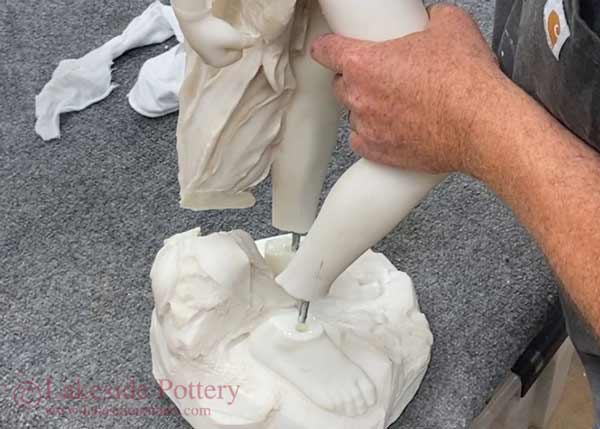
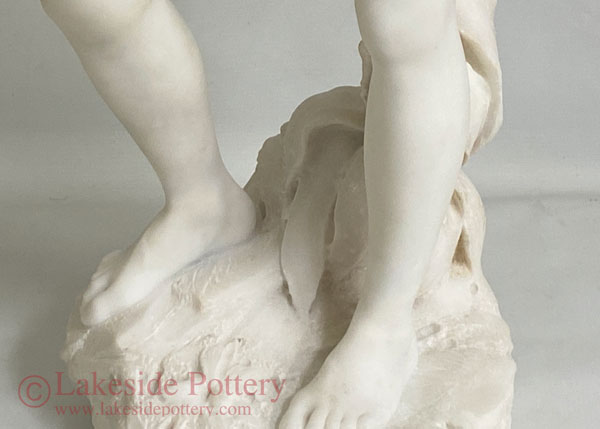
Ready for cementing
Ready for cementing

Apply epoxy to rods
Apply epoxy to rods

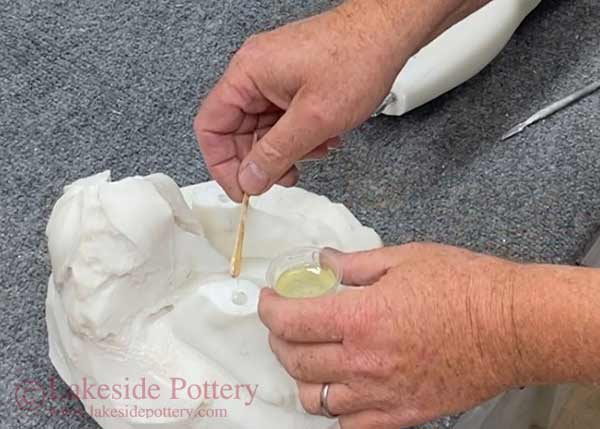
Fill 2/3 of drilled hole with the mix epoxy

Apply epoxy to all surface carefully of side A and side B

Place the statue two part together


 Remove epoxy after the epoxy is set. It will be harder to remove if excess epoxy is removed when it is totally cured
Do not wipe excess epoxy off to avoid smearing. Remove epoxy after the epoxy is set. It will be harder to remove if excess epoxy is removed when it is totally cured

Mix filler epoxy (PC-11)

Where to get materials


Apply filler to joint cracks

Wait for epoxy filler to cure (24 hours in a room temperature of 70 or warmer)


Sand filler starting with 220 grit sandpaper, continue with 400 grit and finish with 2400 grit


Project is completed
Project Complete


COPYRIGHT Lakeside Pottery LLC ; COPYRIGHT details and linking policy; Protected by Copyscape including reporting to search engines