Pottery made to order | repair and restoration studio in Southern Delaware
Replacing Rim on a Stoneware jug

Replacing Rim on a Stoneware Crock

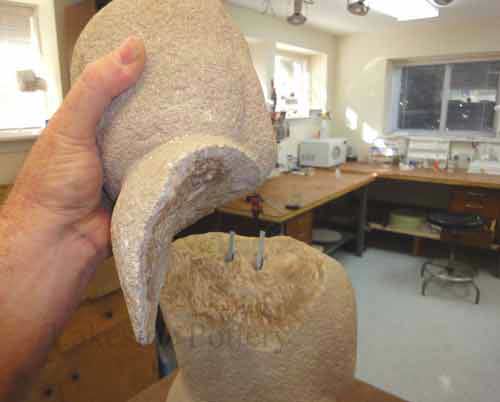
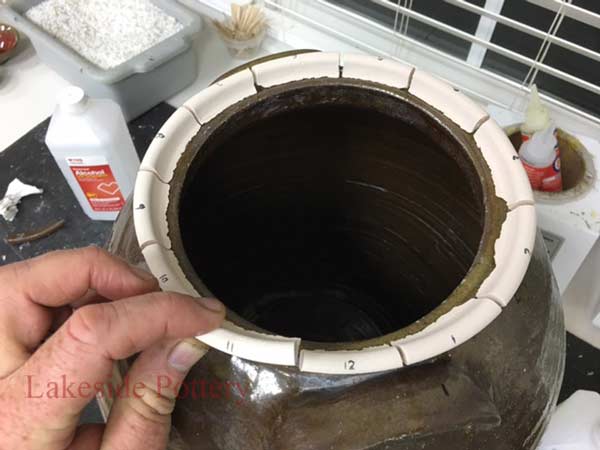
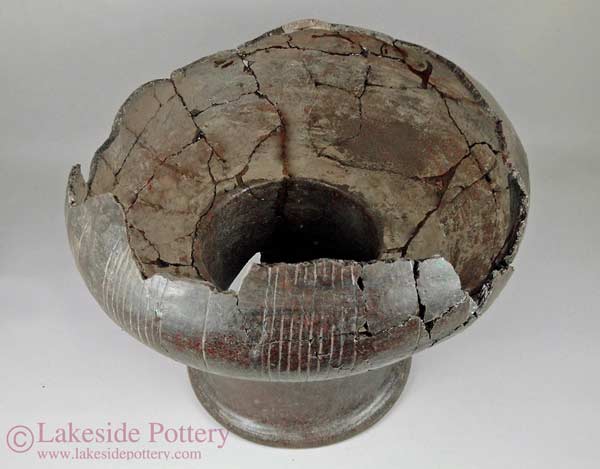
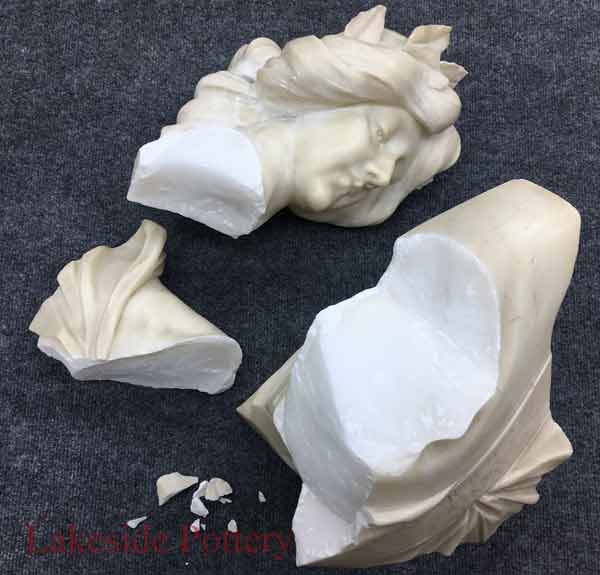
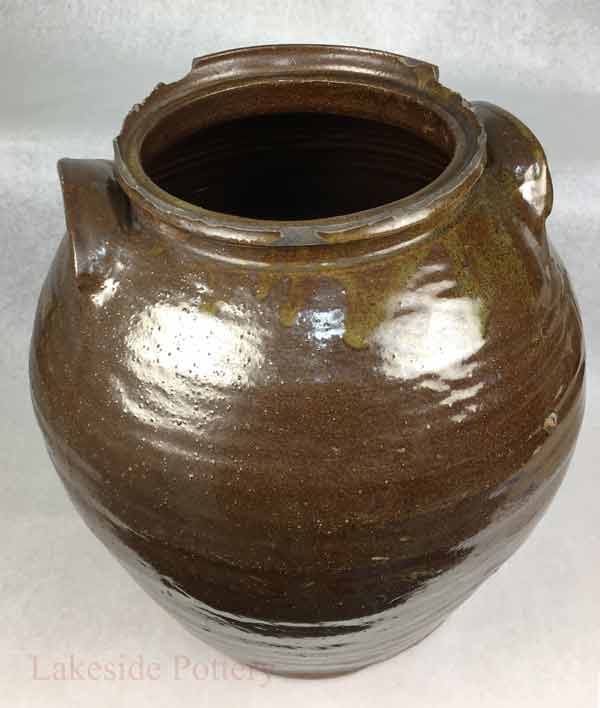
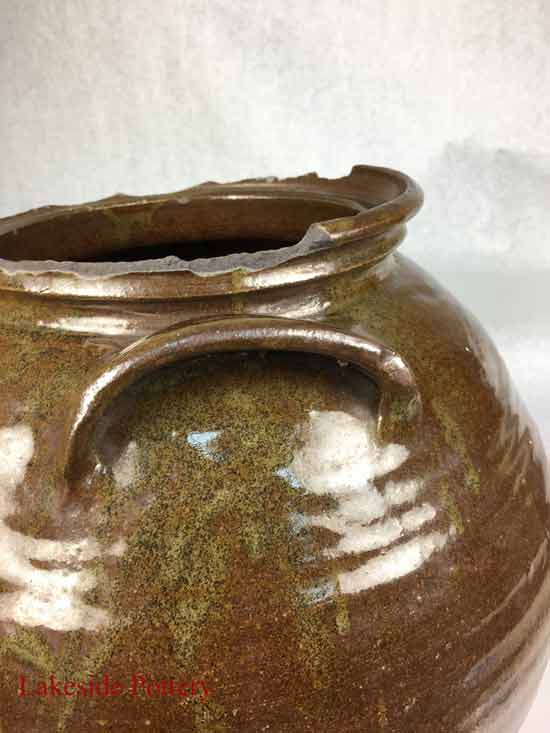
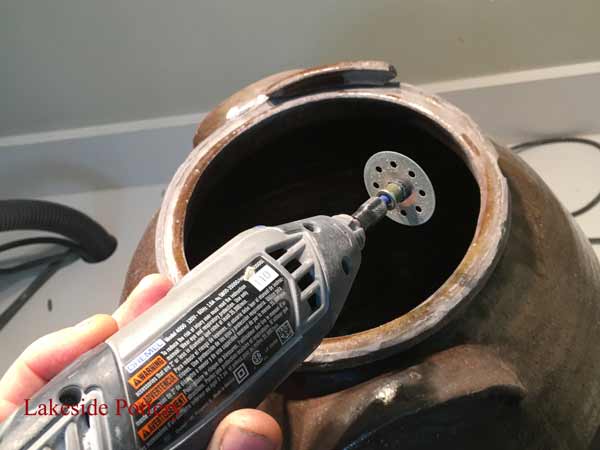
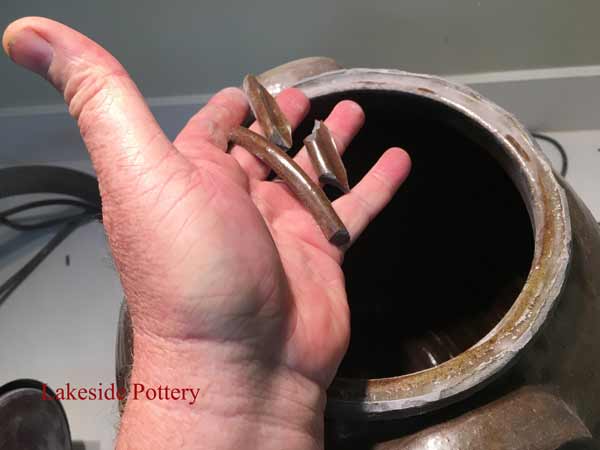
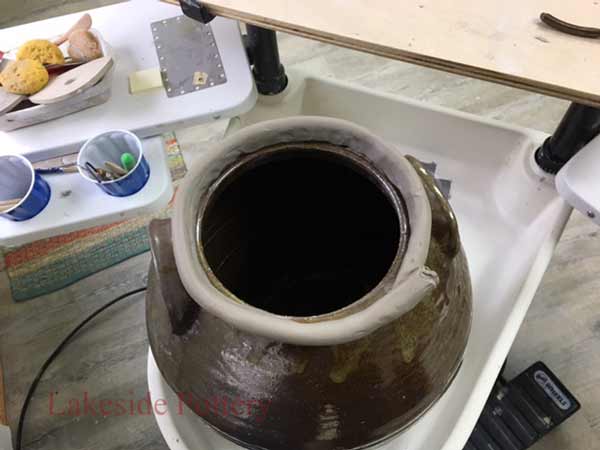
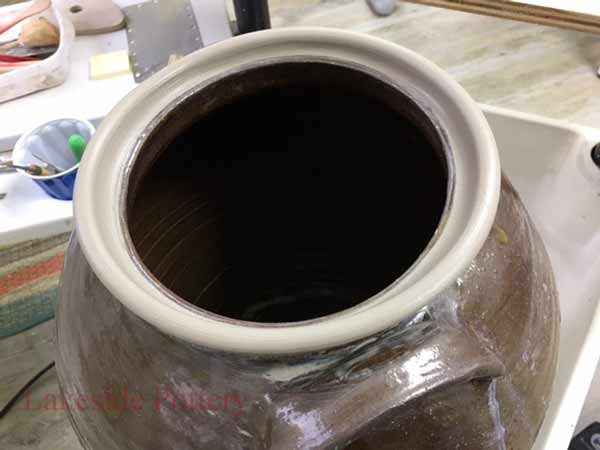
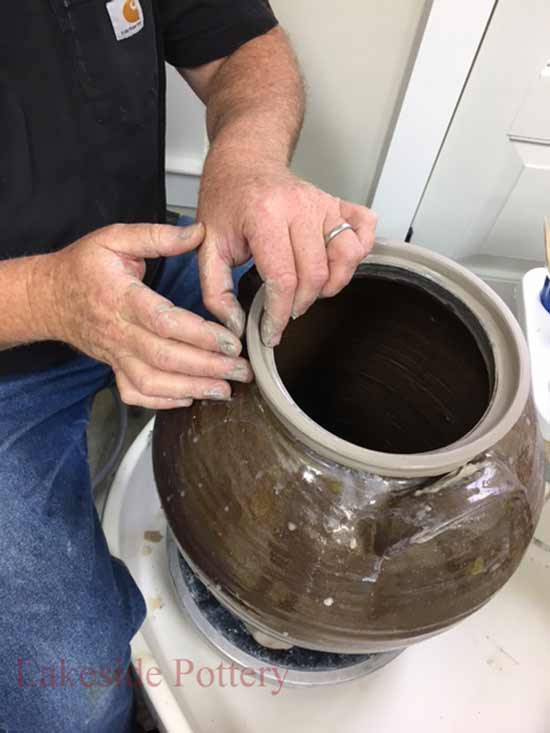
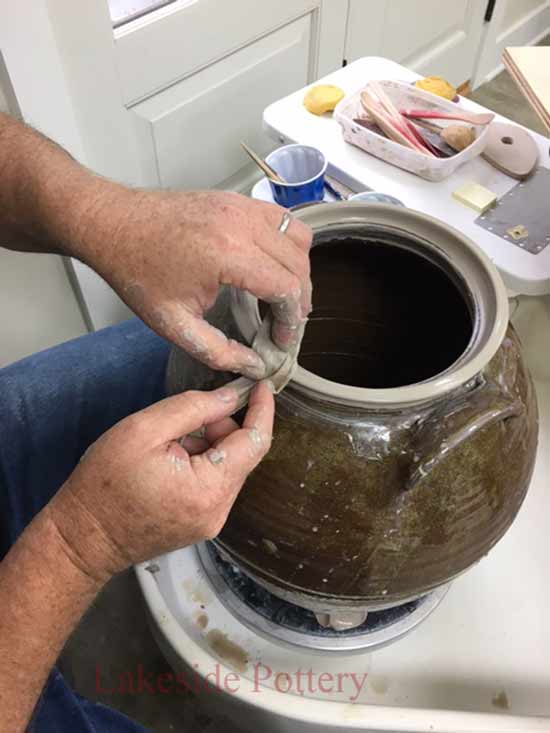
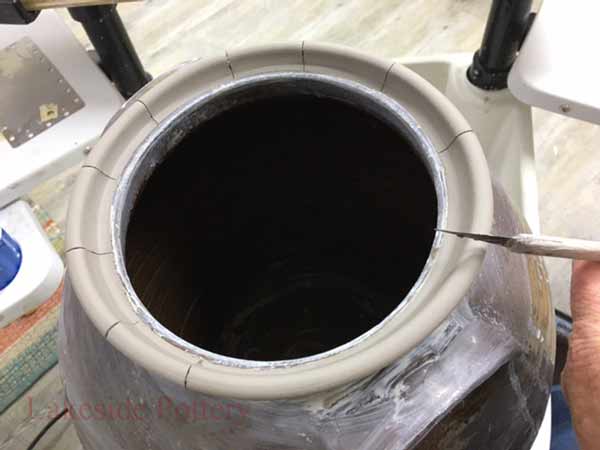
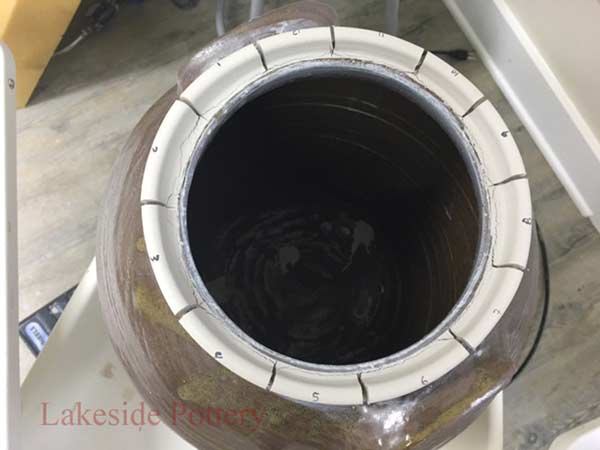
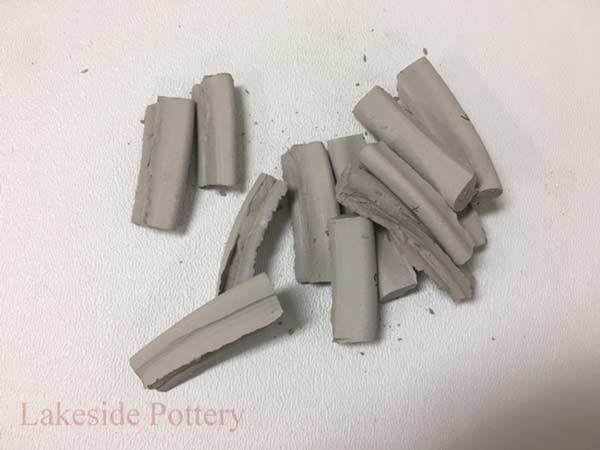
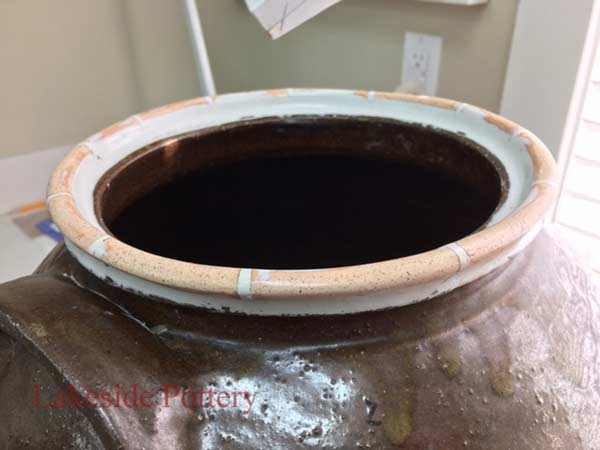
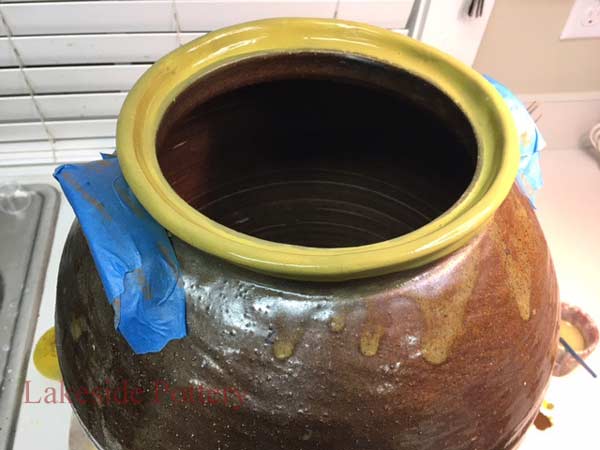
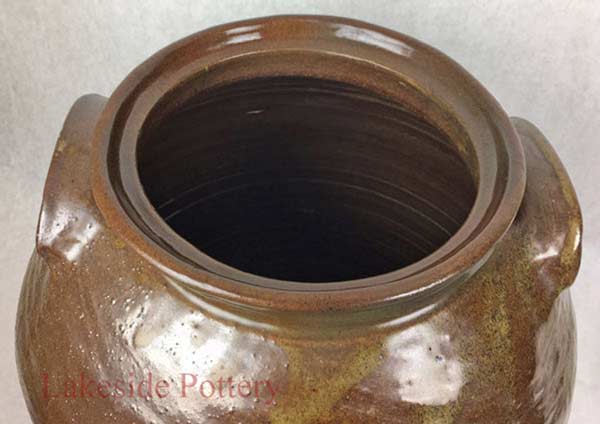
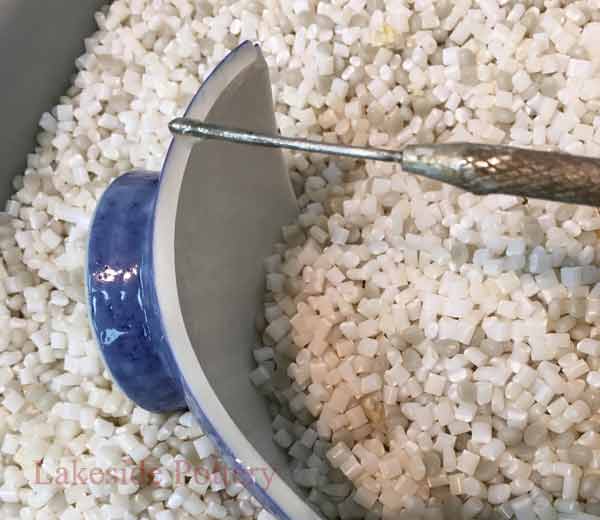
This crock came to us from a collector who claimed it is rare and valuable. Most of the rim was broken off and missing. There are more than one method to create a new rim but in this case, given the required continuity and unevenness, throwing the rim on the potter's wheel was the selected option.

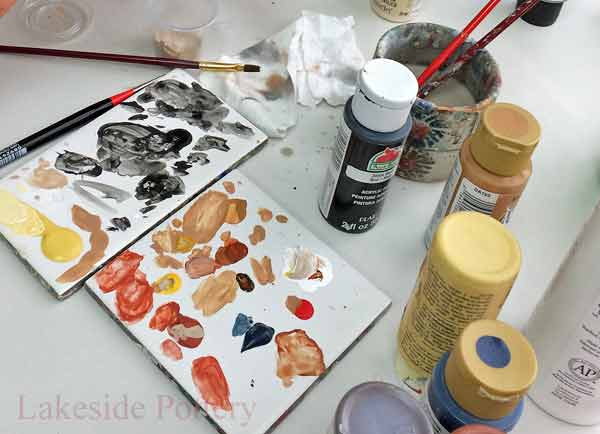
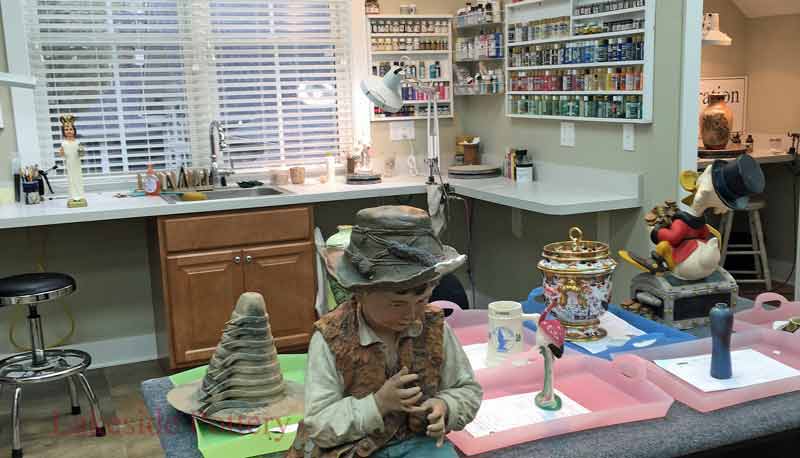
If you need to see the a more detailed tutorial covering mending, filling, sanding, painting and glazing, visit this link or below


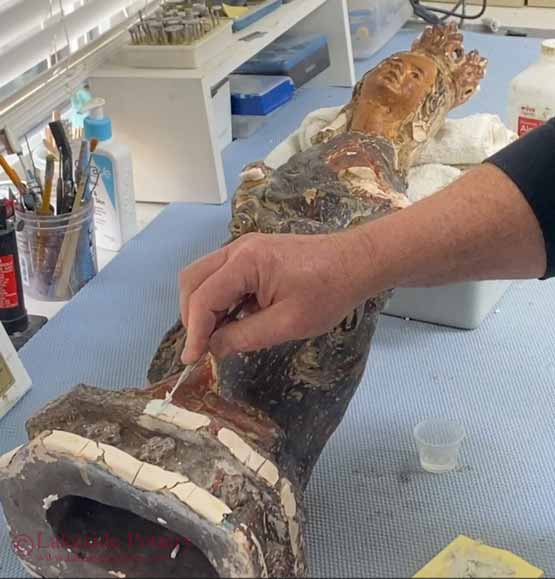
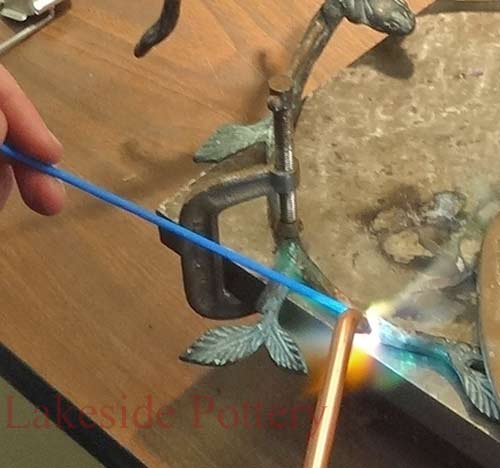
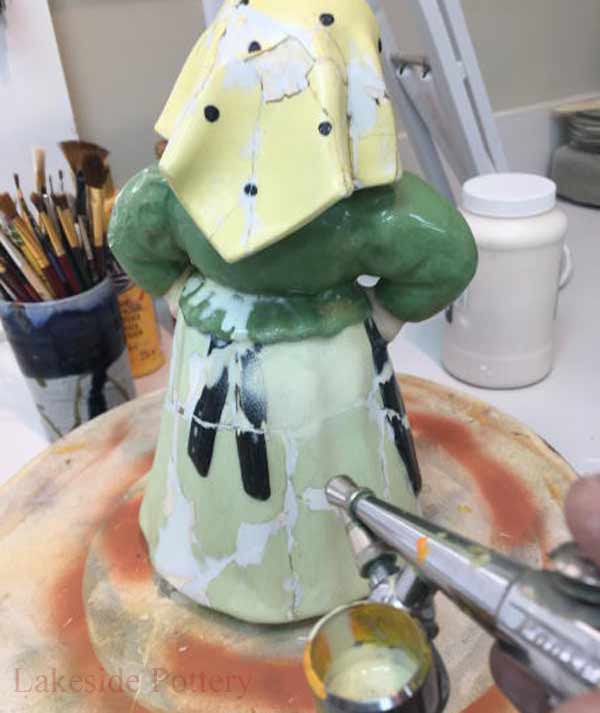
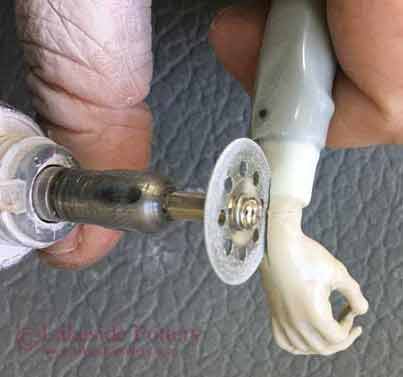
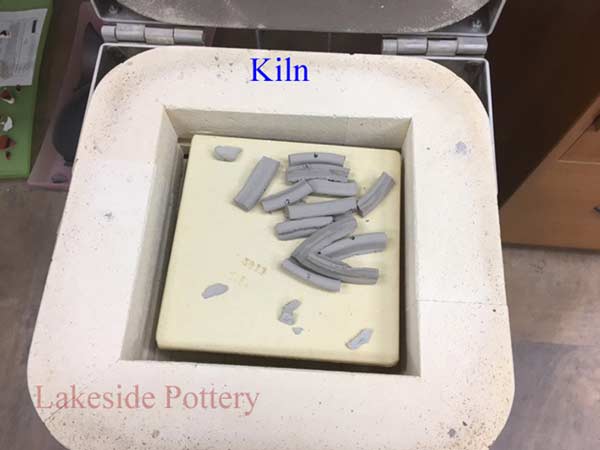
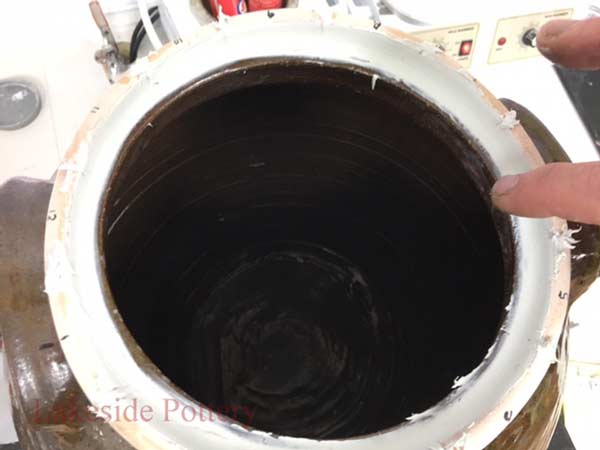
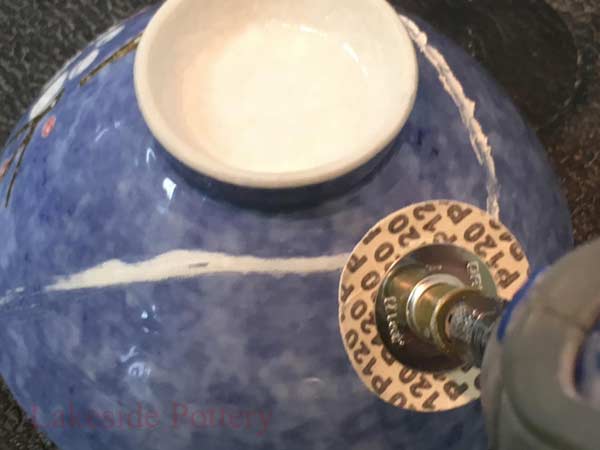
Step-by-Step Illustrations:

Stoneware crock with broken / pot missing rim
Stoneware crock with broken / missing rim

Small portion remain and used for a reference making the new rim

Cut off existing rim portion with diamond blade
Keep cut off pieces for a later reference

Center crock on the potter's wheel
Center crock on the potter's wheel. Use stone-ware clay and place a coil over the broken rim

Shape the new rim using the pottery wheel
Shape the new rim
Smooth rim

Smooth rim with chamois

cut rim to segments
After clay dried a bit, cut rim to segments so that the 8-10% shrinkage will take place without effecting proper fit

Number segments with underglaze
Clay dried yielding gaps between the segments. Number the segments before removal with underglaze for ease of placement after firing
Remove dried segments

Fire segment in kiln
dry run fit
Cement fired segment to their locations
Cementing lesson & epoxy used lesson

mix epoxy
Fill gaps; we use PC-11 epoxy - see link

Sand the cured epoxy filler
Sand the cured epoxy filler see more detailed tutorial here

Mix colors ready for air brushing
Mix colors ready for air brushing. This project required 9 color. Painting tutorial for more info

Air brush gun used
Air brush gun used
Air brush base color

All colors and effects applied
Cold glaze applied with the proper sheen adjustment

Restoration complete - ready for shipment

Basic Ceramic Bowl Repair
This tutorial may assist you in mending and cementing your broken ceramic or pottery using easily available tools and materials saving you the cost of professional repair. Click picture for lesson

Fixing broken pottey or ceramic lesson

Fixing broken plate lesson - basic lesson

Repair and restoration studio
Restoration studio


COPYRIGHT Lakeside Pottery LLC ; COPYRIGHT details and linking policy; Protected by Copyscape including reporting to search engines