How Kintsugi Is Performed in Our Studio Using Real Gold and Gold-Effect Methods
What this page covers: a clear, photo-based walkthrough of how we mend, fill, and finish broken pottery using either real 23.5K gold over lacquer or a brass-based gold-effect method. The structure (mending and filling) is the same; the final finish materials differ.
Side-by-Side Kintsugi Comparison See more examples furhter below
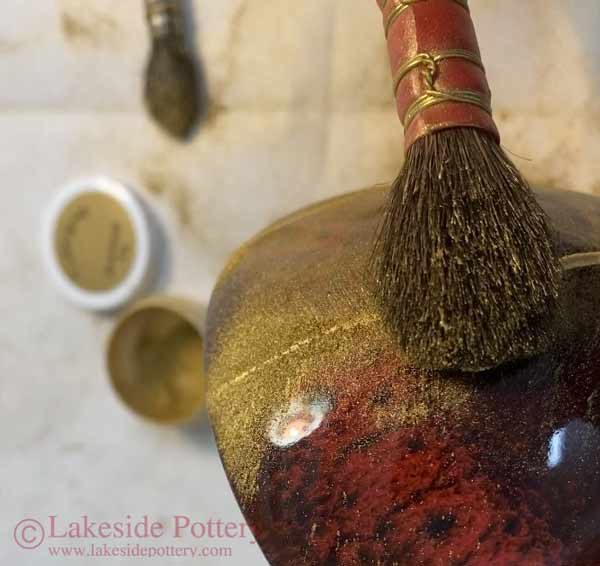
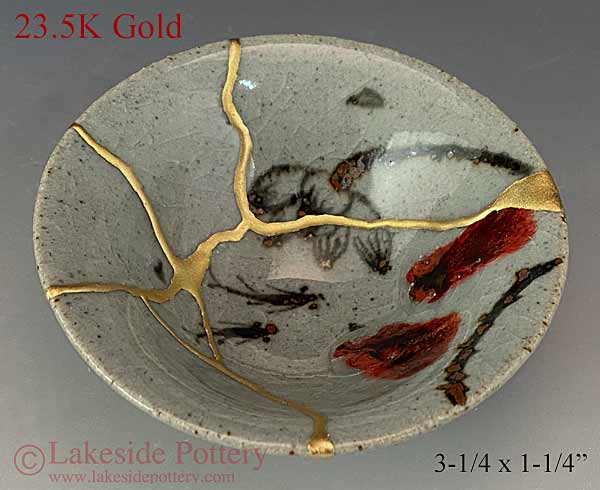
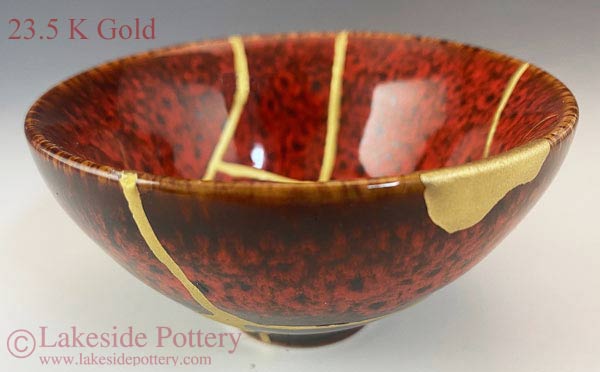
23.5-Karat Gold & Lacquer Example
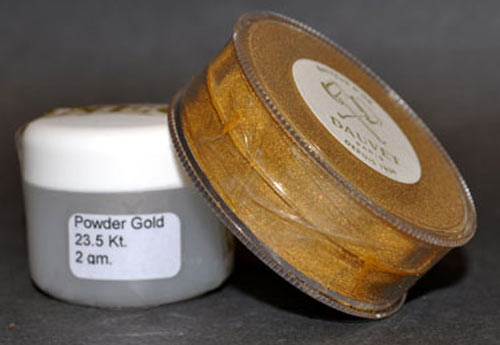
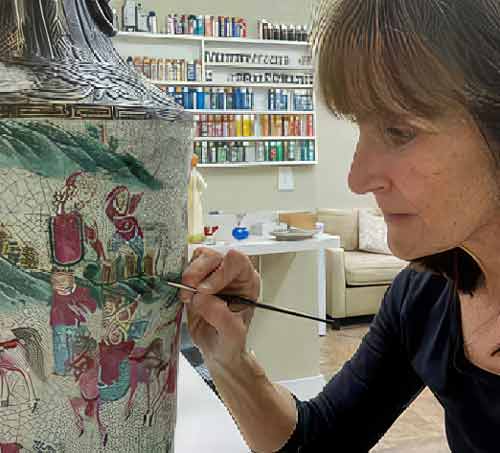
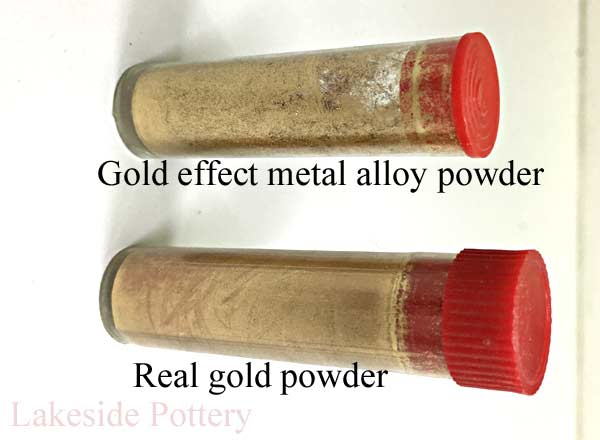
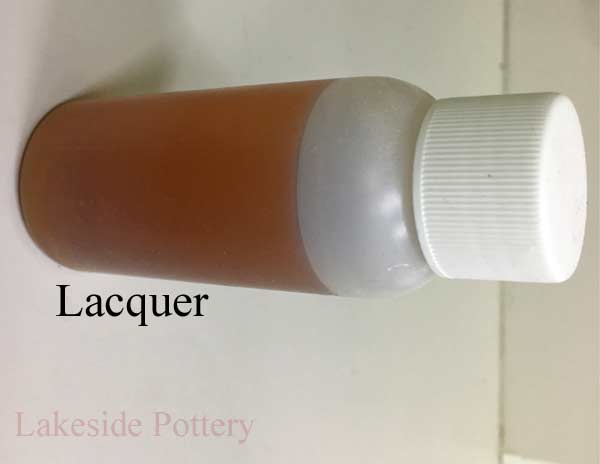
Our 23.5K gold process blends genuine fine gold with lacquer, honoring the traditional spirit of Kintsugi and creating a timeless, unmistakably authentic finish. This option is often chosen for heirlooms, high-value ceramics, and collectors who want true precious-metal Kintsugi.
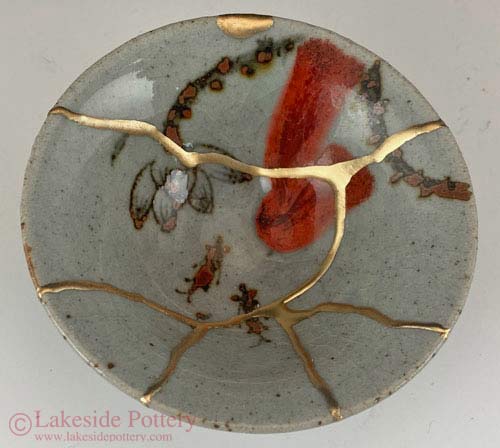
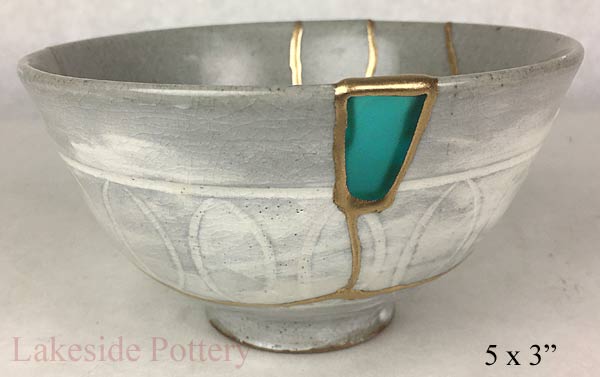
Gold Effect Kintsugi Example
Our Gold-Effect method uses a brass-based metal process to create the warmth and luster of gold. When encapsulated, the finish stays bright and is visually very close to real gold, typically at less than half the cost of the 23.5K process.
Kintsugi Questions & Answers
How Our Kintsugi Process Is Done - Video
This lesson shows the highlights of the process.
Mending and Filling Steps Identical for Real Gold & Gold-Effect Methods
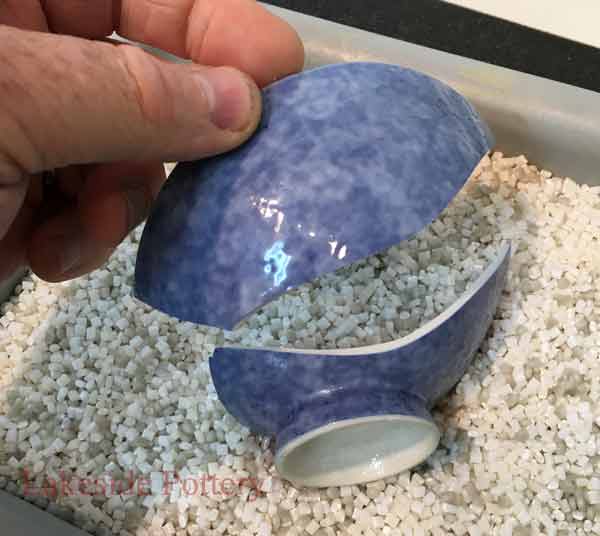
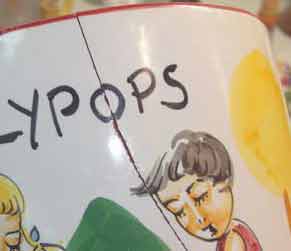
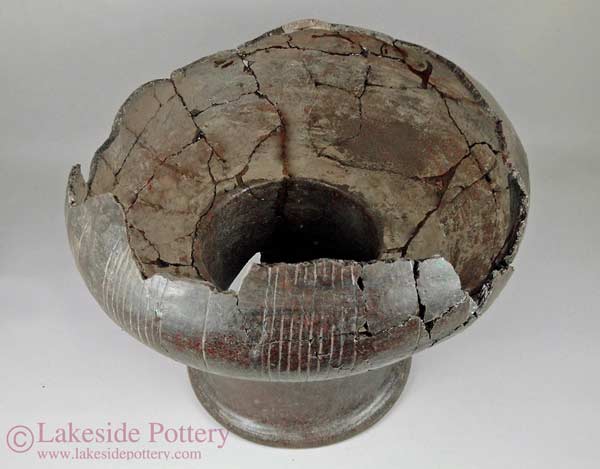
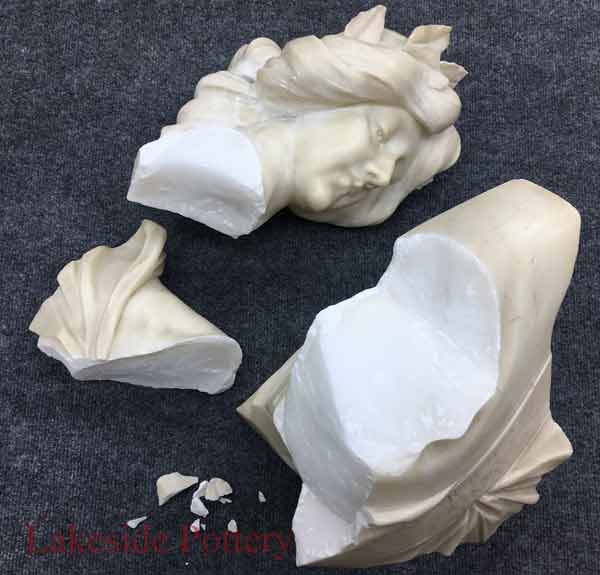
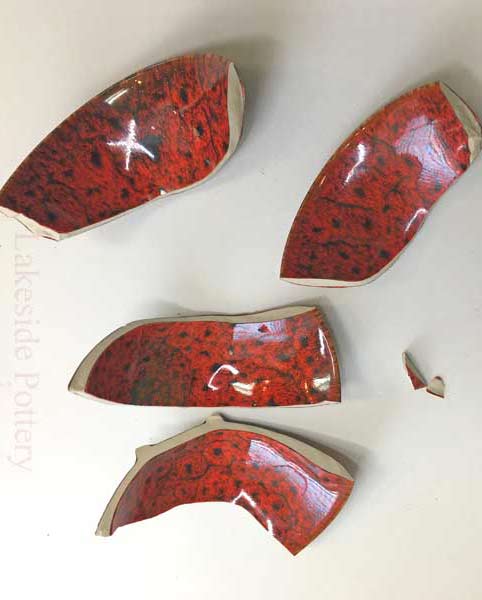
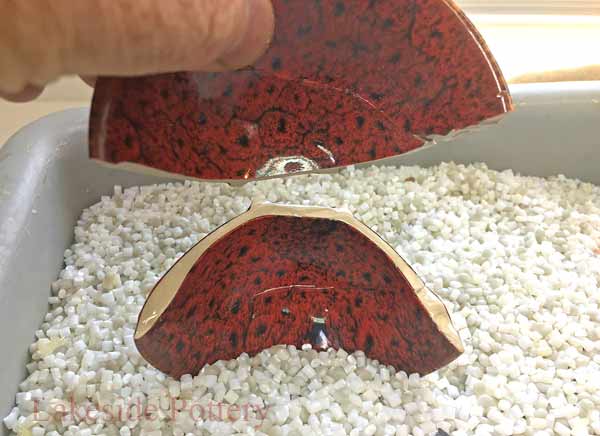
Broken pottery can happen by accident, or it can be broken intentionally to create a specific pattern.
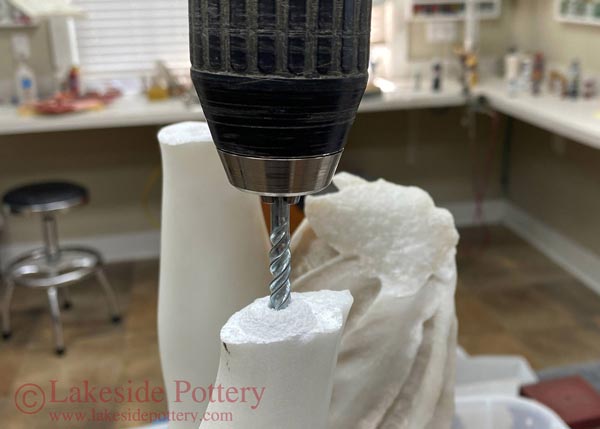
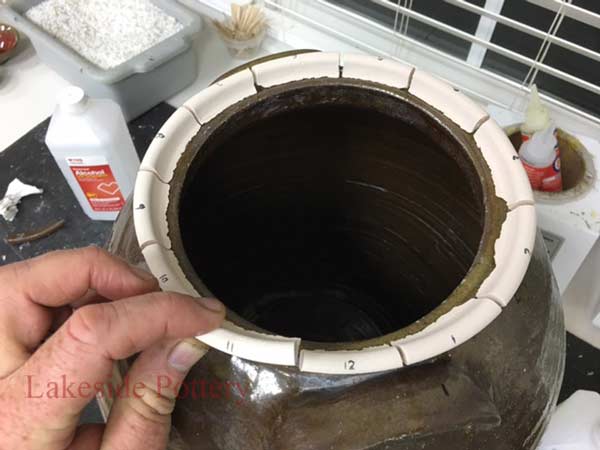
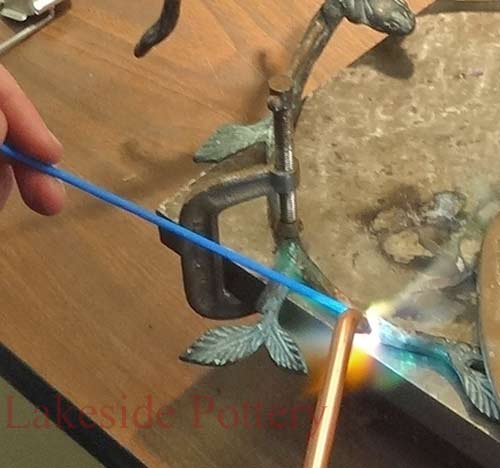
Breaking a Vessel Example We use different breaking methods depending on the vessel type and structure. Is it a bowl, vase, or plate? Porcelain, stoneware, or earthenware? Wall thickness, uniformity, and size all influence the impact point, force, and tool. The goal is a controlled break so the pattern matches your vision and the project budget. Breaking in stages helps achieve the precision needed, though results are never fully guaranteed. Always wear goggles.
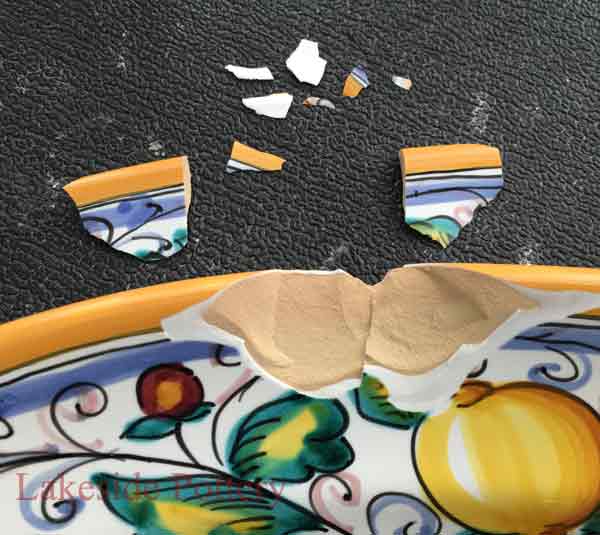
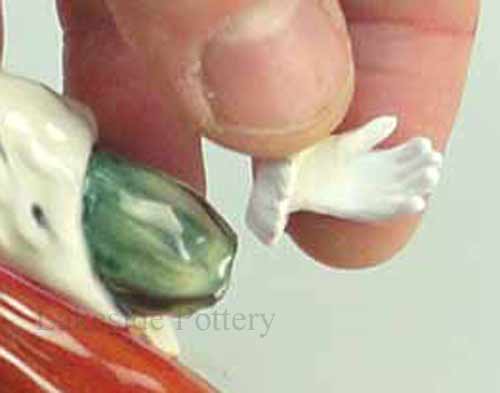
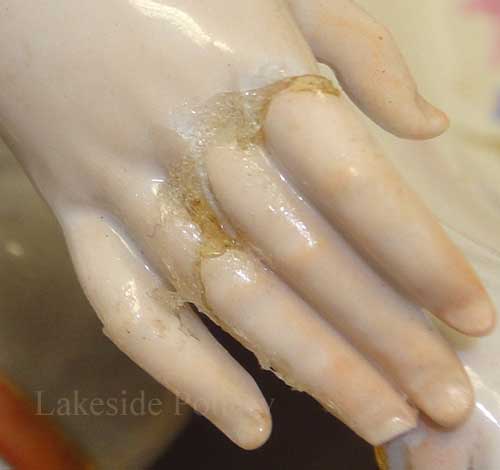
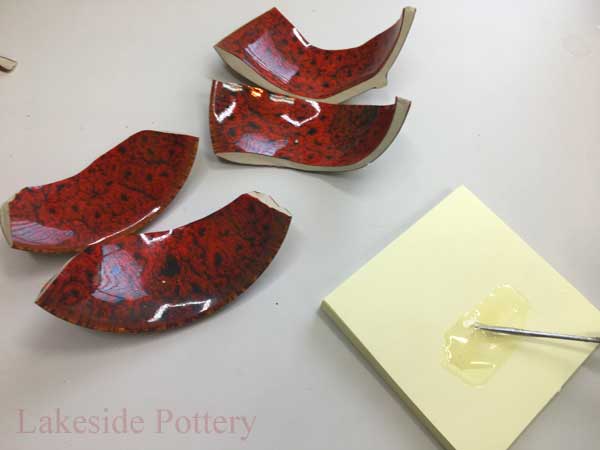
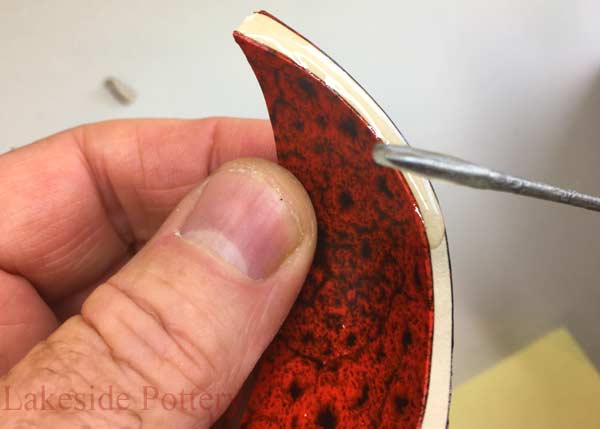
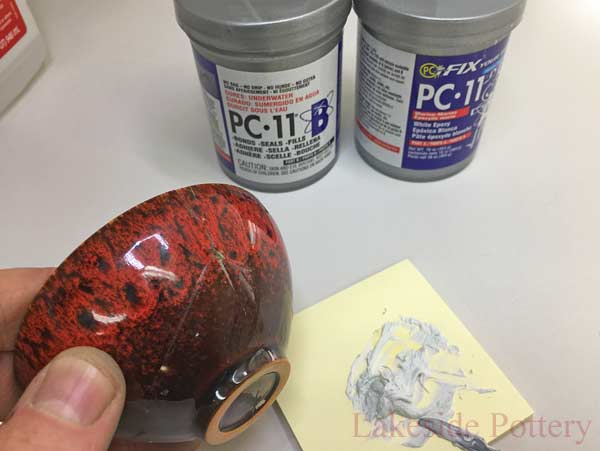
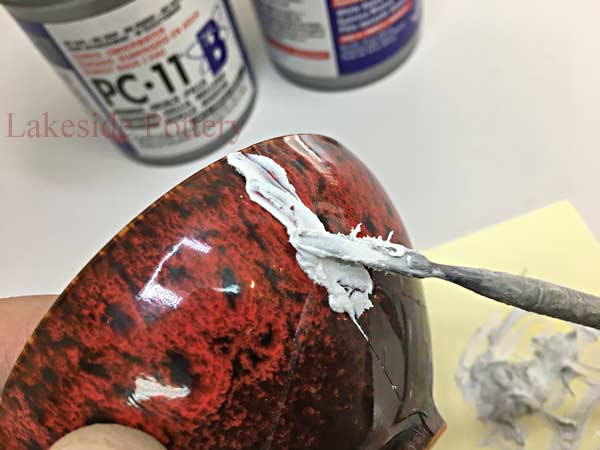
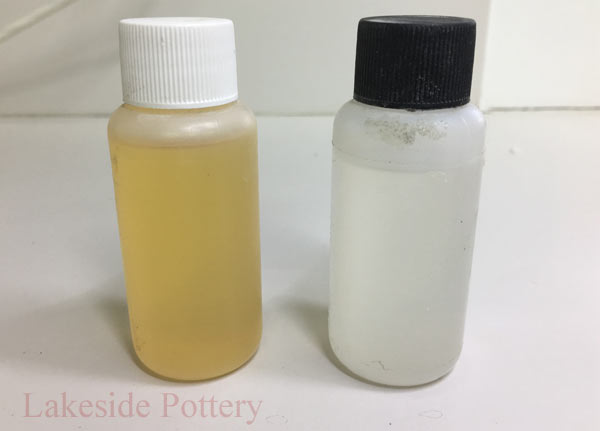
Apply epoxy to one edge using a pin tool or wooden stick. Use just enough adhesive to fully wet the edge. Too little can leave gaps and weaken the repair.
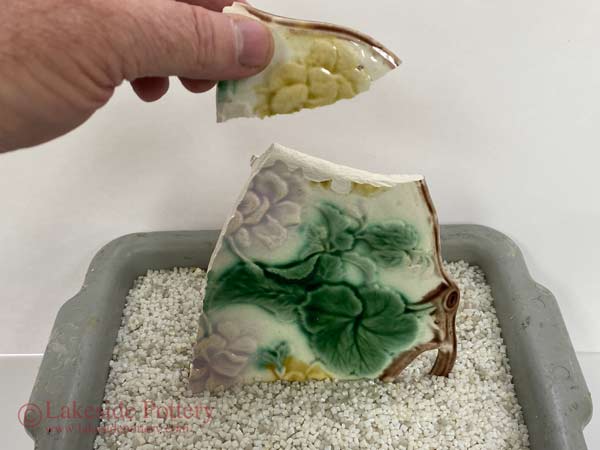
Join the broken pieces together. Important: You have only about 60-90 seconds from the start of mixing to position the pieces permanently before the epoxy becomes gummy and difficult to work.
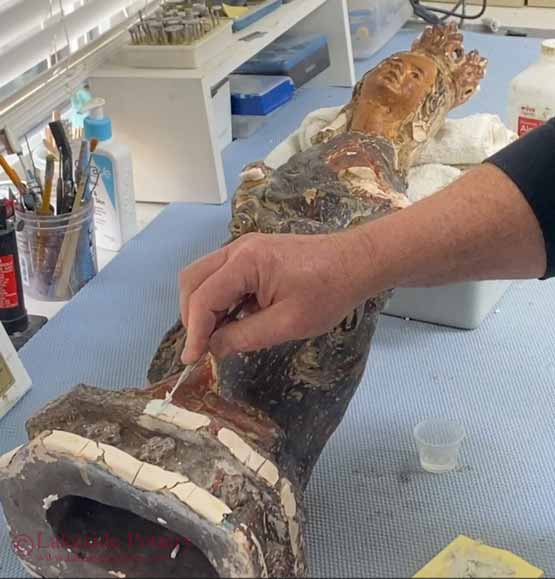
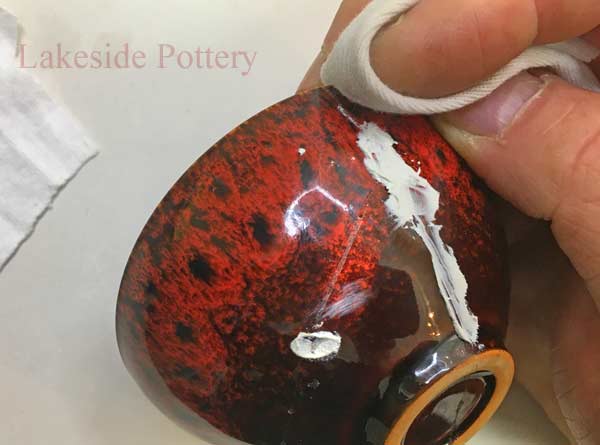
Quickly bring the pieces together and apply light pressure to squeeze out excess epoxy.
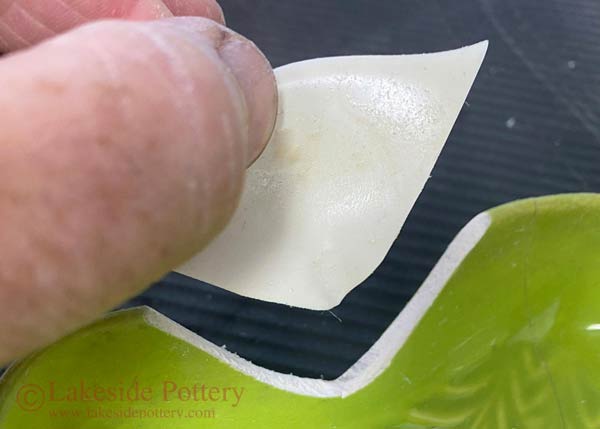
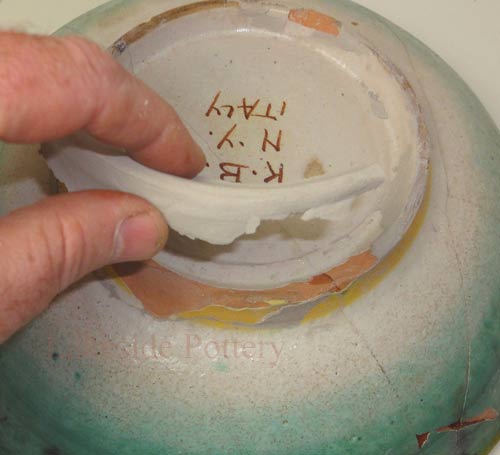
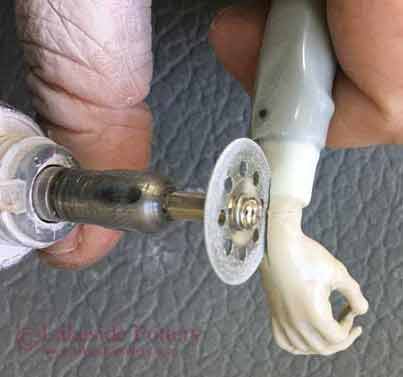
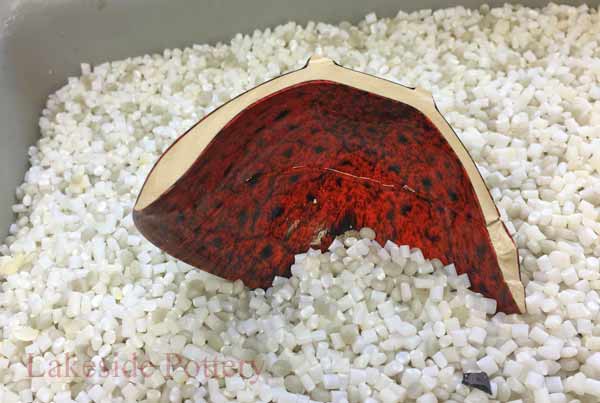
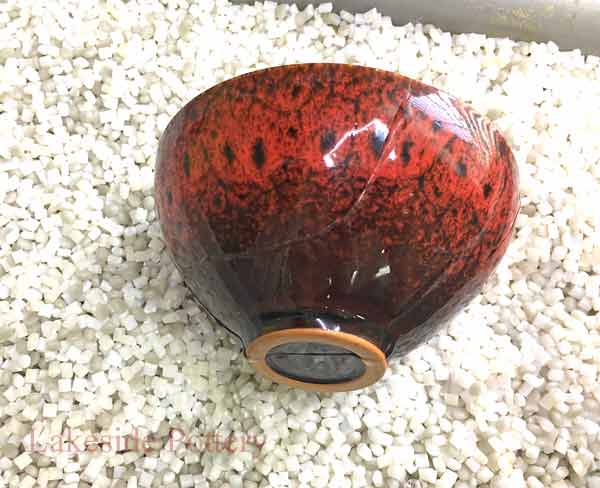
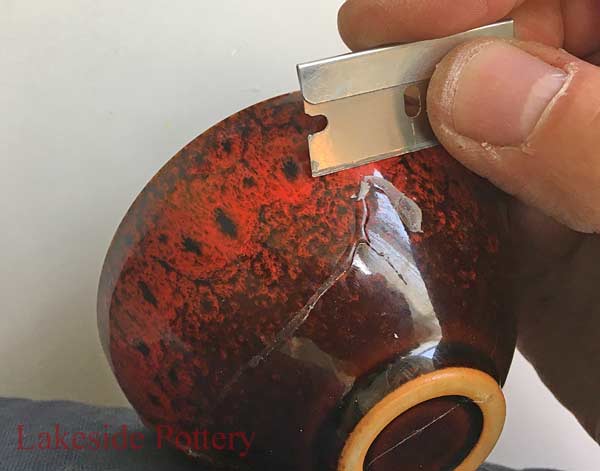
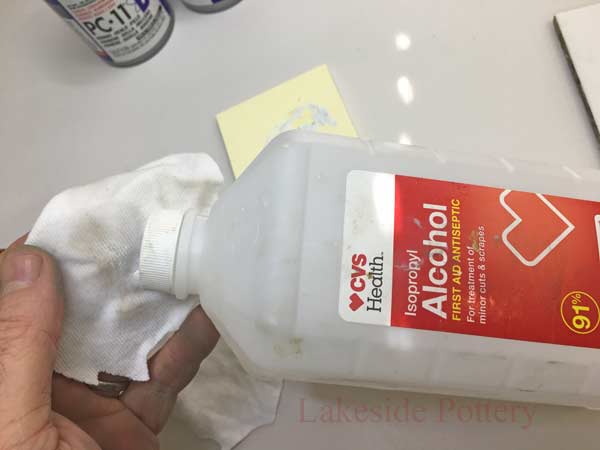
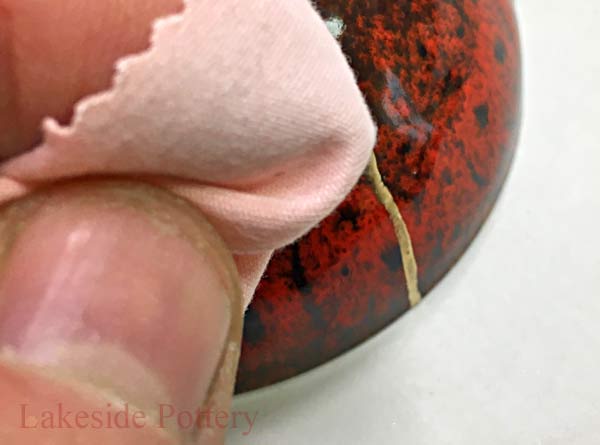
Verify the pieces can remain steady during curing (75 degrees F or warmer is best). Let the epoxy cure for 60 minutes or more before removing excess cured epoxy with a blade.
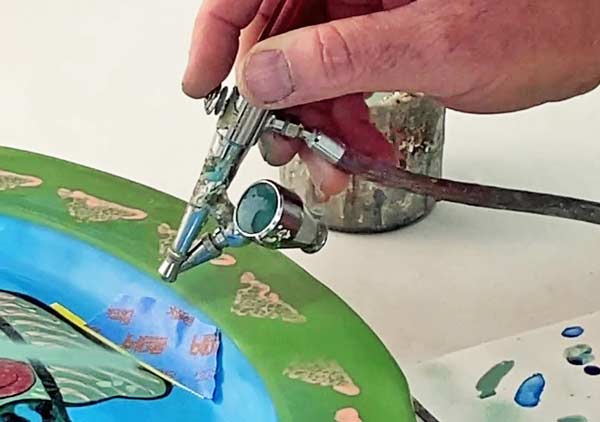
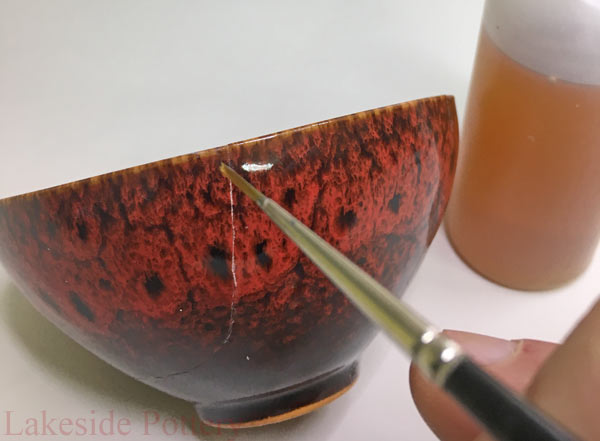
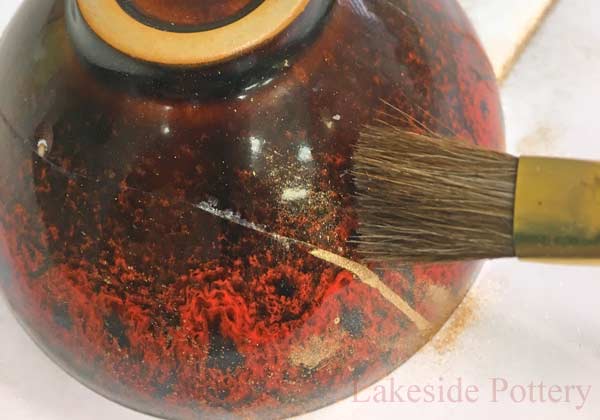
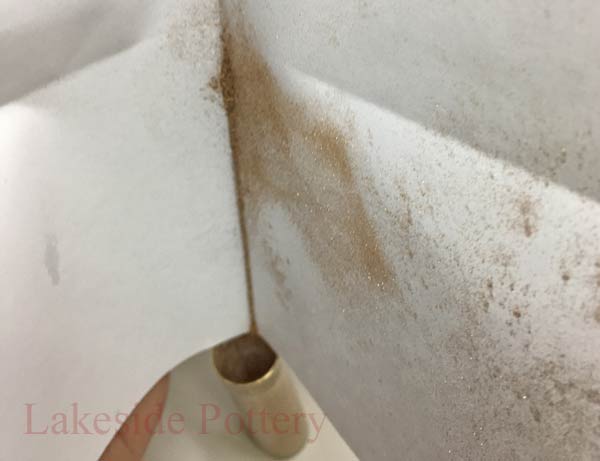
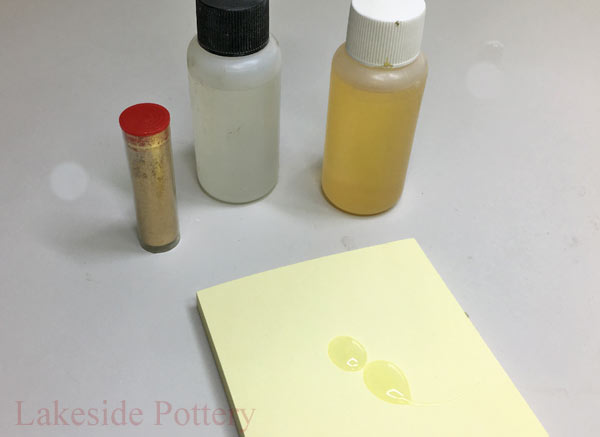
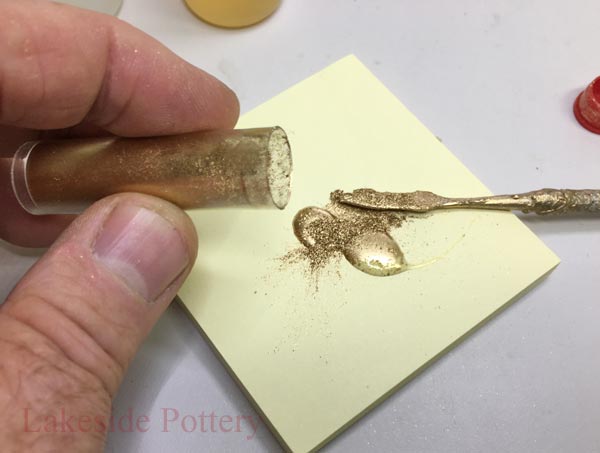
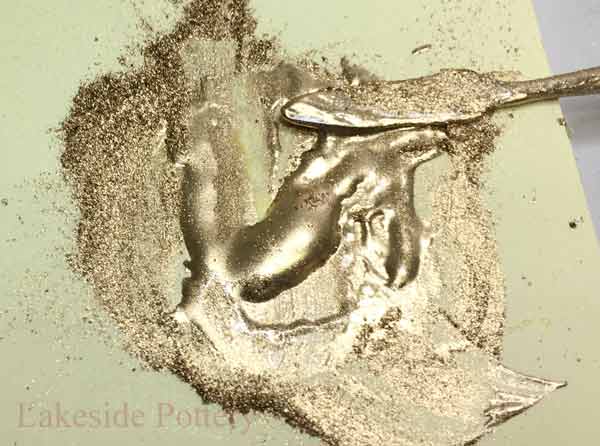
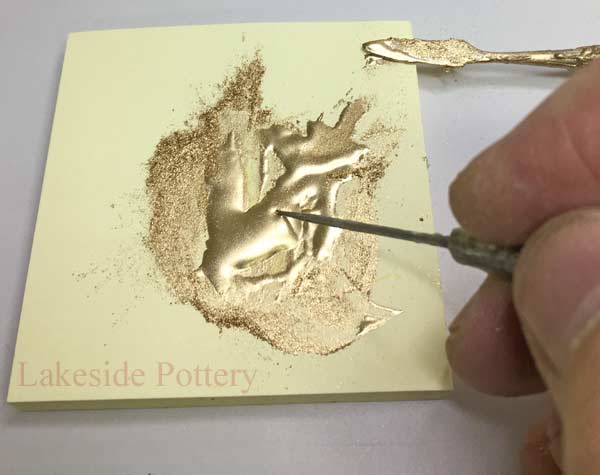
Use a sharp tool to carry and place the gold-effect mixture.
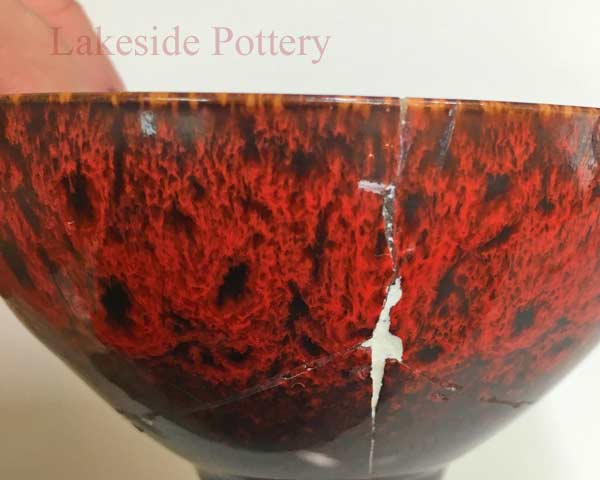
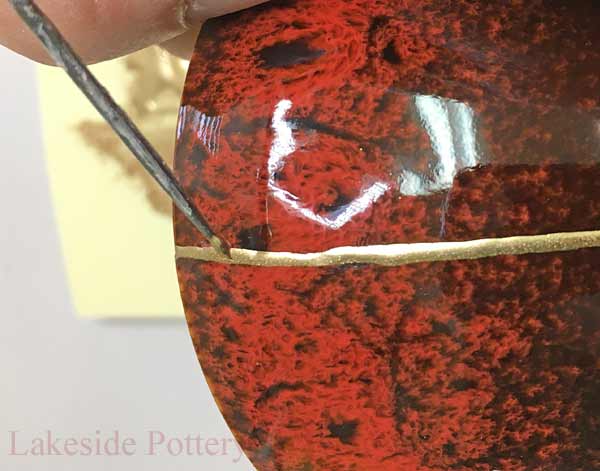
Apply the desired width and thickness over the repair lines in one continuous pass.
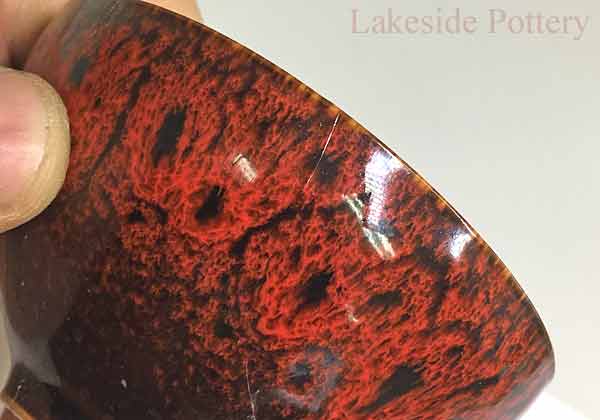
Allow to cure fully before handling.
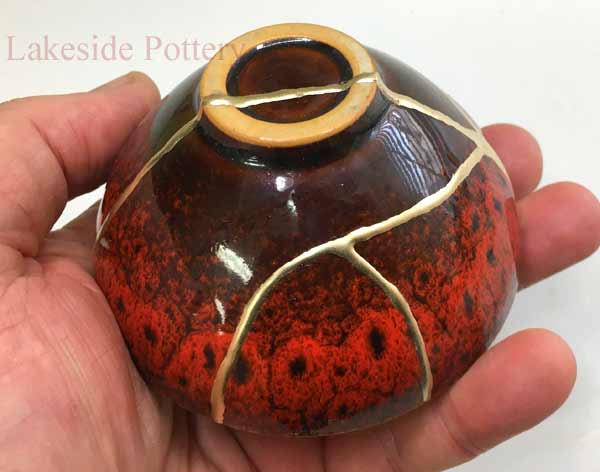
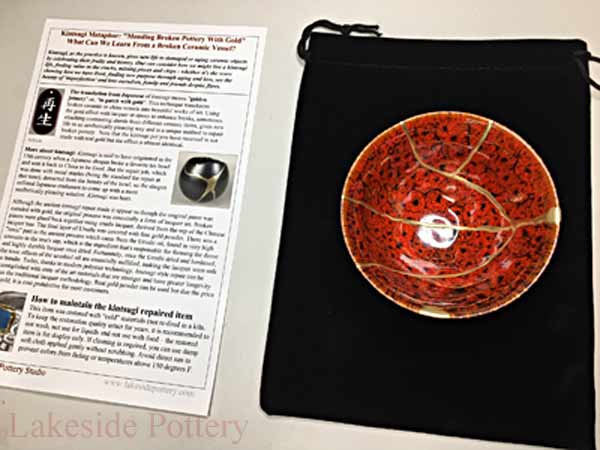
Kintsugi bowl ready for shipment.
IMPORTANT: Kintsugi repair materials are not intended for liquids or heat above 180 degrees F. Repaired items should not be used for cooking or food service to avoid premature failure or possible contamination.