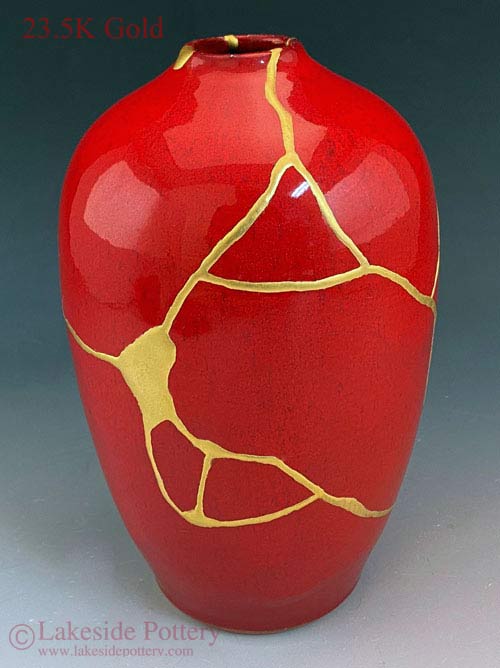
Duplicating a Missing Handle, Mounting & Seamlessly Restored Repair tutorial on how to duplicate a missing ceramic handle using the existing handle as a reference. Steps include impression, casting, pegging, mending, filling, sanding, painting, and glazing. A clear, practical guide for anyone interested in ceramic repair and pottery restoration.
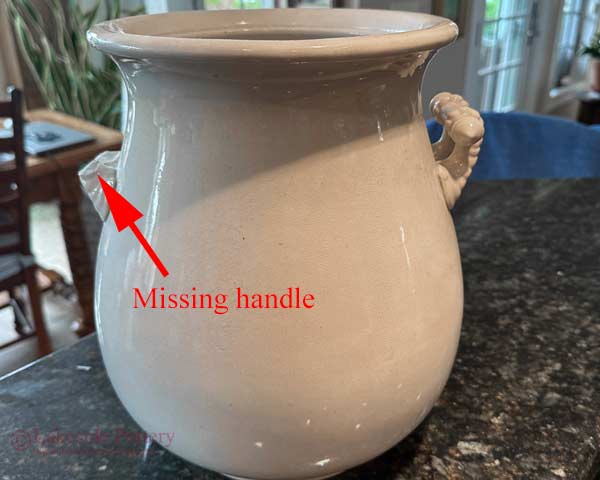
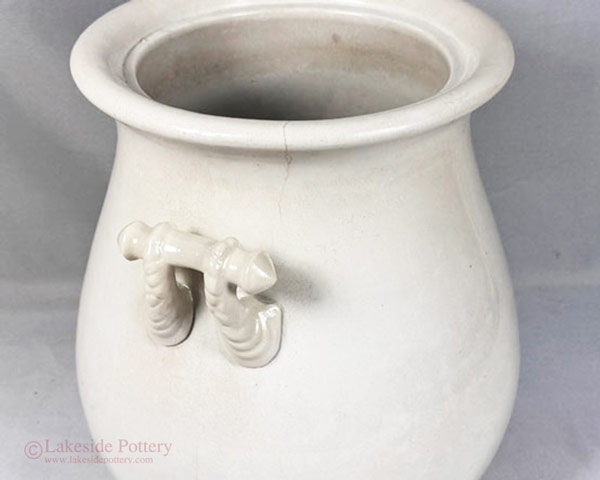
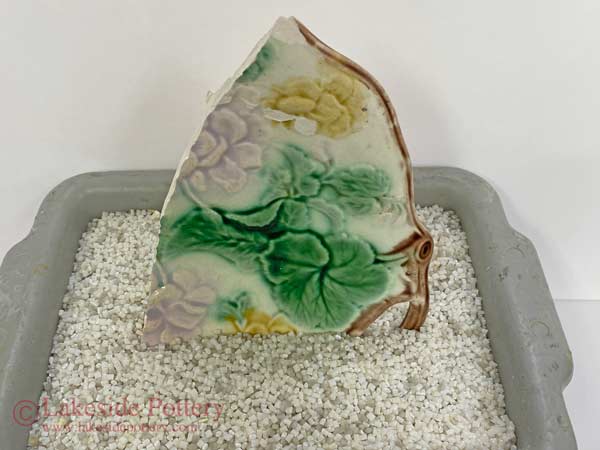
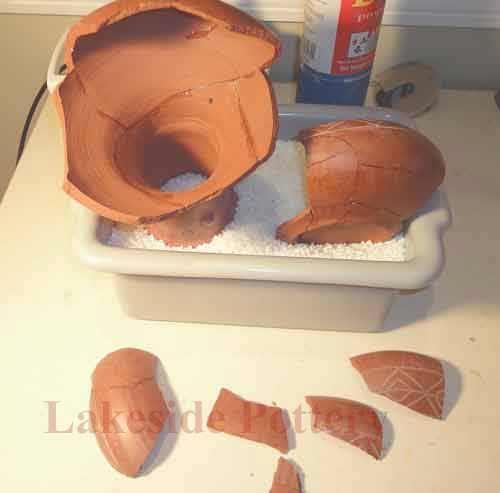
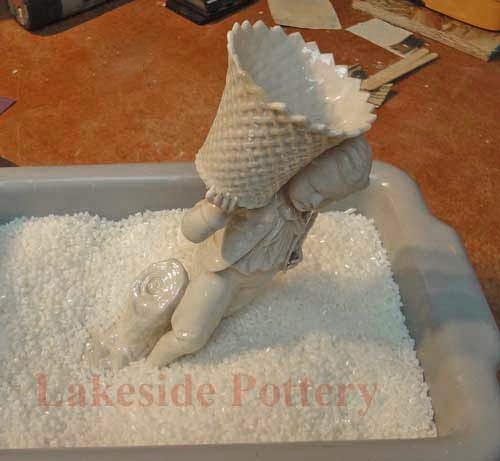
A large antique vase with a missing handle
Materials and Tools used:
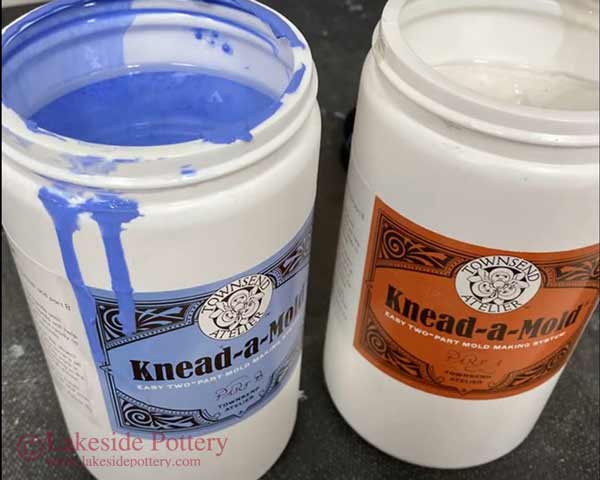
Silicon mold putty
Casting resin epoxy
Copper pegs
Diamond disc
PC-11 filler epoxy
Acrylic paints
Liquid latex
Epoxy cold glaze
Blade
Scale
Dremel
Sandpaper
Airbrush
Full Process | Video VIDEO
Process Explained with Photos
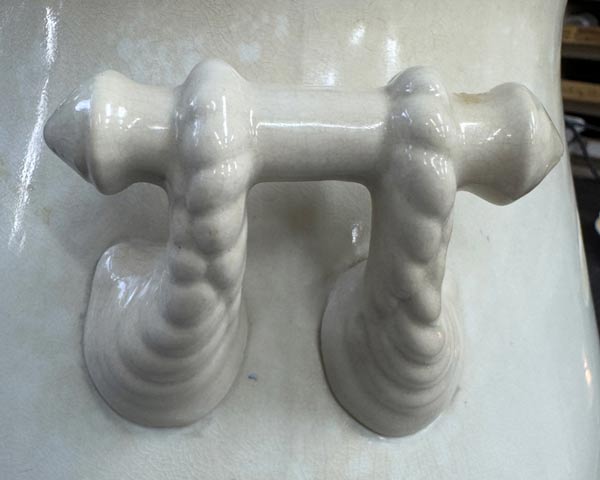
Missing handle Available reference handle
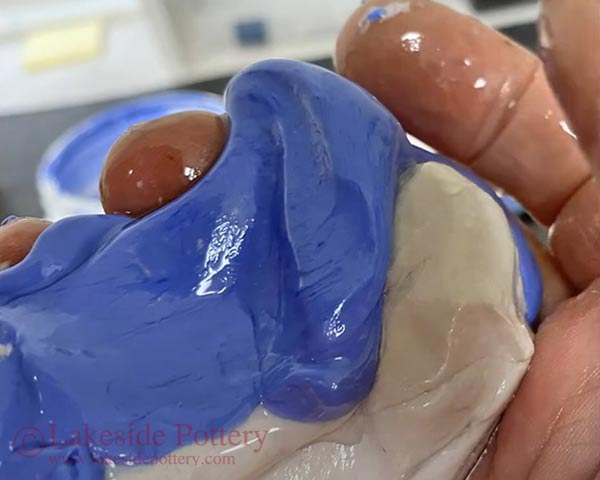
Silicone two parts rubber mold putty Mixing rubber mold putty two parts
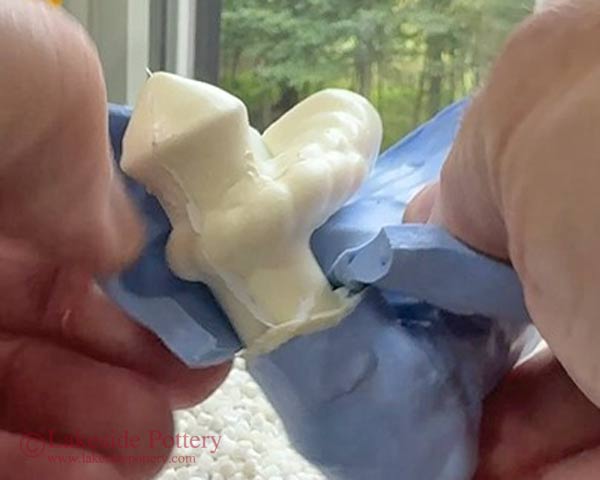
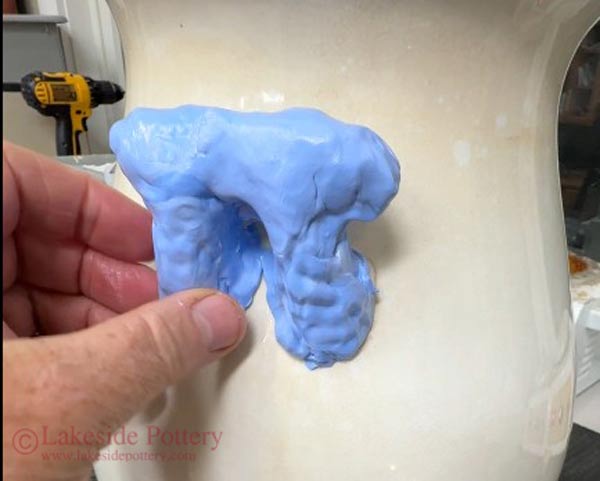
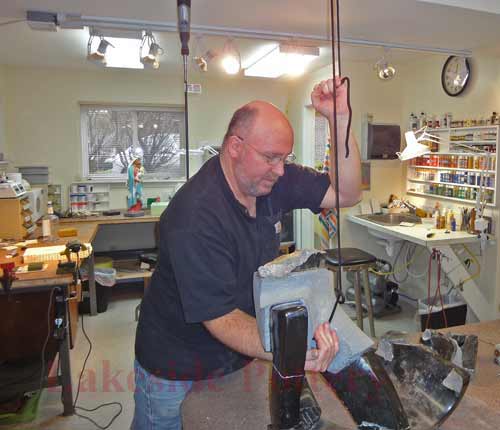
Rubber mold putty impression taken of the reference good handle Once cured, removing mold
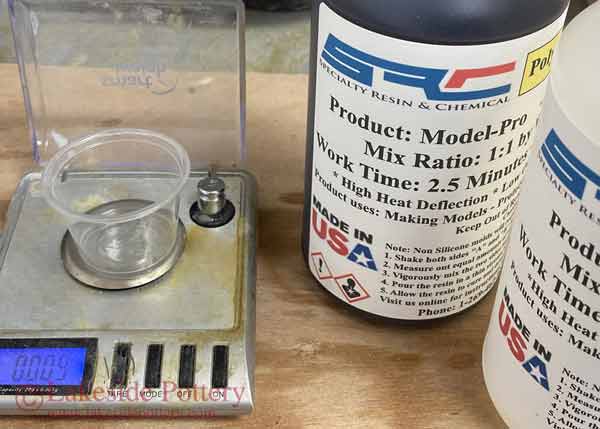
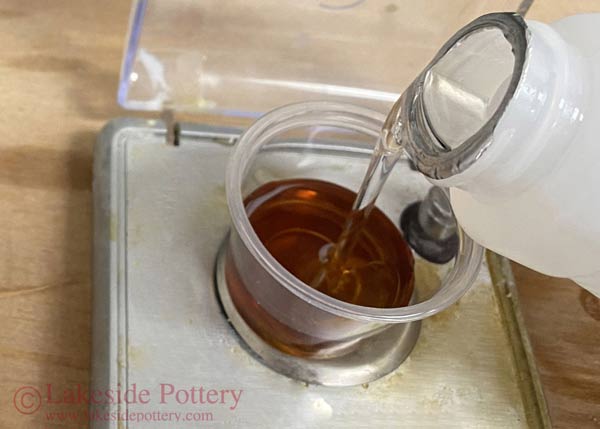
Mold ready for casting Two parts casting resin epoxy Model Pro
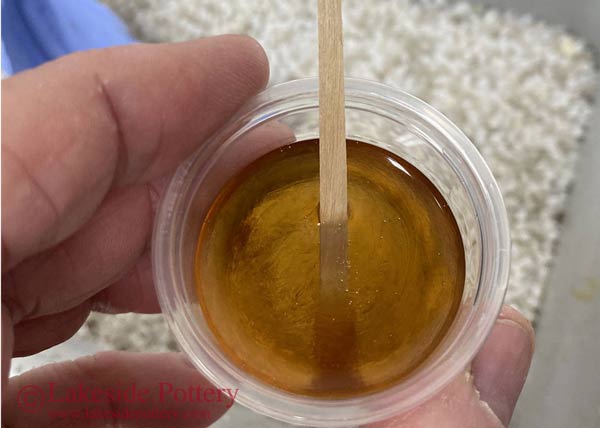
Measuring for equal mix Mixing well
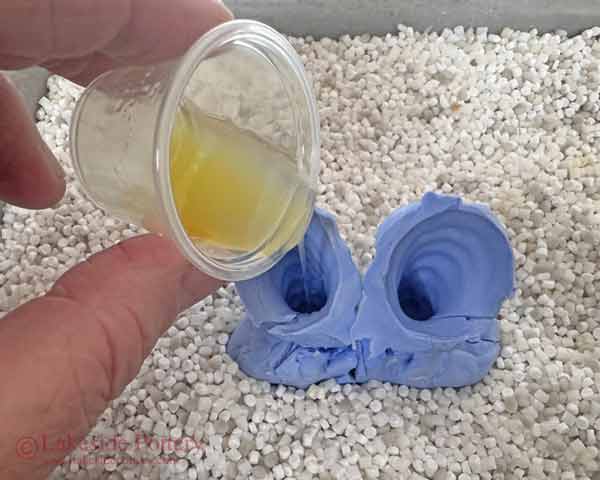
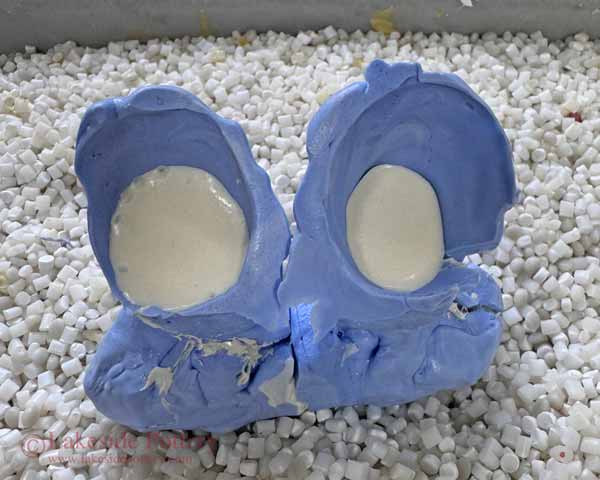
Pouring resin epoxy mix into the mold Waiting for resin epoxy to cure
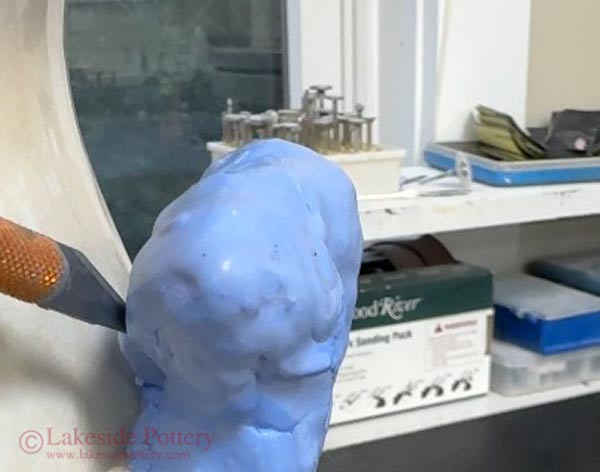
Removing rubber mold and grinding off casting excess castig marks New handle ready
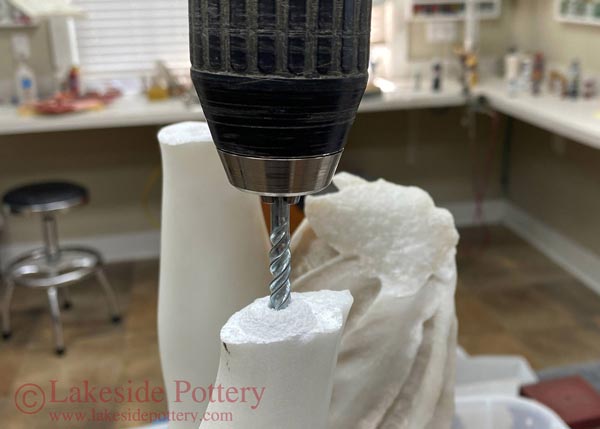
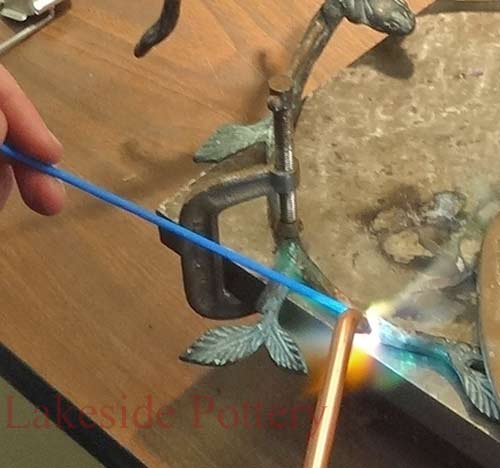
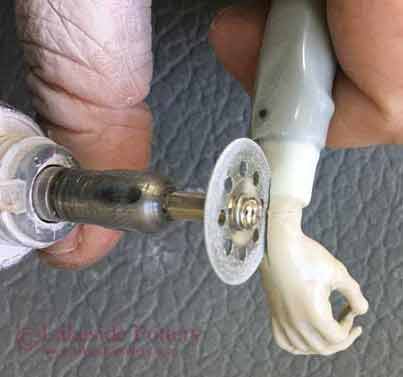
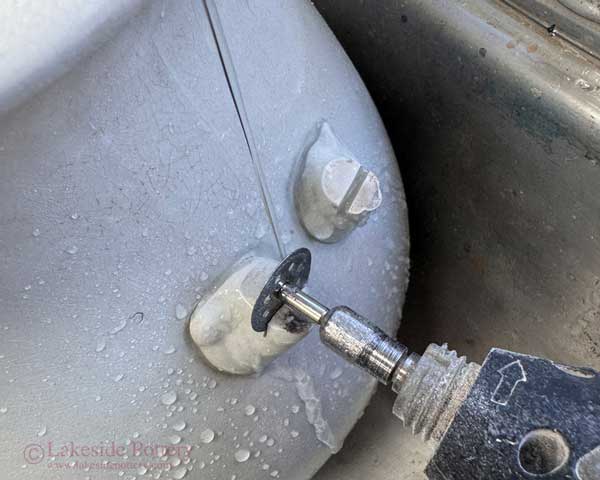
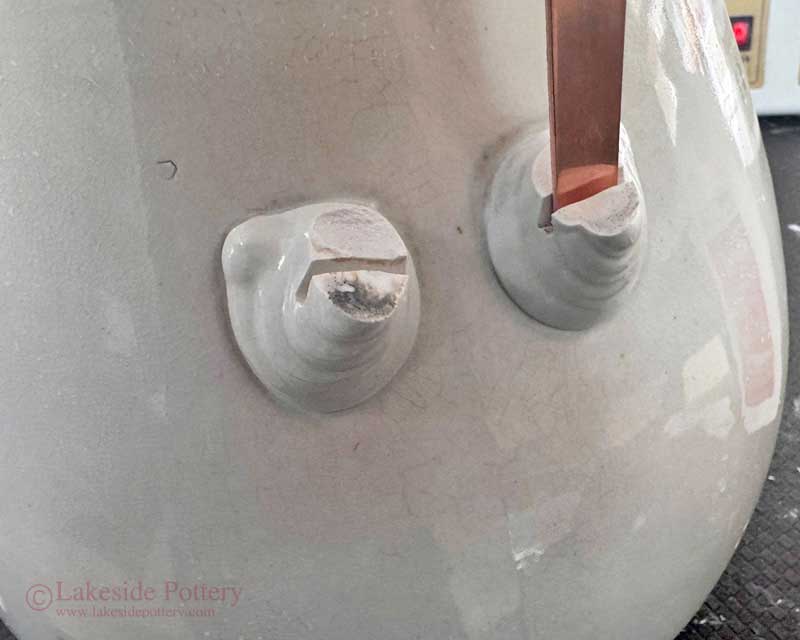
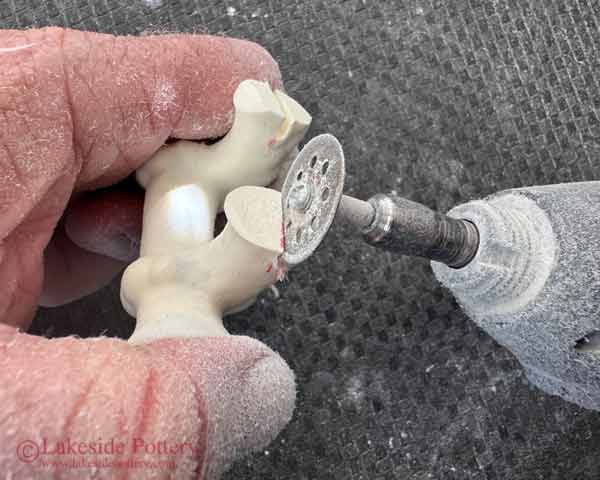
Using a diamond disc cutting a slot for copper pegs under running water
Copper peg
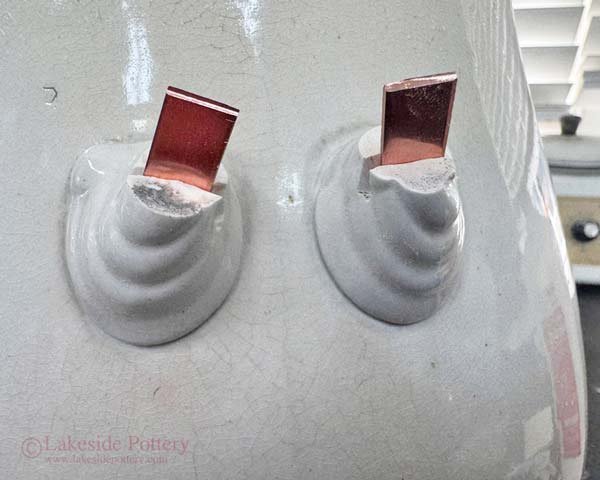
Copper pegs cut to size
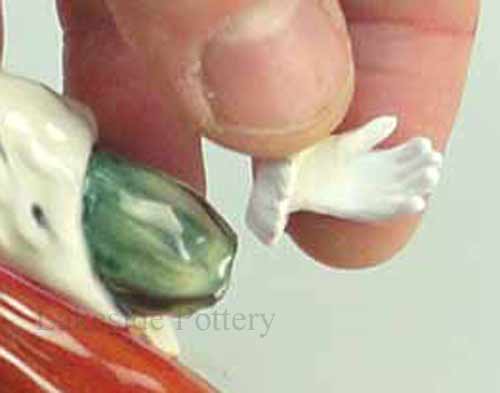
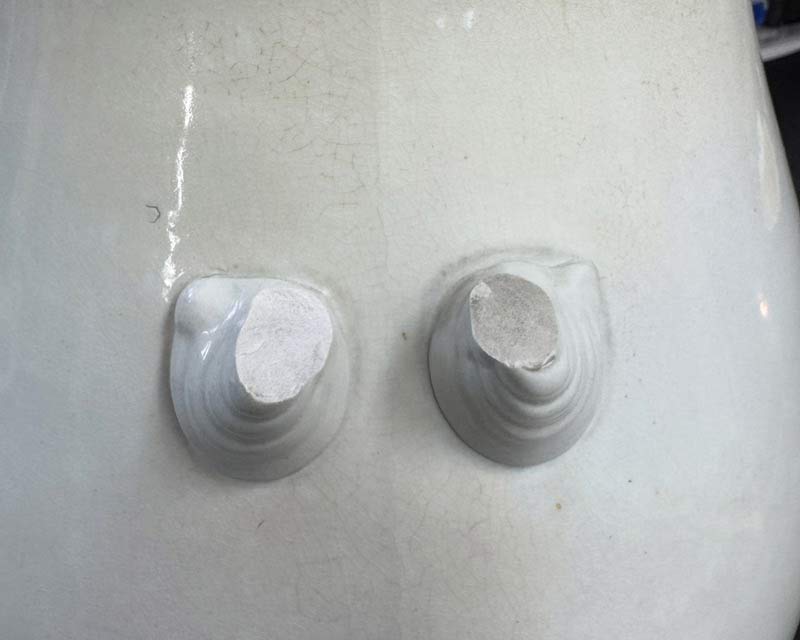
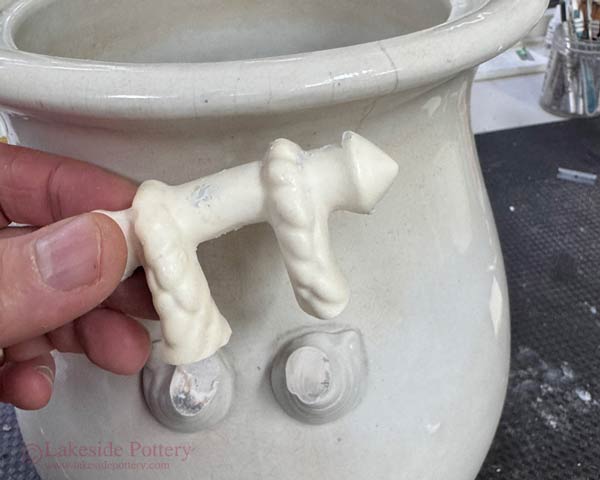
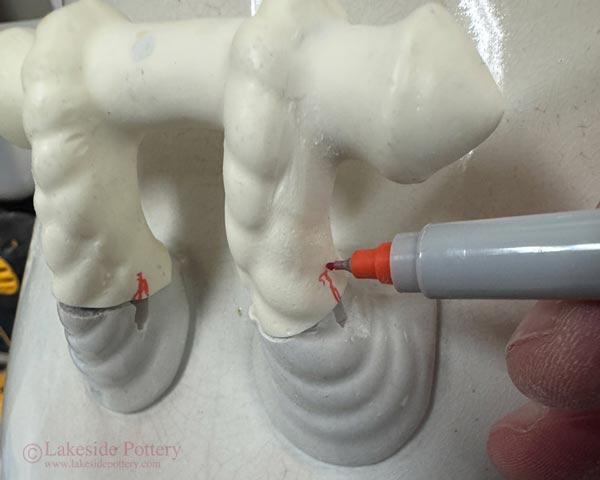
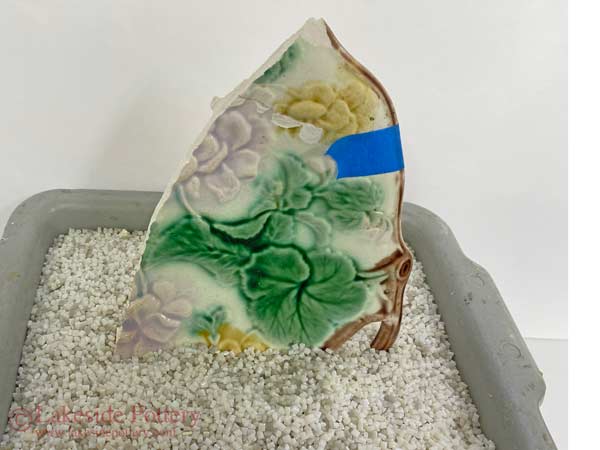
Marking new hand for slot cutting location
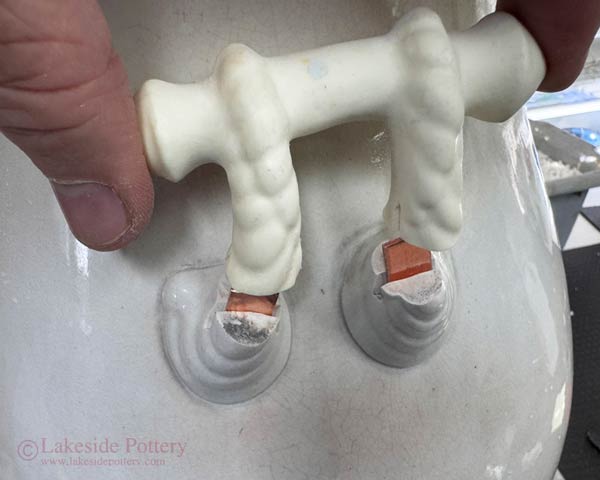
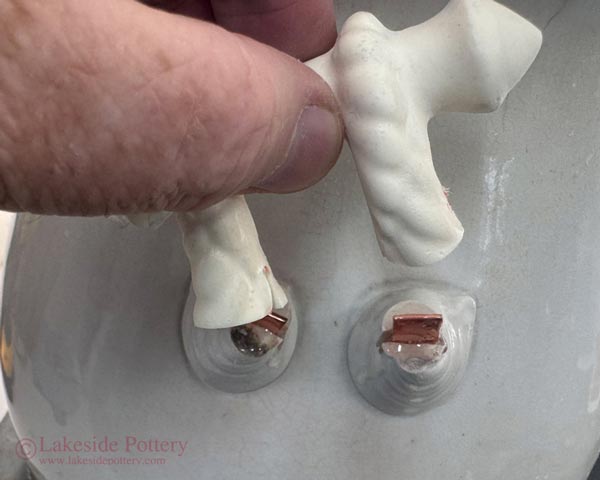
Cutting a slot for pegs to fit Verify pegs proper fit
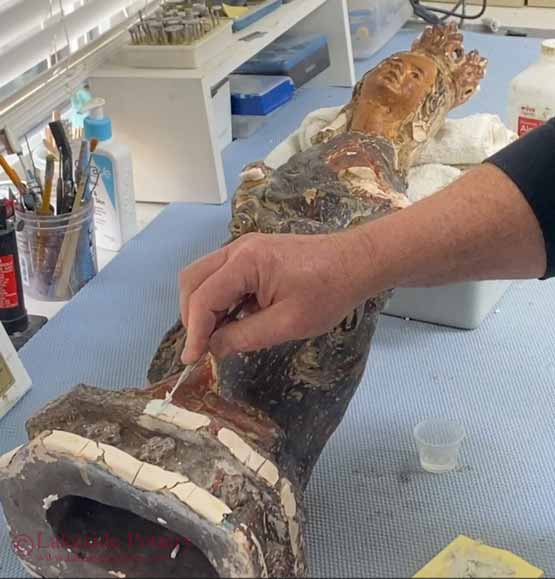
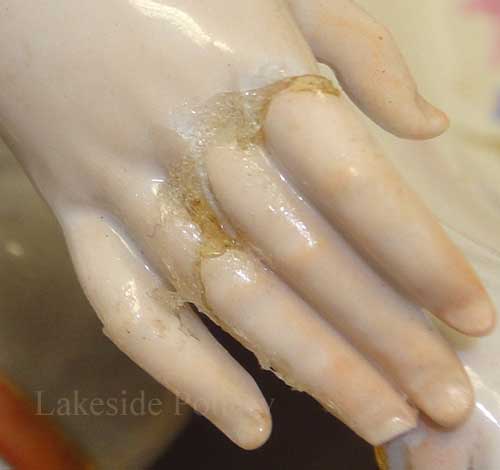
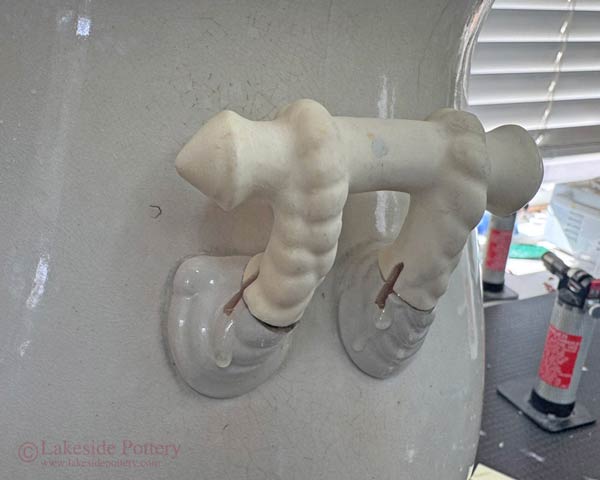
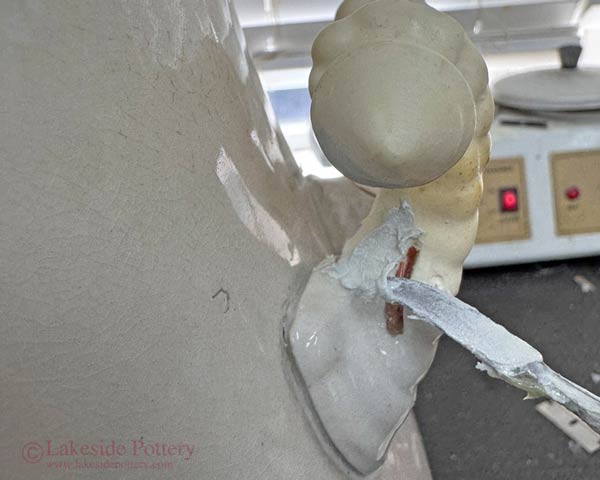
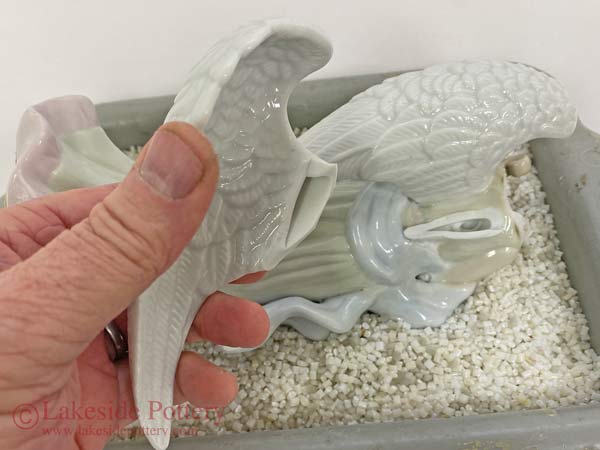
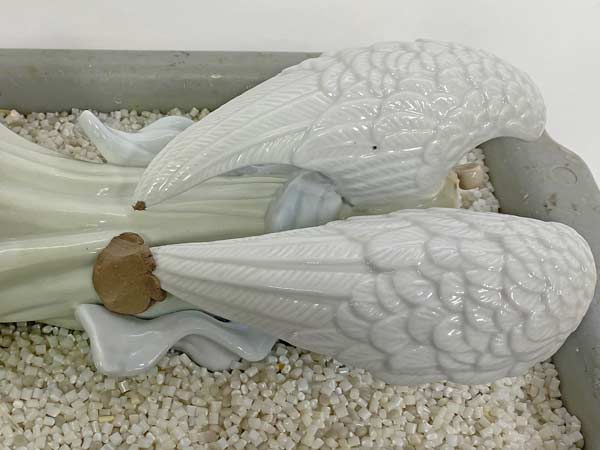
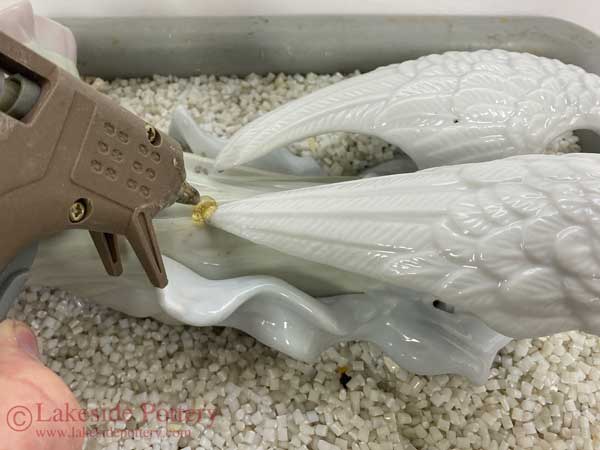
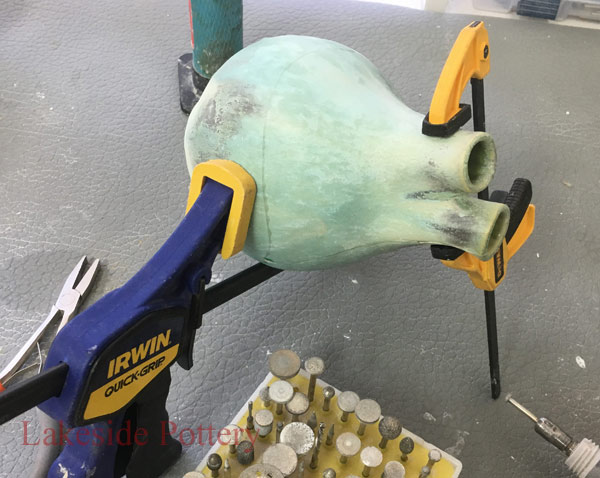
Apply 2-part epoxy Place pegs and new handle
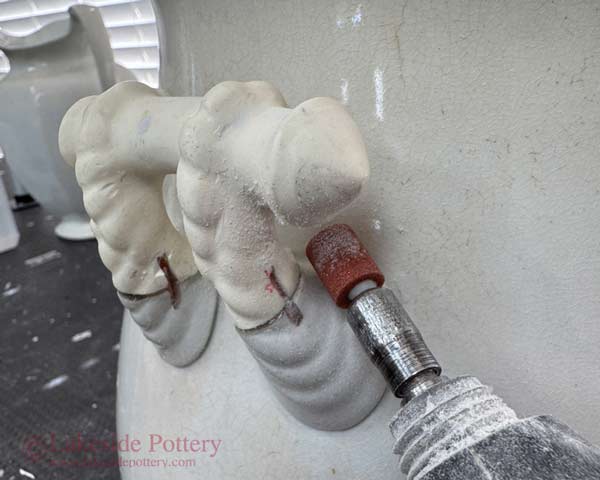
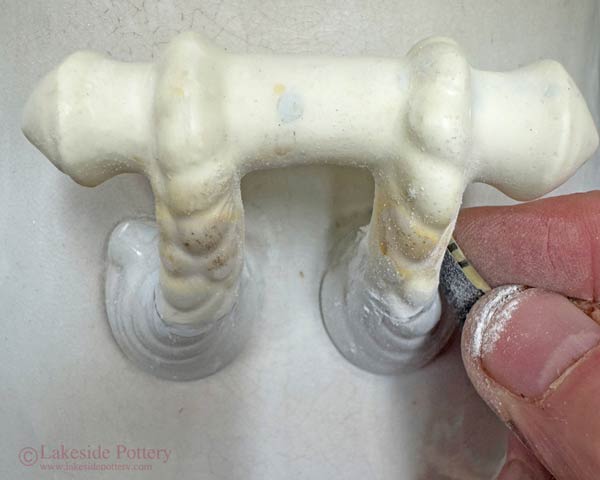
Wait for epoxy to cure Grinding handle for fitting flush
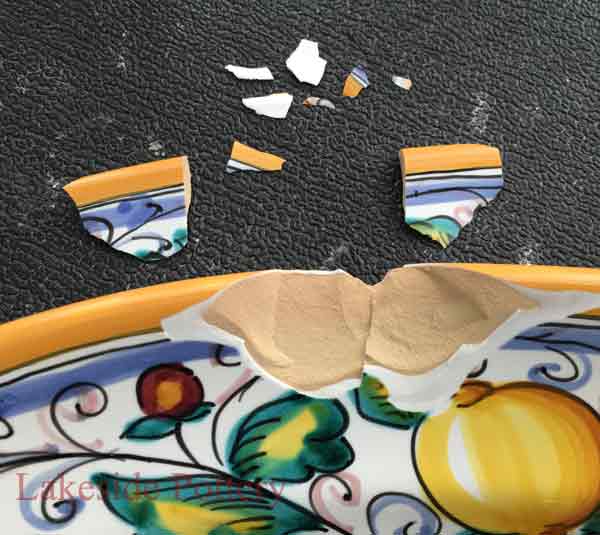
Apply PC-11 filler epoxy After proper cure, sand for perfect surface
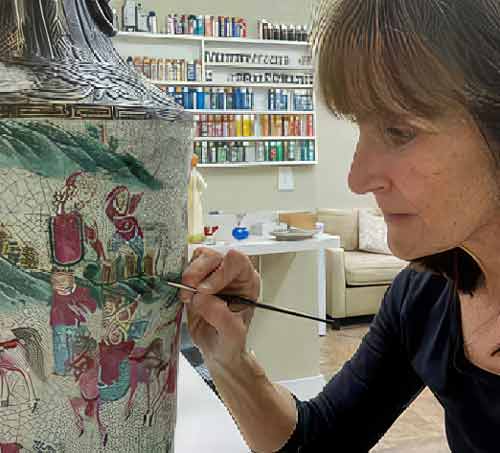
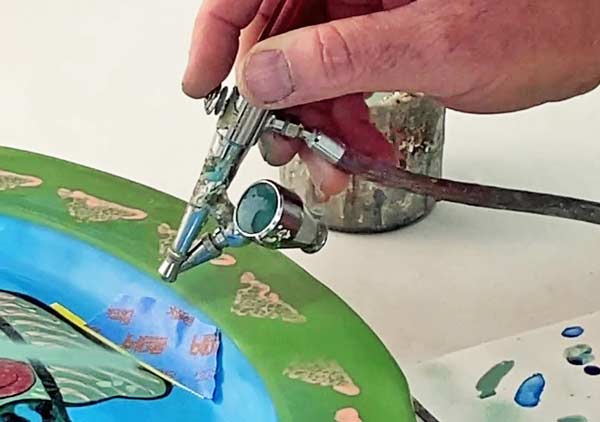
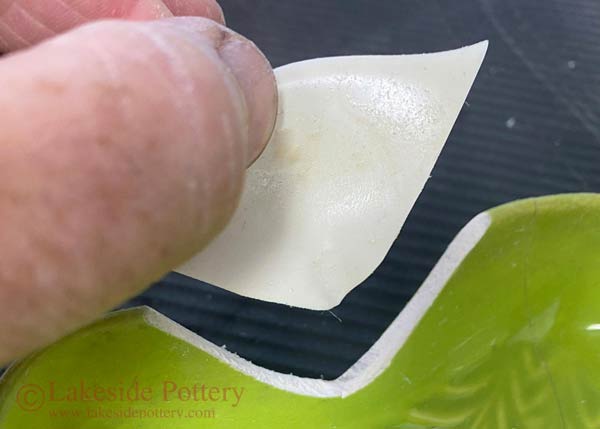
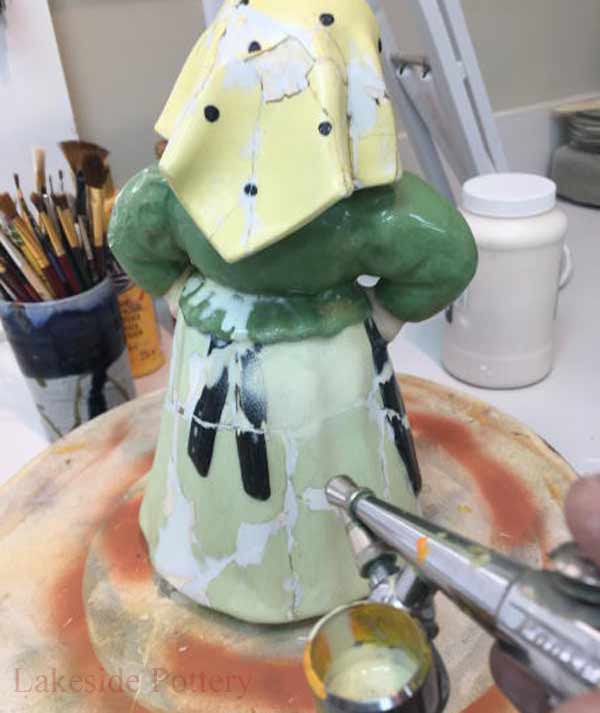
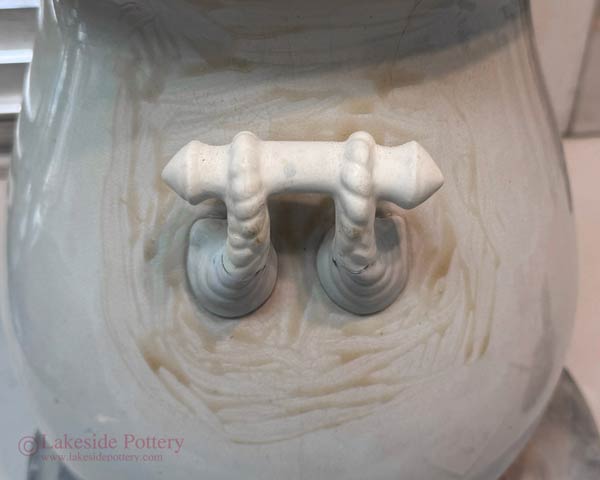
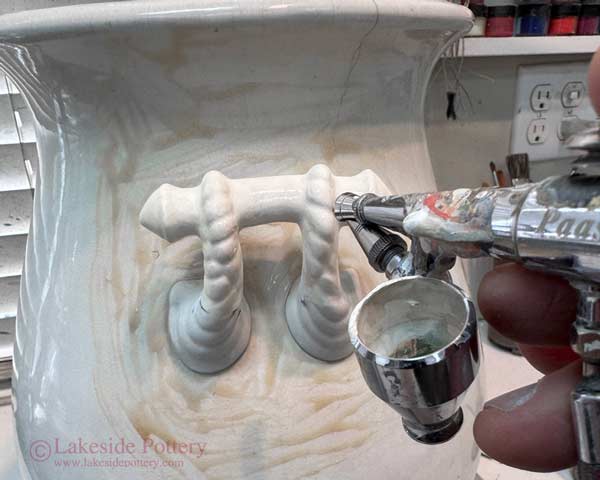
Apply liquid latex to mask areas of the handle that should not receive paint After matching colors, apply acrylic paint using airbrush - see painting lesson
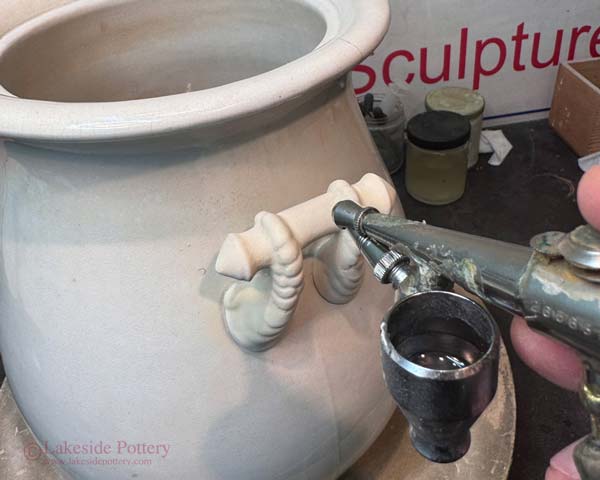
Removing latex Airbrush cold glaze
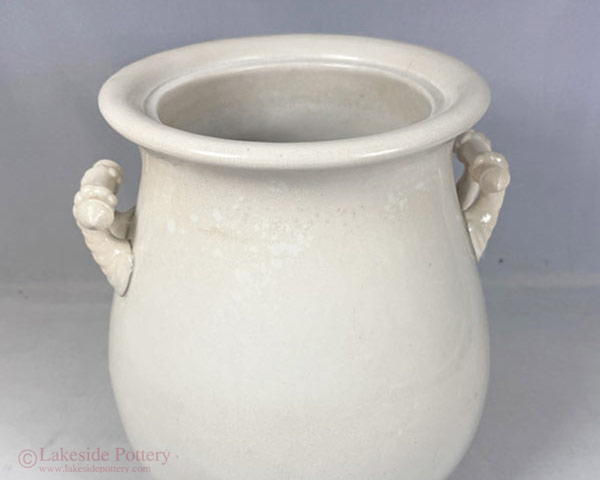
Project complete New handle close up


