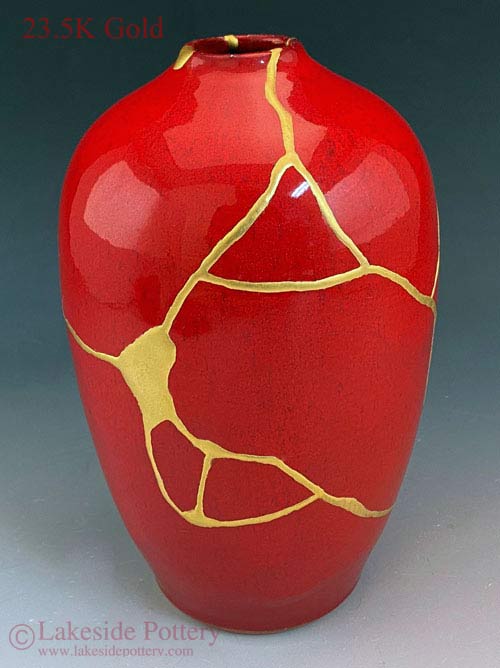
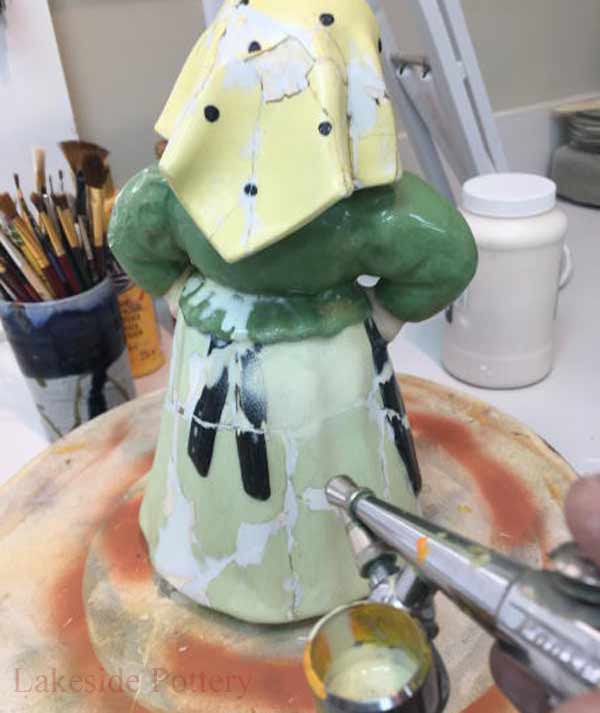
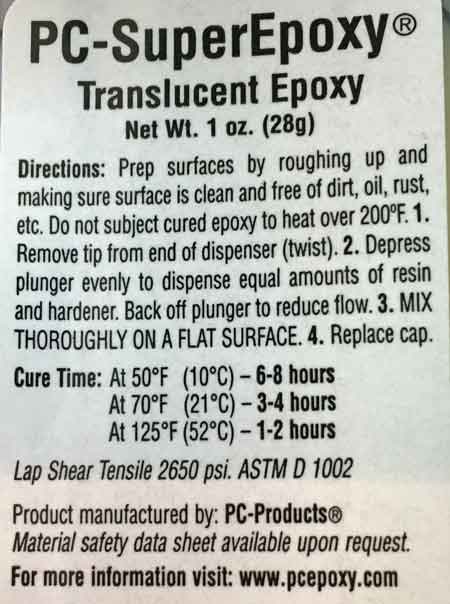
Step-by-step process of filling a large gap or missing pieces on a pottery vessel or sculpture using the best commercially available materials. This product (PC-Super-Epoxy) works extremely well where missing volume is required to be filled up and strengthened without sagging or dripping used on horizontal or vertical surfaces.
|
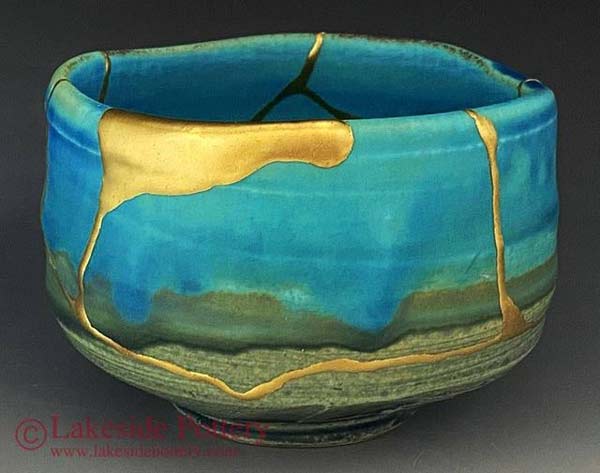
This process can apply to damaged plate, vase, bowl, pitcher, figurine or any pottery, china or ceramic vessel.
|
|
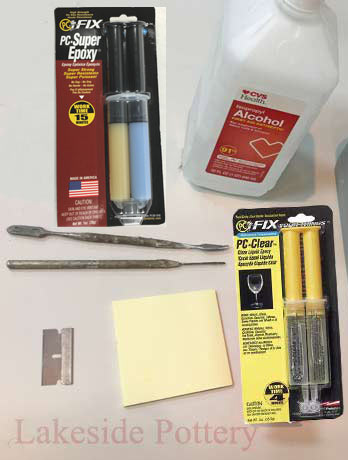
What Will You Need - cementing and filling large gap - ceramic vessel
|
1. Two-part clear 5 minutes PC-Clear epoxy
2. Wooden stick, paper clip or a pin-tool
3. A container with pvc pebbles, rice or sand
4. Razor blade
5. Denatured or 91% Alcohol
6. Paper pad to mix PC-Clear Epoxy on
7. Good light
8. Protective eyewear
Where to get PC-Supper Epoxy and PC-Clear Epoxy
IMPORTANT: Ceramic restoration materials are not food-safe, liquid or heat proof (over 190 degrees F) and repaired items should not be used on cooking or food serving ware more...
|
|
 |
|
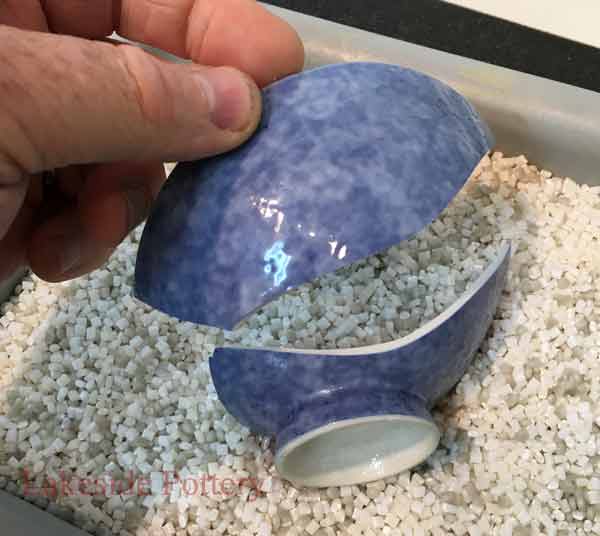
Cementing Ceramic Pieces Steps
|
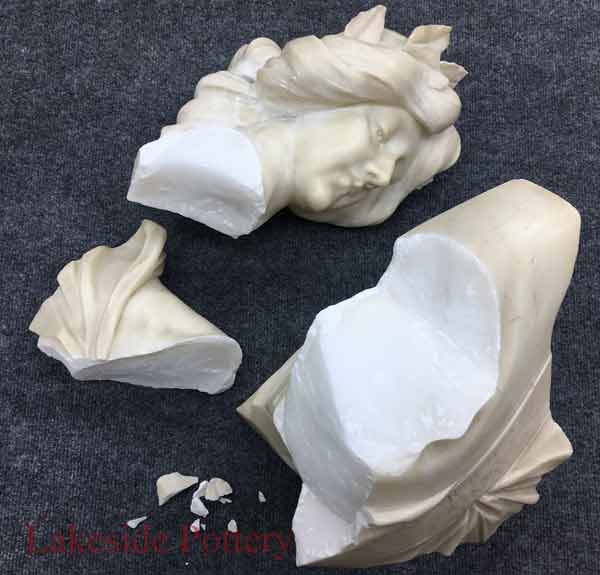
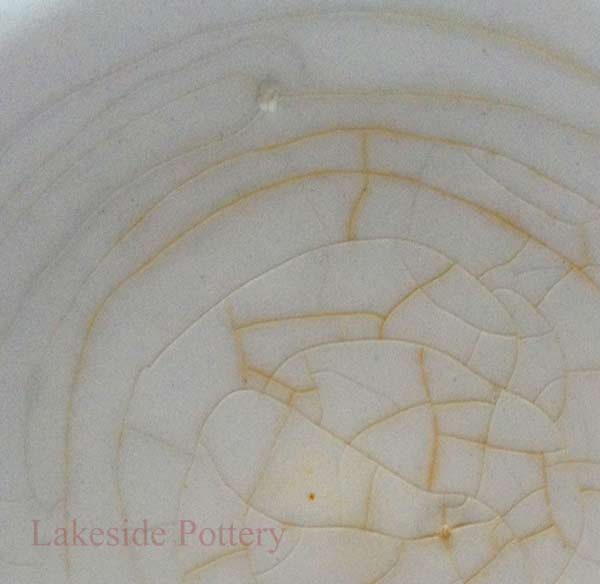
Make sure the pieces are clean using alcohol. If the item has been fixed before clean off any old adhesive, or the new adhesive may not bond properly. Instruction to remove old adhesives.
|
|
|
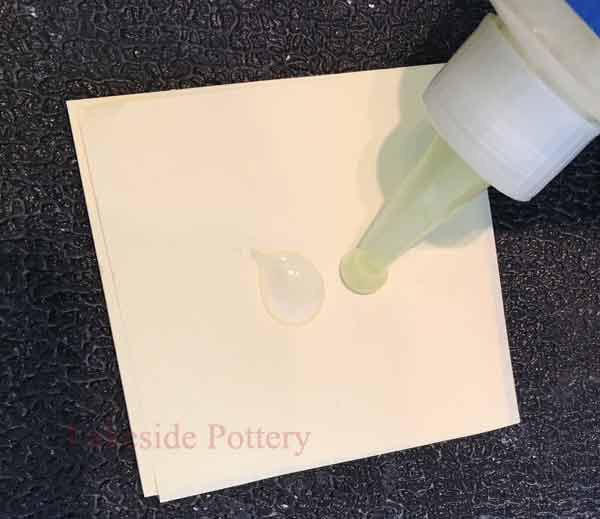
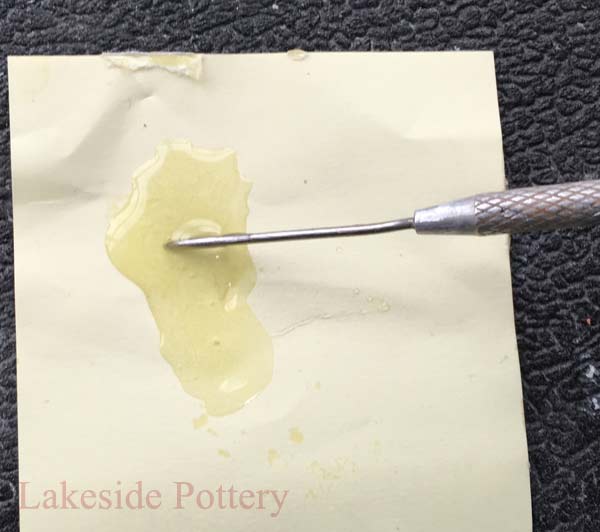
Place even amounts of 5-minutes clear epoxy on a paper or cardboard pad
|
|
|
Mix epoxy well with a pin tool, paper clip or a wooden stick.
|
|
|
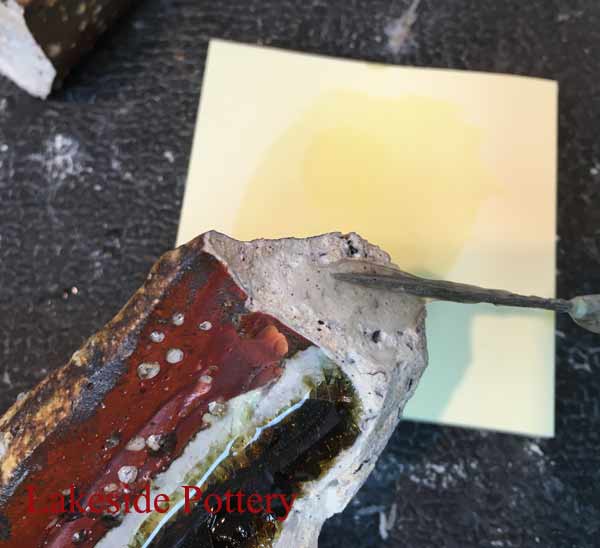
Apply epoxy mix to one side using a pintool or a wooden stick
|
|
|
Use only enough adhesive to cover the edge. Too little will leave gaps, resulting in a weak repair
|
|
|
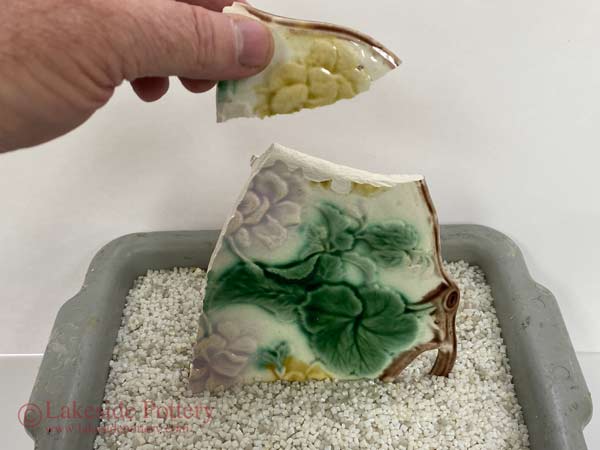
Place broken piece over the epoxy. Important: You have only about 60-90 seconds from start of epoxy mixing to complete the broken piece's permanent placement before the epoxy becomes gummy and not workable
|
|
|
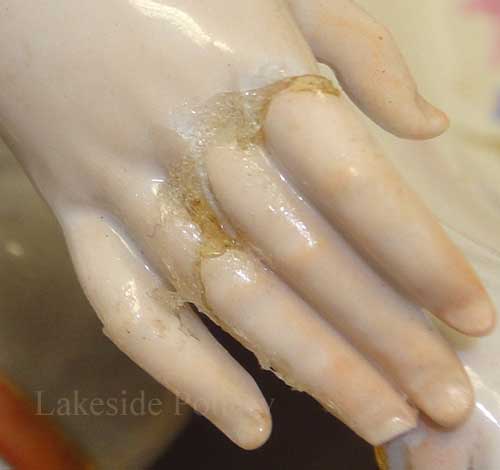
Quickly join the pieces together while applying light pressure to squeeze extra epoxy out. You only have about 60–90 seconds from start of epoxy mixing to placement before the epoxy becomes gummy and unworkable. Do not wipe off the squeezed-off epoxy to avoid smearing.
|
|
|
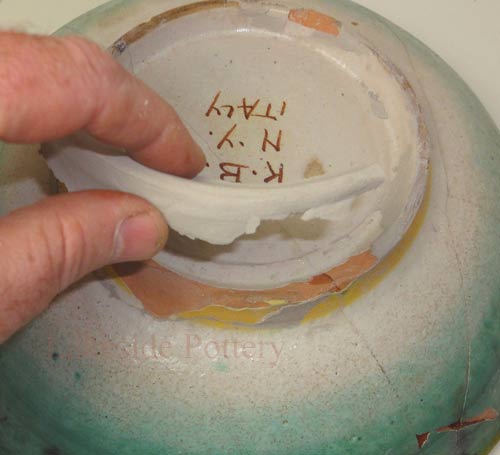
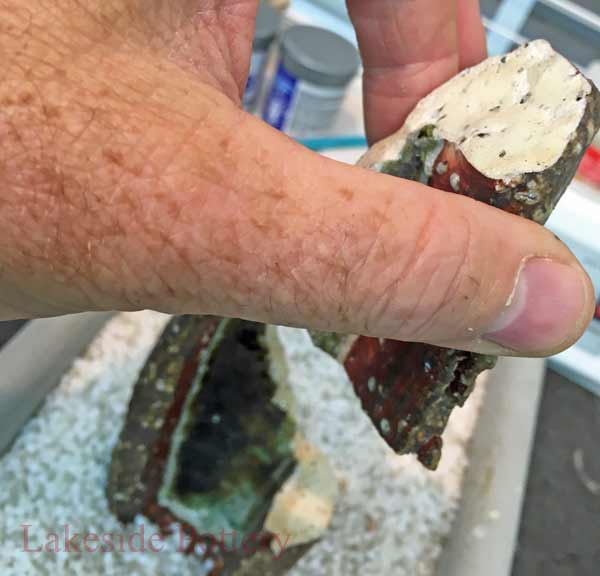
Verify that pieces can stay steady during the cure period (let it cure at 75 degrees F or warmer)
|
|
|
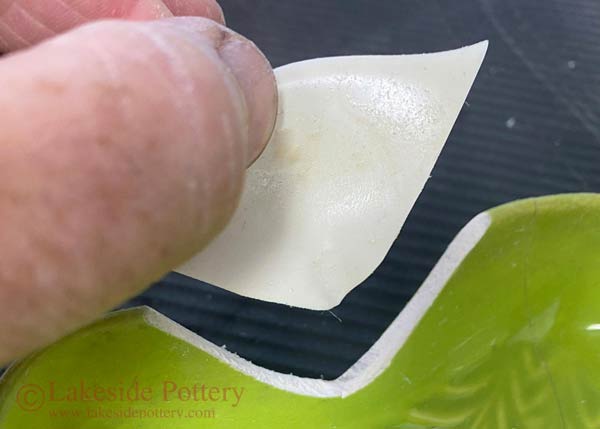
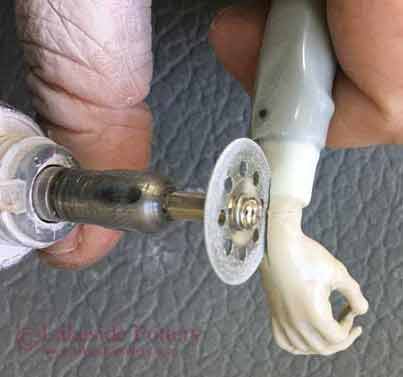
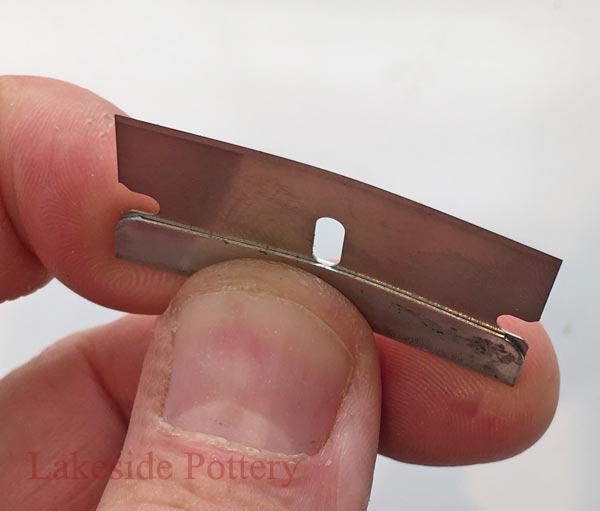
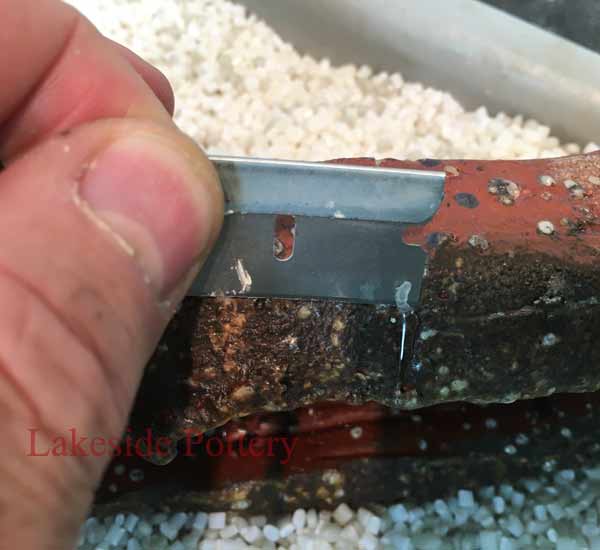
Bend blade for better access clearing unwanted cured epoxy. Warning - wear protective eyewear
|
|
|
Let the epoxy cure for 60 or more minutes before removing excess cured epoxy with a blade
|
|
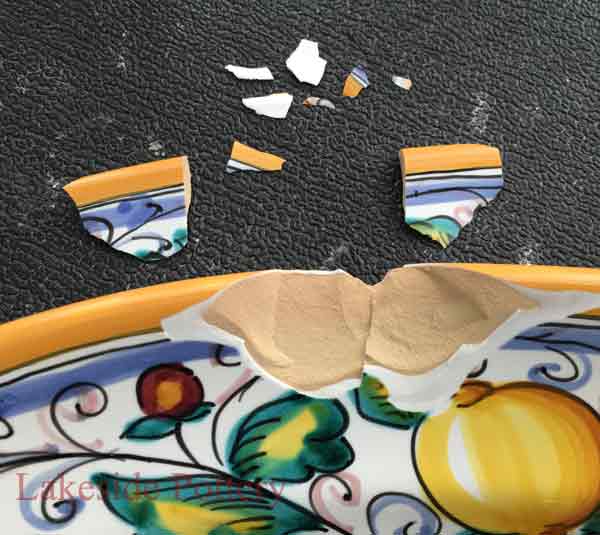
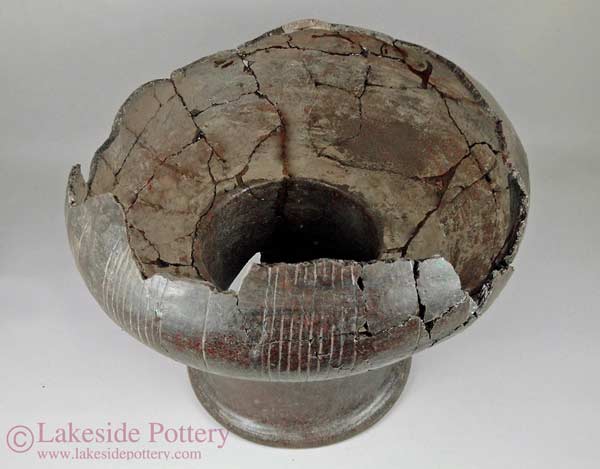
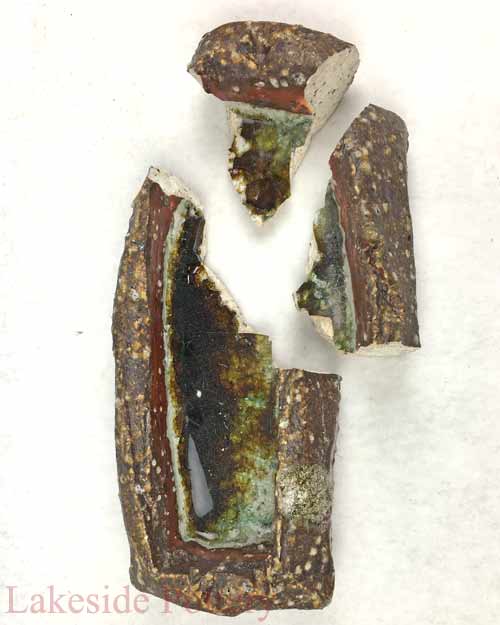
Filling Large Gap or Missing Piece on Ceramic, Pottery or Sculpture
|
|
|
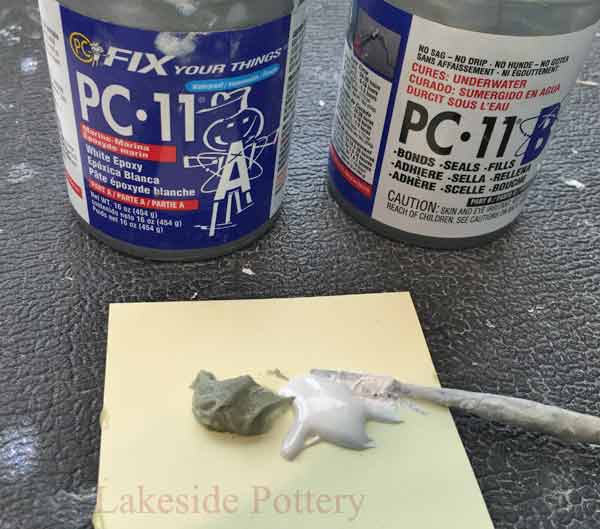
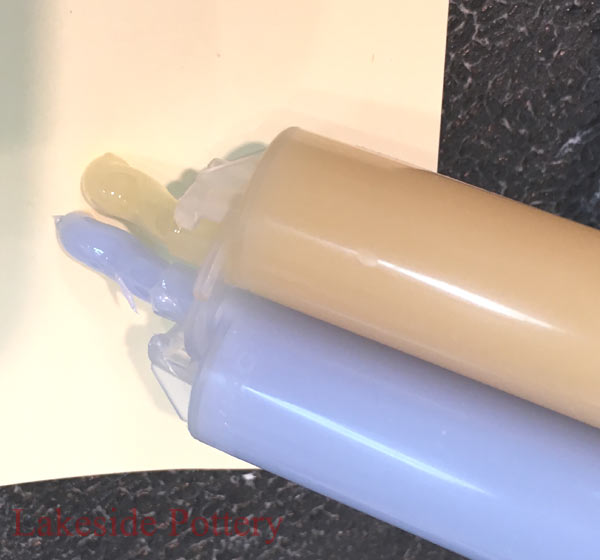
Squeeze PC-Super Epoxy Filler on a disposable pad
|
|
|
PC-Super Epoxy Filler ready for mixing - notice the two colors
|
|

|
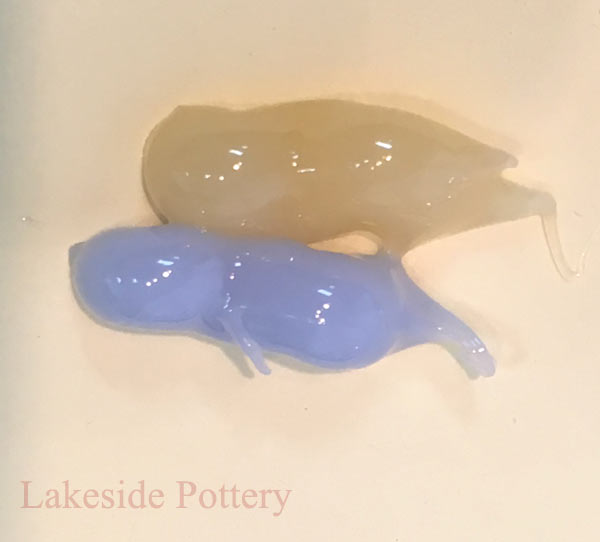
Mix the PC-Super Epoxy Filler until blue disappears
|
|
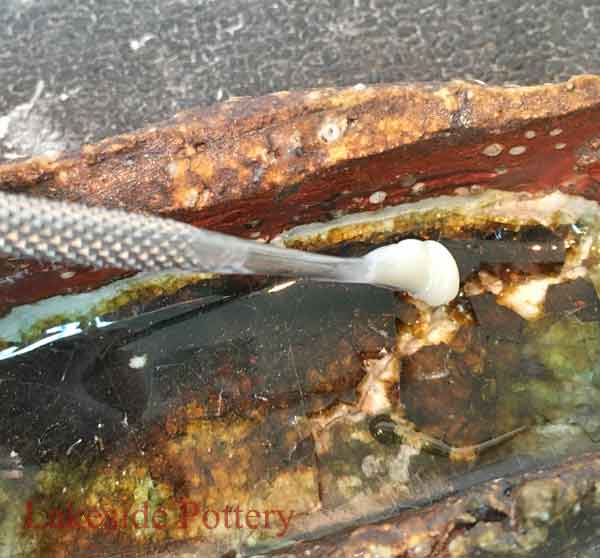
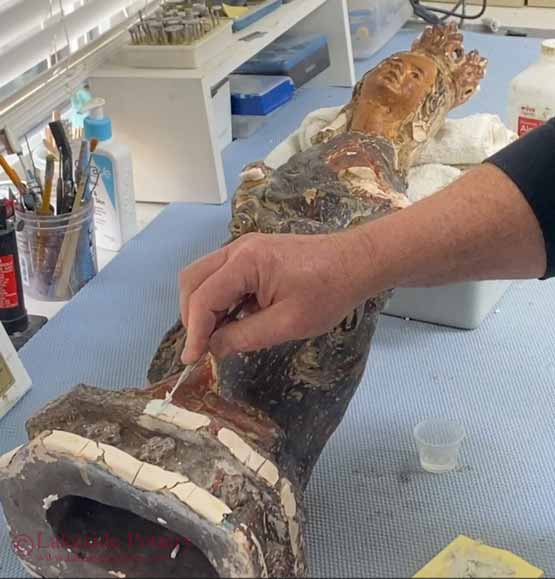
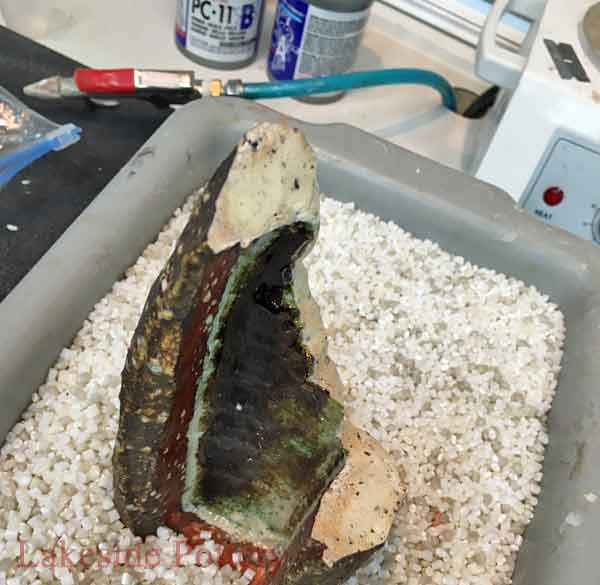
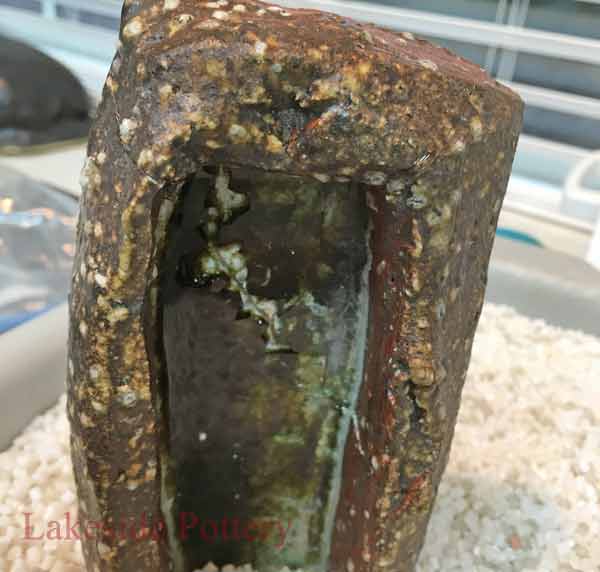
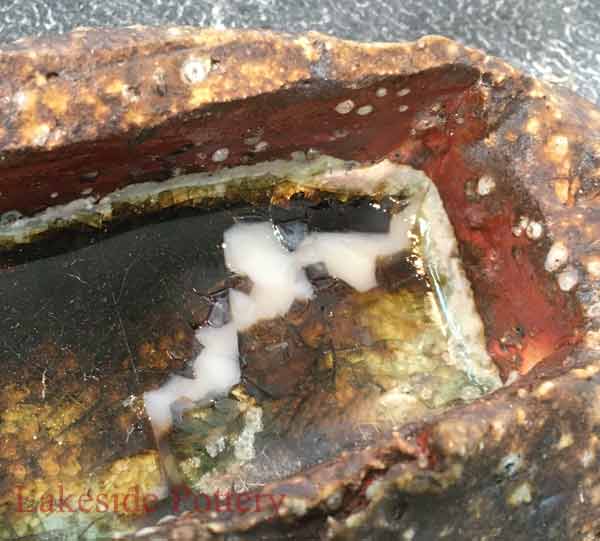
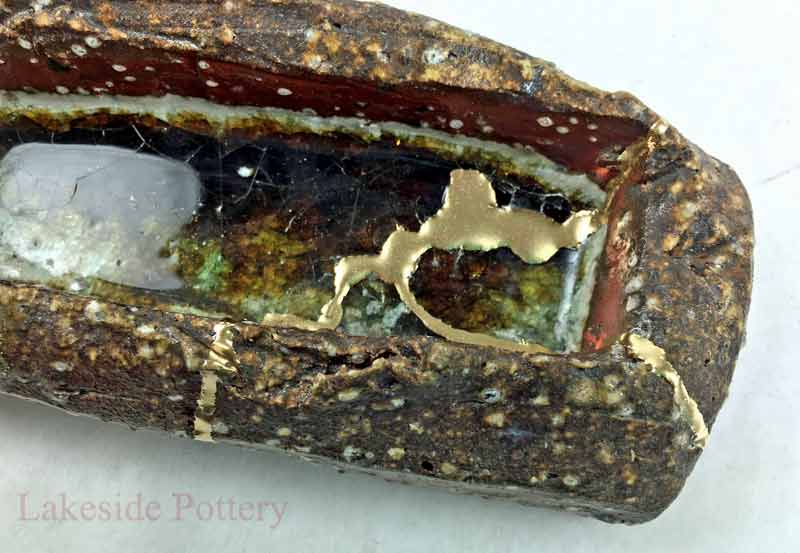
Carefully apply the mixed PC-Super Epoxy Filler to the deep cavity
|
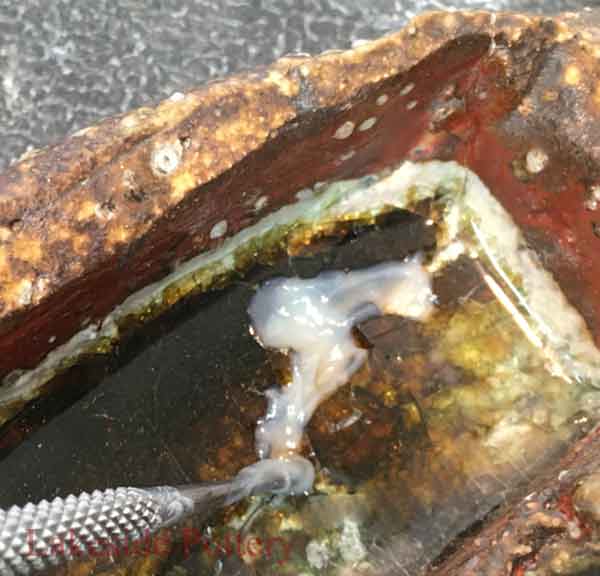
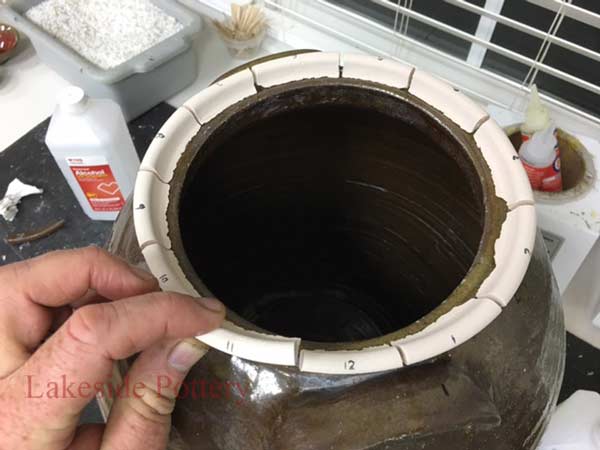
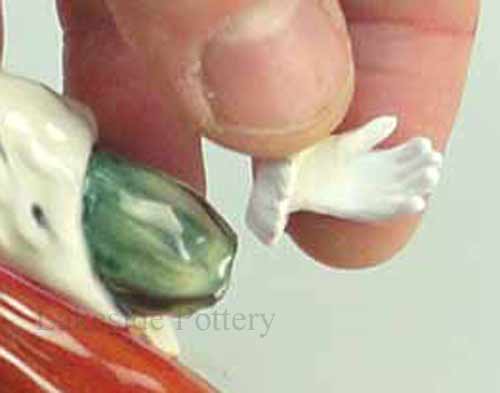
Missing piece area all filled up with Super Epoxy Filler
|
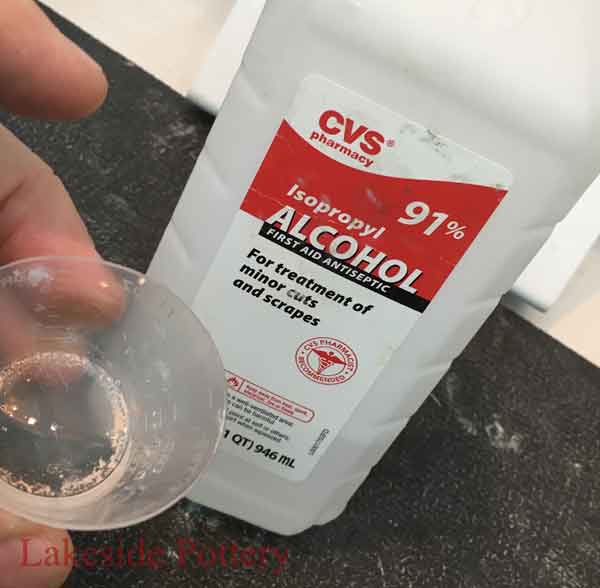
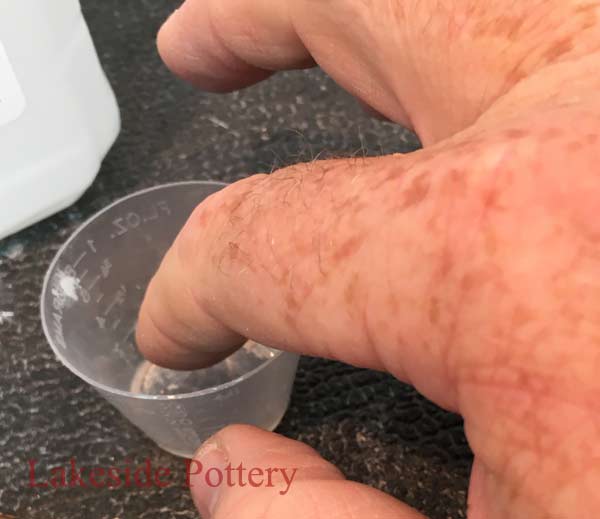
Pour 91% alcohol in a cup
|
|
|
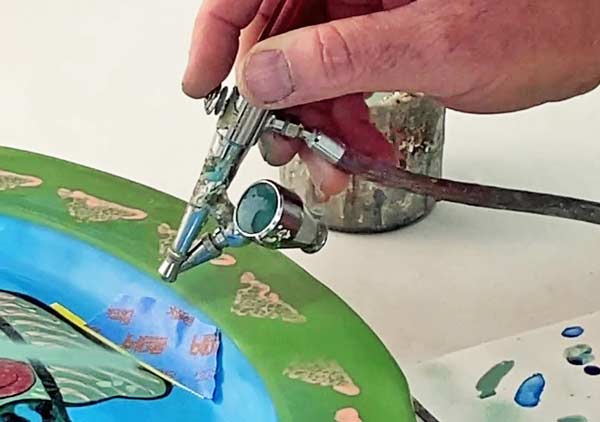
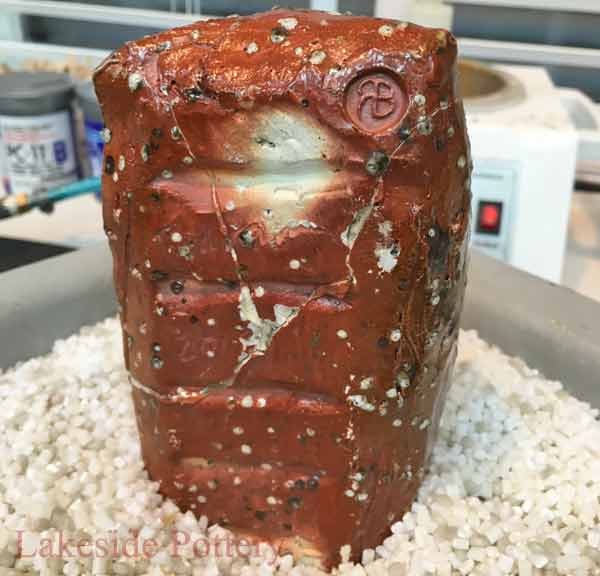
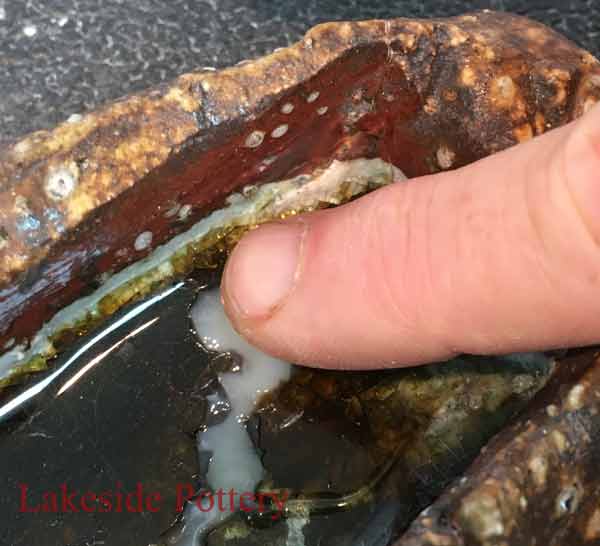
Gently smooth top surface of PC-Super Epoxy Filler
|
|
|
Wait several hours for PC-Super Epoxy Filler to cure
|
|
|
|
|
|